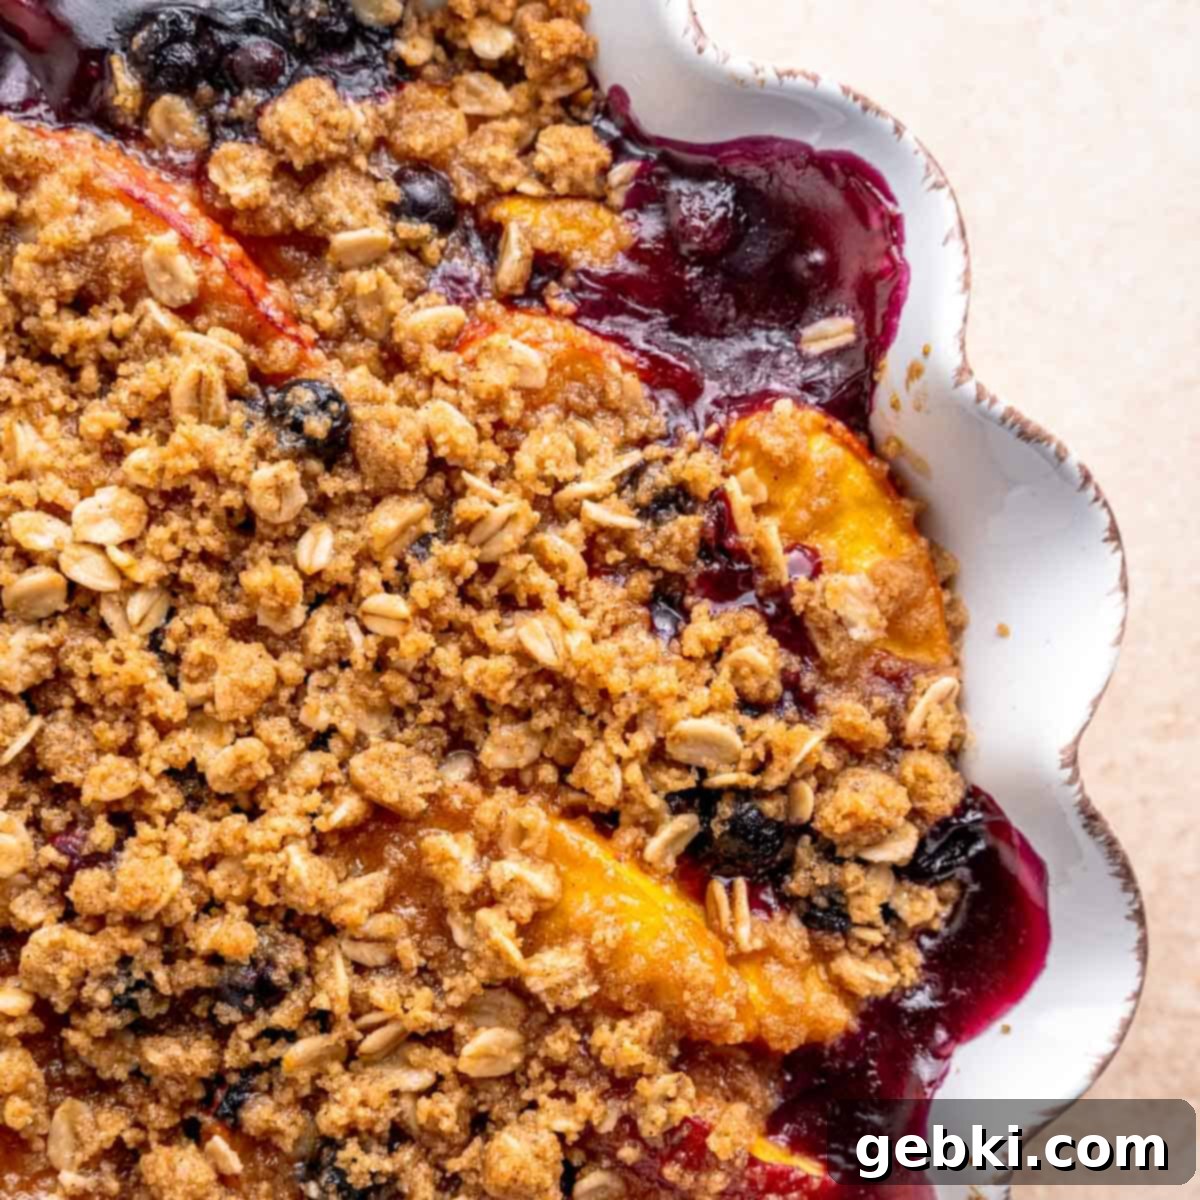
The Ultimate Summer Bliss: Easy Blueberry Peach Crisp Recipe with a Golden Oat Topping
As the vibrant days of summer gradually mellow into the sweet embrace of late August and early September, we find ourselves savoring every last drop of warmth and the incredible bounty of the season’s fruits. It’s the perfect time to capture those fleeting summer flavors, and what better way than with a wholesome, comforting dessert? This fresh Blueberry Peach Crisp is a true celebration of late summer abundance, combining the succulent sweetness of ripe peaches with the bright, tangy burst of blueberries. It’s a dish that literally tastes like summer in a bowl, quickly becoming a cherished favorite in my recipe collection.
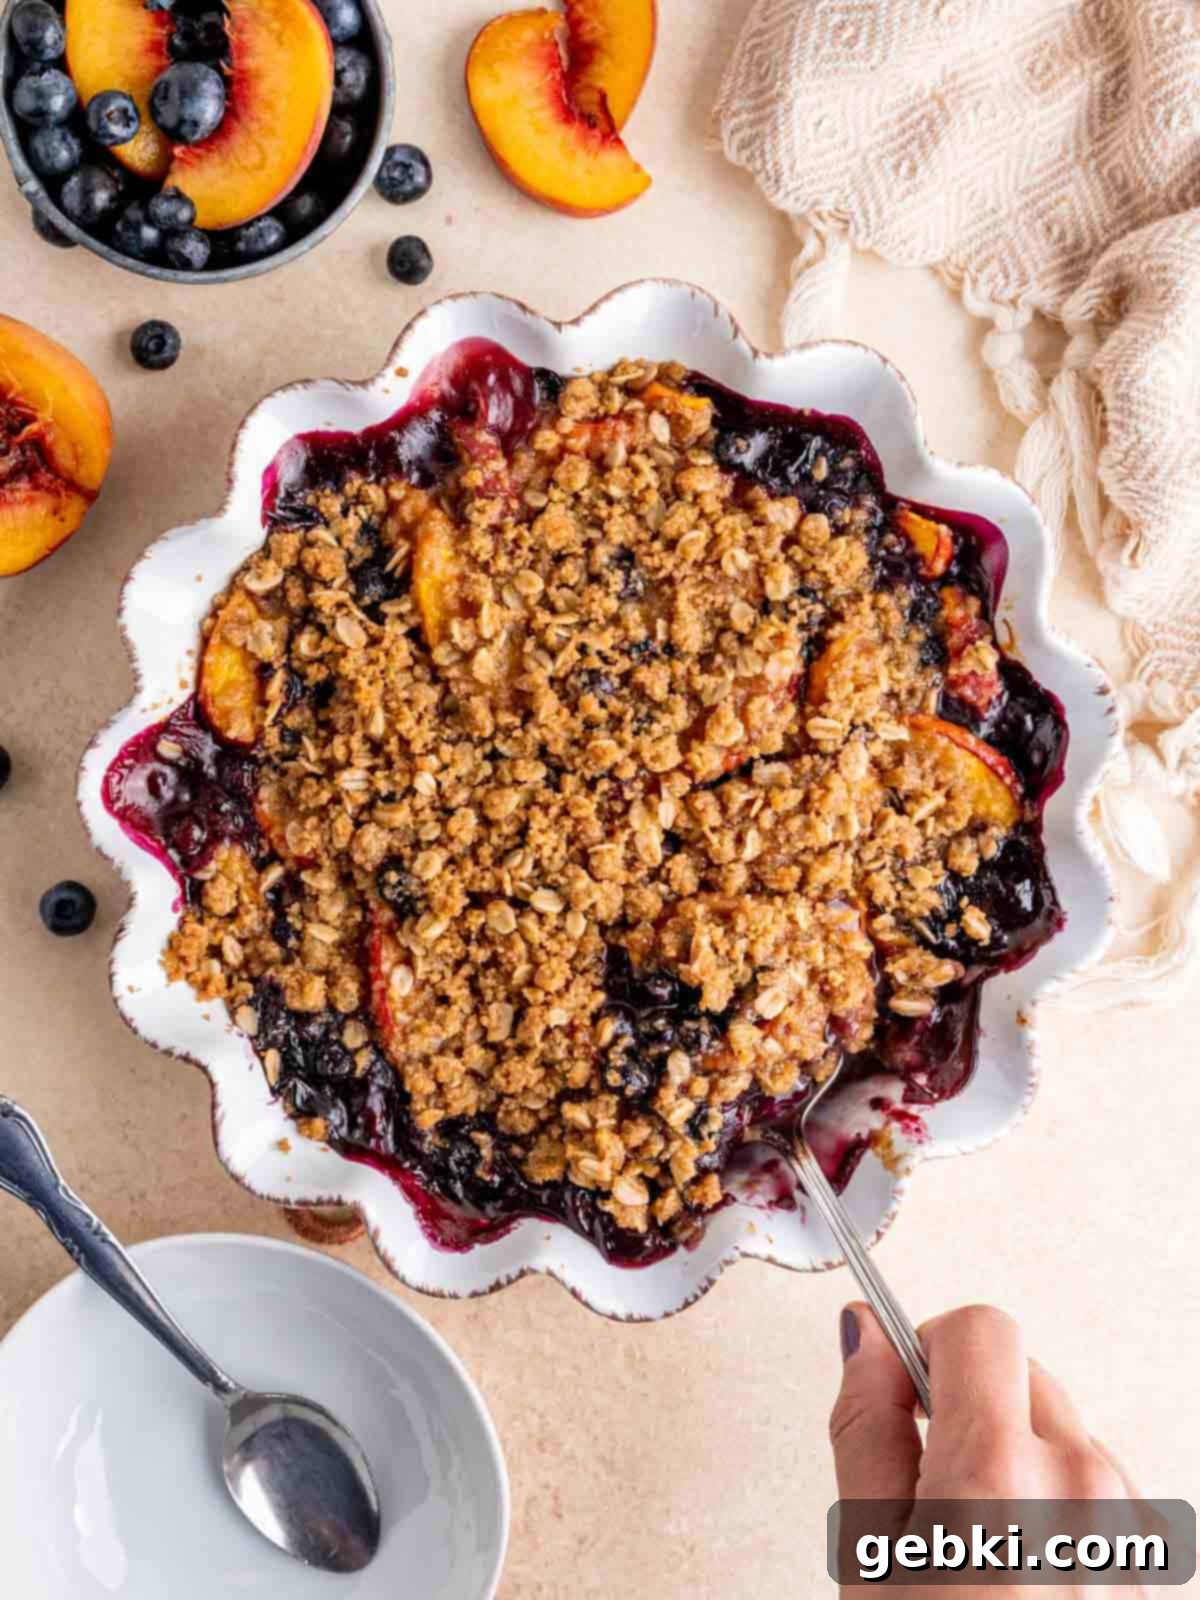
Imagine this: tender, juicy peaches, bursting with their natural sweetness, are perfectly complemented by the delightful pop of ripe blueberries. All of this glorious fruit filling is crowned with a golden, crispy, and utterly delicious oat topping, infused with brown sugar and a hint of cinnamon. This harmonious blend creates a dessert that is both comforting and exhilarating. Serve this incredible blueberry peach dessert warm, straight from the oven, with a generous scoop of creamy vanilla ice cream melting over the top, or a cloud of freshly whipped cream for the ultimate after-dinner treat. It’s a simple pleasure that truly elevates any meal.
Do you have a few extra peaches lingering after whipping up this crisp? Don’t let them go to waste! You might love my super simple peach kefir ice cream for another refreshing way to enjoy these delightful fruits.
Why You’ll Adore This Blueberry Peach Crisp Recipe
There are countless reasons why this Blueberry Peach Crisp is destined to become a staple in your kitchen, especially during the warmer months. It’s more than just a dessert; it’s an experience!
- Minimal Ingredients, Maximum Flavor: You’ll be amazed that such an incredibly delicious fruit crisp requires fewer than 10 basic, readily available ingredients. No obscure items, just pure, wholesome goodness. This makes it a fantastic recipe for spontaneous baking or when you want something impressive without a lot of fuss.
- Crisp Perfection: Often compared to a peach blueberry crumble with oats, this crisp stands out with its ideal topping texture. The oats add a delightful chewiness and a truly satisfying crispiness that perfectly contrasts with the soft, bubbling fruit filling. It’s a textural masterpiece!
- A Symphony of Flavors: The magic truly happens in the combination of juicy, slightly tart fruit with the sweet, buttery, and crumbly topping. Each spoonful offers a perfect balance of sweetness and tang, warmth and crunch, making it an exquisite culinary pairing that’s hard to resist. This balance is what makes it a truly great recipe.
- Effortlessly Simple: This easy peach blueberry crisp recipe features only 4 straightforward steps, making it accessible for bakers of all skill levels. Plus, it’s incredibly versatile – or “endlessly riffable” as we like to say – allowing you to easily adapt it to your preferences, much like our beloved Strawberry Rhubarb Crisp.
- A Timeless Flavor Combination: The pairing of peaches and blueberries is a true classic, and for good reason! Their individual flavors complement each other beautifully, creating a universally loved taste profile that evokes pure summer joy. It’s no wonder there are so many peach blueberry recipes out there, but this crisp truly shines.
- Delicious at Any Temperature: Whether you enjoy it piping hot out of the oven, at a pleasant room temperature, or even cold straight out of the fridge for a refreshing treat, this crisp maintains its deliciousness. It’s versatile enough for a warm evening dessert or a cool breakfast indulgence.
Essential Ingredients for Your Perfect Blueberry Peach Crisp
Creating this delightful crisp starts with selecting the right ingredients. While the list is short and simple, the quality of each component truly makes a difference in the final taste and texture of your homemade peach crisp.
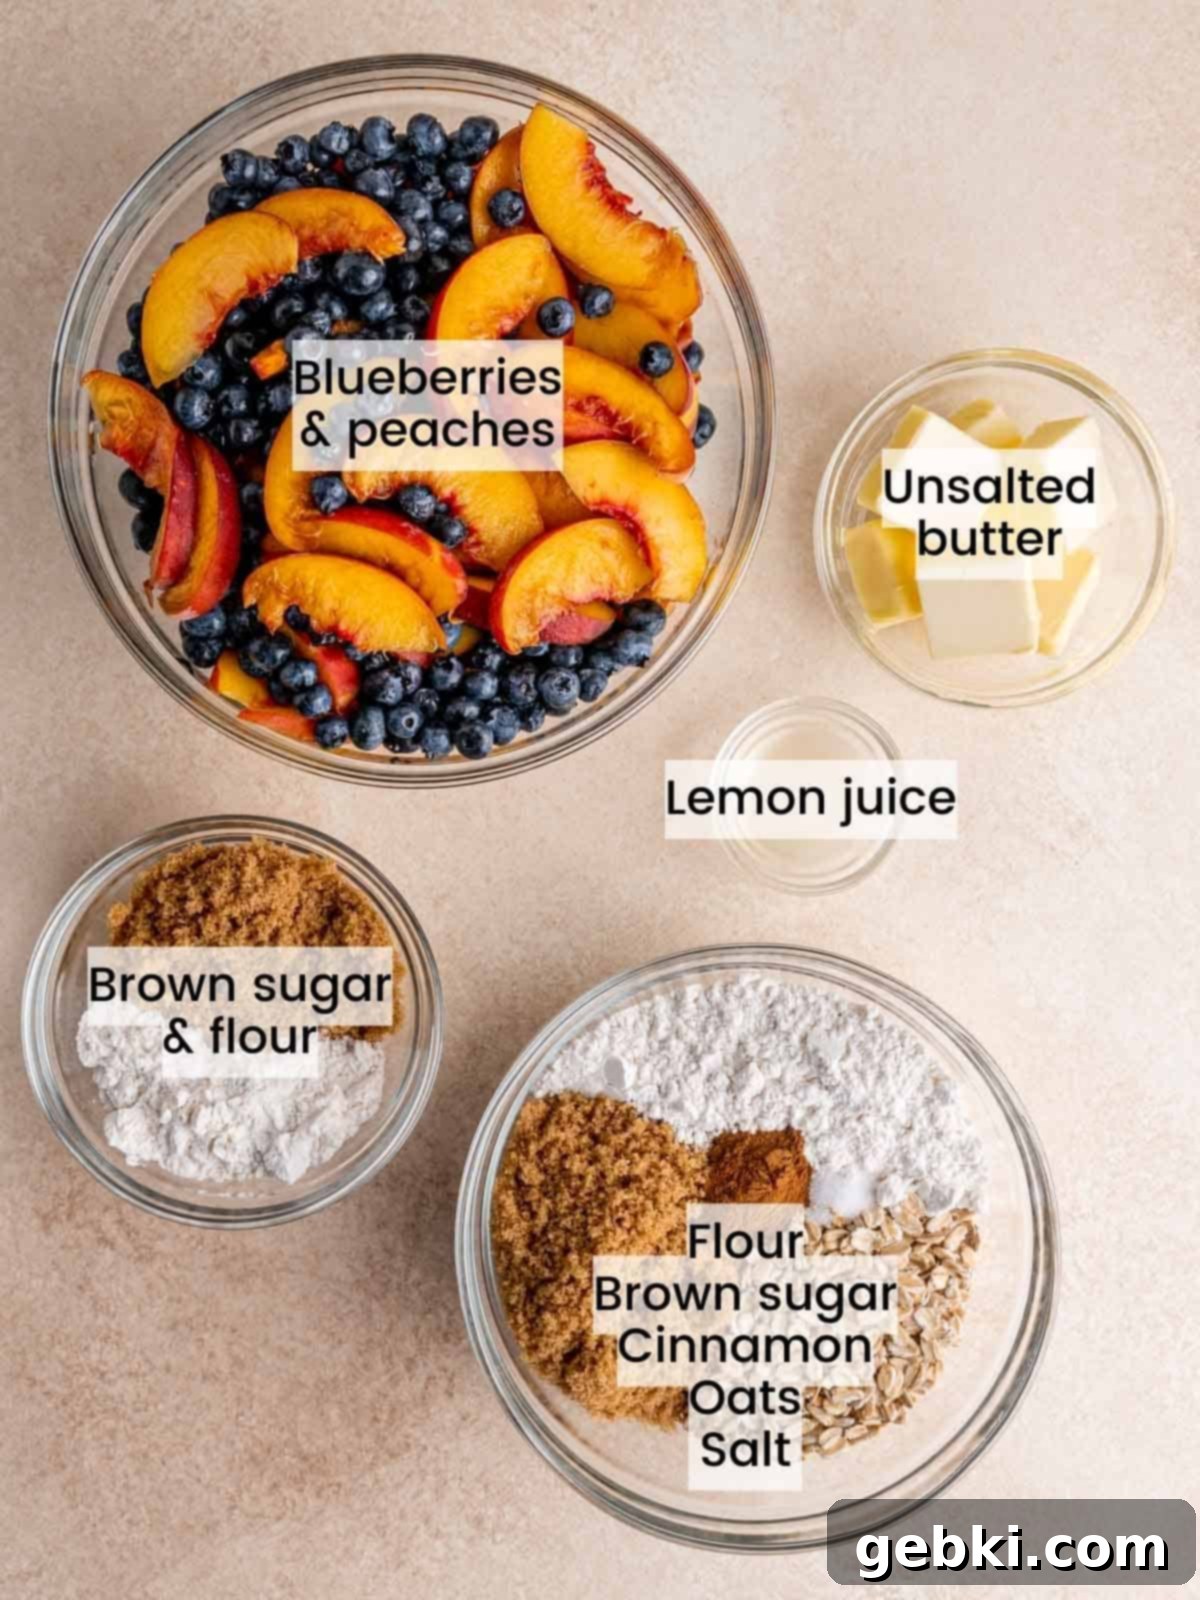
- Peaches: As the star of this crisp, the peaches are paramount. You have a lot of flexibility here:
- Fresh: Use any variety – yellow or white, freestone or clingstone. Perfectly ripe, soft, and juicy peaches will offer the most flavor, but even slightly underripe, firmer peaches will soften beautifully during baking.
- Frozen: For a year-round treat, frozen peaches work wonderfully. There’s no need to thaw them beforehand; simply add them straight to the mixture.
- To Peel or Not to Peel: Peach skins are quite delicate and soften considerably when baked, so peeling is completely optional. If you prefer a smoother texture, a quick blanch in hot water will make them easy to peel. Otherwise, leave the skins on for added fiber and a rustic look.
- Blueberries: These little gems provide a vibrant counterpoint to the peaches.
- Fresh: Late July and early August are prime blueberry picking season, offering the sweetest, most flavorful berries.
- Frozen: High-quality frozen blueberries from your grocery store are an excellent alternative and perform just as well in this recipe, without needing to be thawed. They hold their shape and release their juices beautifully.
- Oats: The key to a truly “crisp” topping lies in the type of oats you use.
- Old-Fashioned Oats: These are essential for achieving the desired chewy-crisp texture. Their thicker, larger flakes hold up well during baking, creating a satisfying crunch.
- Avoid: Quick-cooking oats will become mushy, and steel-cut oats will remain too firm. Stick to old-fashioned for the best results in your crumble topping.
- Lemon Juice: A squeeze of fresh lemon juice is a crucial ingredient. It does more than just add a touch of citrus; it brightens and enhances the natural fruity flavors of both the peaches and blueberries, preventing the dessert from becoming overly sweet and adding a refreshing tang. Always opt for freshly squeezed for the best, most vibrant flavor.
- Other Pantry Staples: Don’t forget the supporting cast – all-purpose flour for thickening the fruit filling and binding the topping, brown sugar for deep, caramel-like sweetness, cinnamon for warmth and spice, and a pinch of salt to balance all the flavors.
For exact quantities and detailed instructions, please see the full recipe card below.
Delicious Substitutions & Creative Variations for Your Fruit Crisp
One of the best things about making a fruit crisp is its incredible adaptability. While this blueberry peach crisp is a classic, don’t hesitate to get creative with these delicious substitutions and variations to suit your taste or what’s in season!
- Explore Other Stone Fruits: Next time you’re in the mood for a different flavor profile, try substituting any other stone fruit for the peaches. Plums, pluots, nectarines, or even a mix of cherries and peaches can create equally delightful fruit crisps. Each fruit will bring its own unique sweetness and tartness, offering a new experience with every bake.
- Fresh vs. Frozen Fruit Flexibility: While we highly recommend using peak-season fresh fruit for the most vibrant flavors, the beauty of this recipe is its versatility with frozen fruit. You can easily swap out fresh peaches and blueberries for their frozen counterparts without compromising on taste or texture. Remember, there’s no need to thaw frozen fruit before baking; just add it directly to the filling, though it might extend the baking time slightly.
- Embrace Autumnal Flavors: Transition this beloved summer dessert into a cozy fall treat by adding a pinch of warming spices. Incorporate a blend of cinnamon and nutmeg into the fruit filling, or elevate the crisp topping by browning the butter (and allowing it to cool slightly) before mixing it in. Browned butter adds a wonderfully nutty, complex flavor that pairs beautifully with autumn spices.
- Sweeten with Honey: For a subtle, floral sweetness, enhance the flavor of your fruit filling by using honey instead of brown sugar. Mix approximately 3 tablespoons of your favorite honey (brands like Local Hive™ offer fantastic regional varieties) into the blueberry peach mixture in place of the brown sugar specified for the filling. Remember that brown sugar should still be used in the streusel topping to achieve its signature texture and flavor.
- Add a Nutty Crunch: For an extra layer of flavor and texture in your crisp topping, consider adding a quarter cup of chopped pecans, walnuts, or sliced almonds to the oat mixture. This addition provides a wonderful crunch and a warm, earthy note that complements the fruit beautifully.
- A Hint of Vanilla or Almond: A teaspoon of vanilla extract or a quarter teaspoon of almond extract added to the fruit filling can deepen the overall flavor profile, adding another layer of aromatic complexity to your crisp.
This recipe has been thoroughly tested with the original ingredients. If you choose to replace or add any ingredients, we encourage you to experiment and would love to hear how it turned out in the comments section below! Your feedback helps other home bakers too.
Easy Step-by-Step Instructions for Your Homemade Blueberry Peach Crisp
Making this delightful blueberry peach crisp is straightforward and rewarding. Follow these simple steps for a perfect dessert every time!
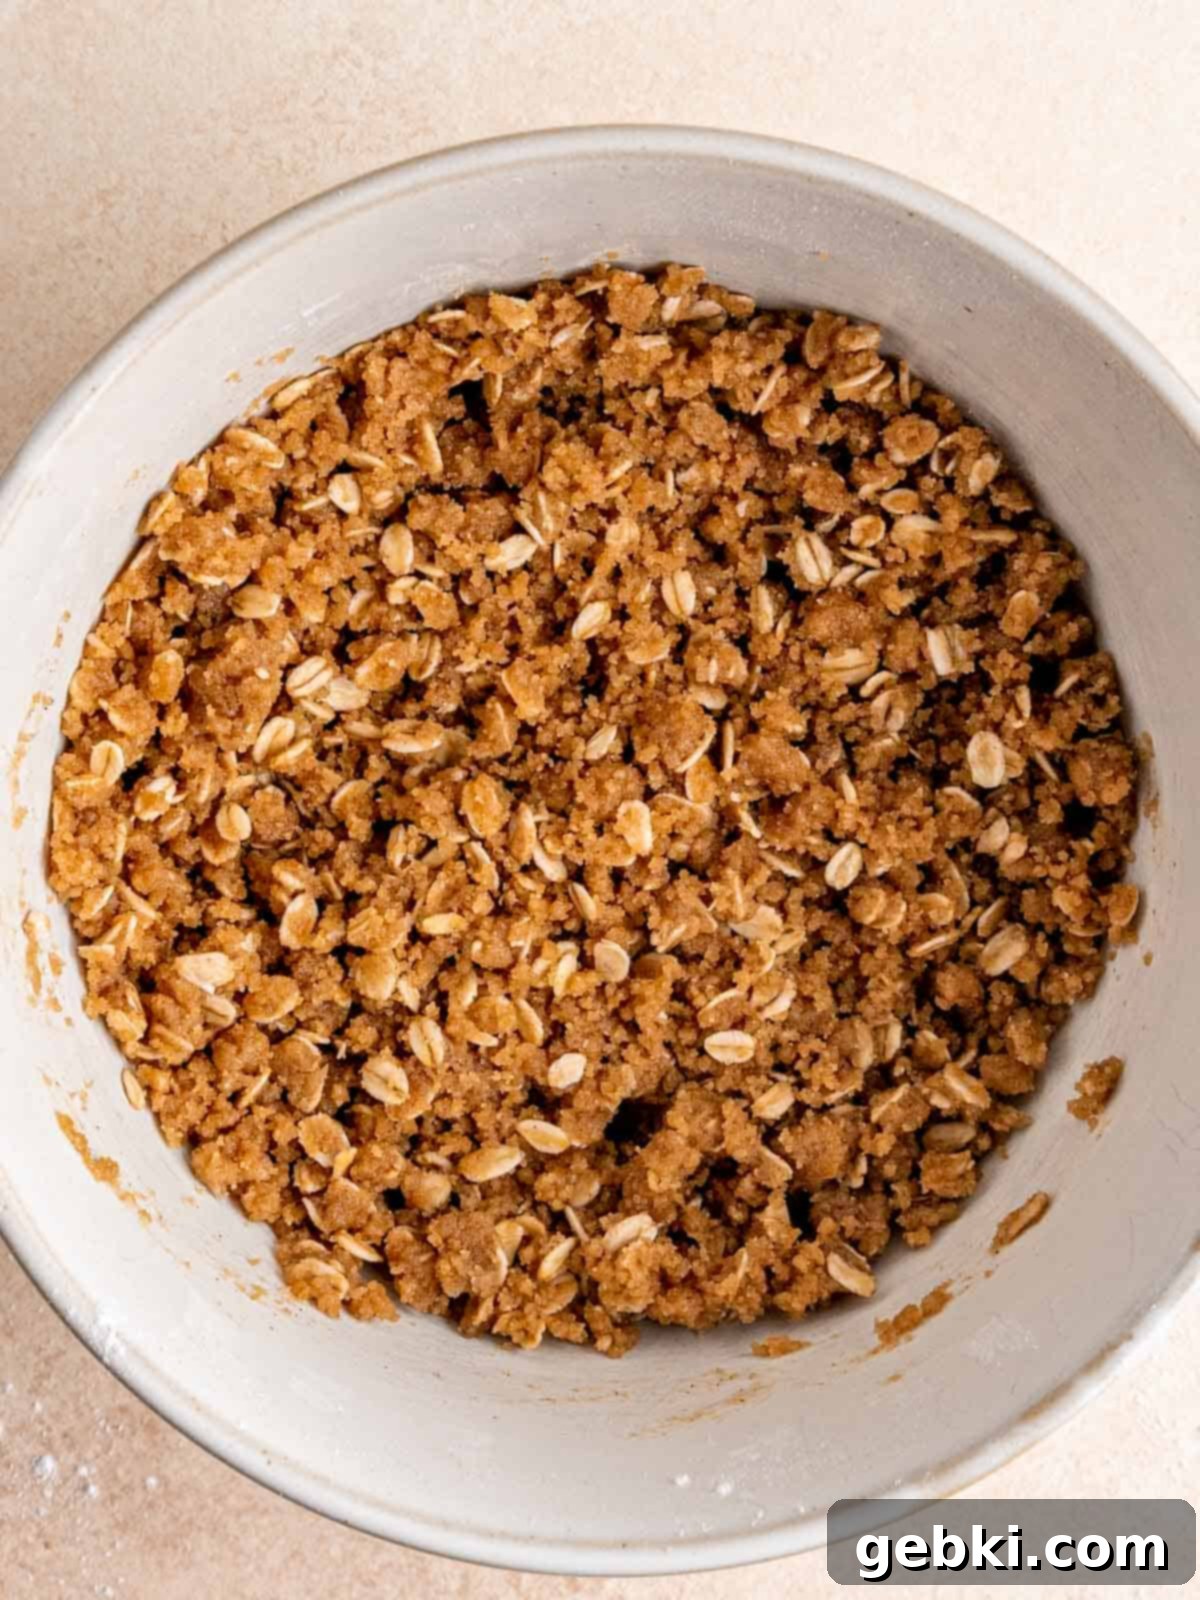
Step 1: Prepare the Crisp Topping. In a medium-sized mixing bowl, combine the all-purpose flour, brown sugar (light or dark, packed), old-fashioned oats, ground cinnamon, and a pinch of salt. Stir these dry ingredients together until they are well combined. Then, pour in the melted unsalted butter and mix thoroughly with a fork or your fingertips until the mixture comes together and resembles coarse, wet sand. This creates the perfect crumbly texture for your topping.
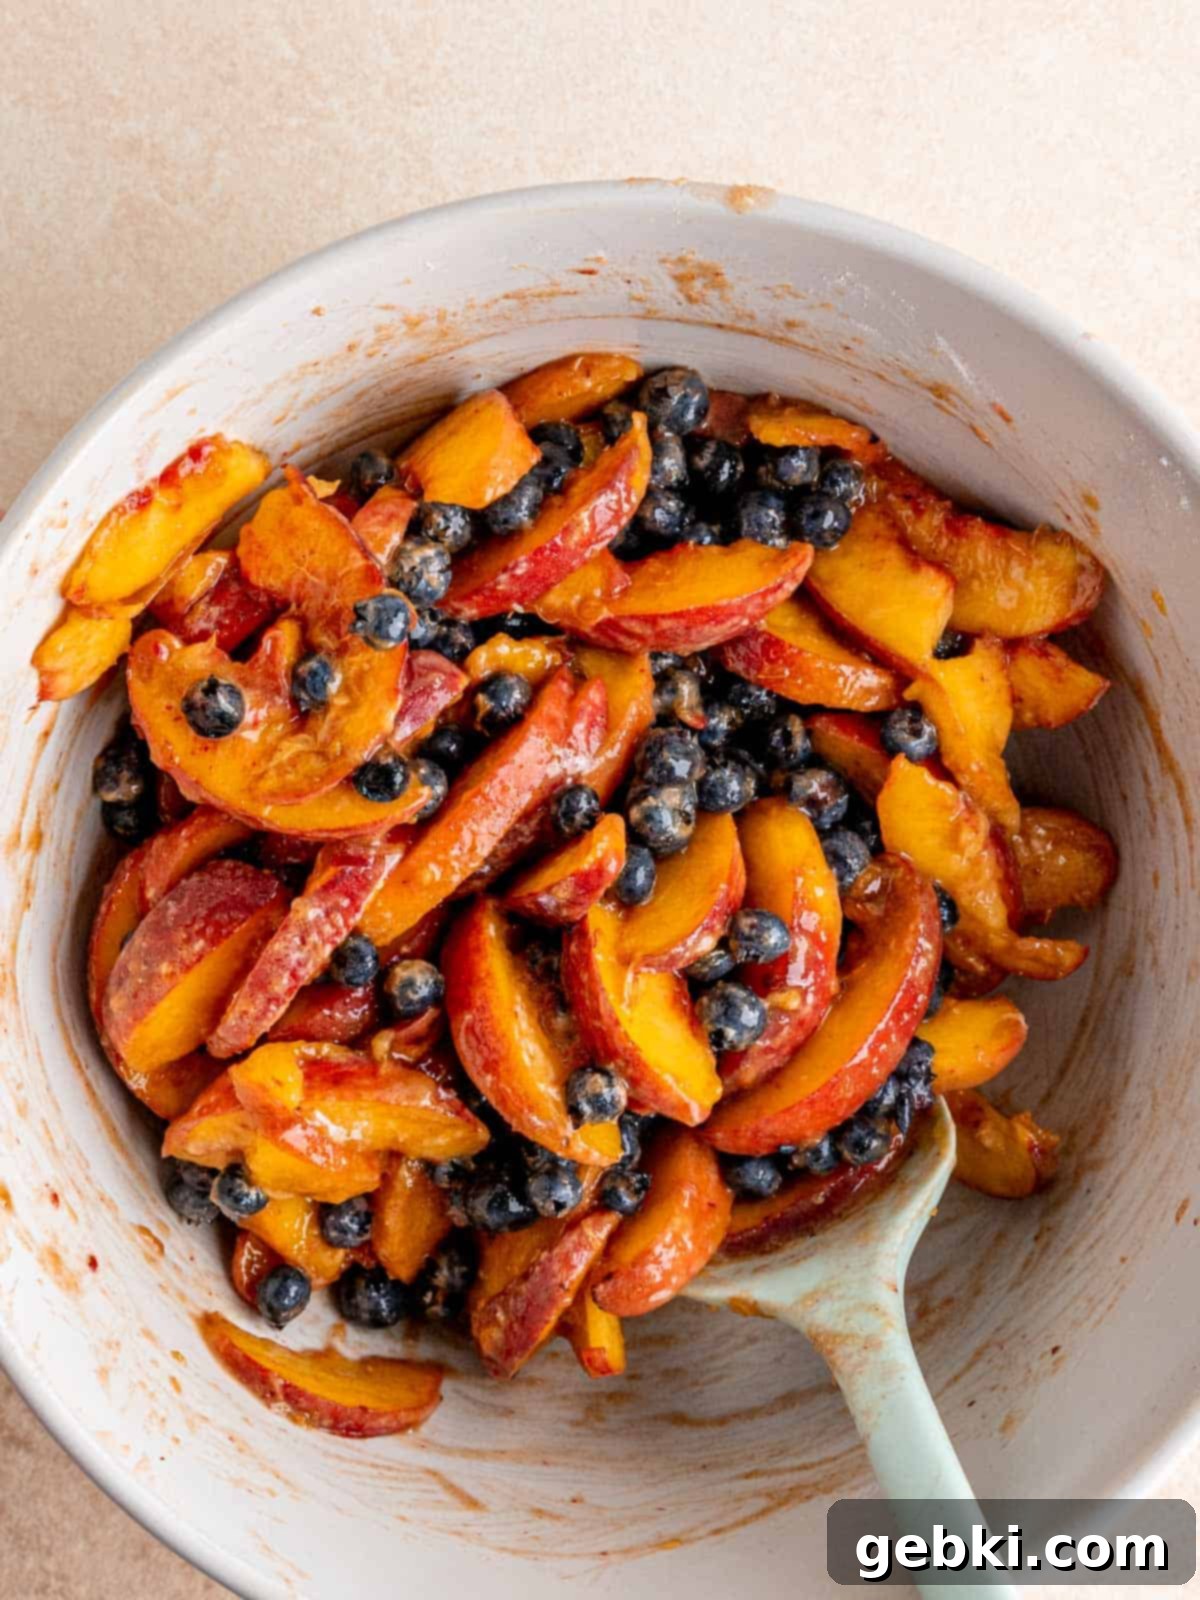
Step 2: Create the Blueberry Peach Filling. In a separate, large bowl, gently combine the sliced peaches, fresh (or frozen, unthawed) blueberries, all-purpose flour, brown sugar, and a tablespoon of fresh lemon juice. Mix with a spatula until the fruit is evenly coated. Be careful not to mash the fruit; a gentle hand ensures the peaches maintain their shape and the blueberries don’t burst prematurely.
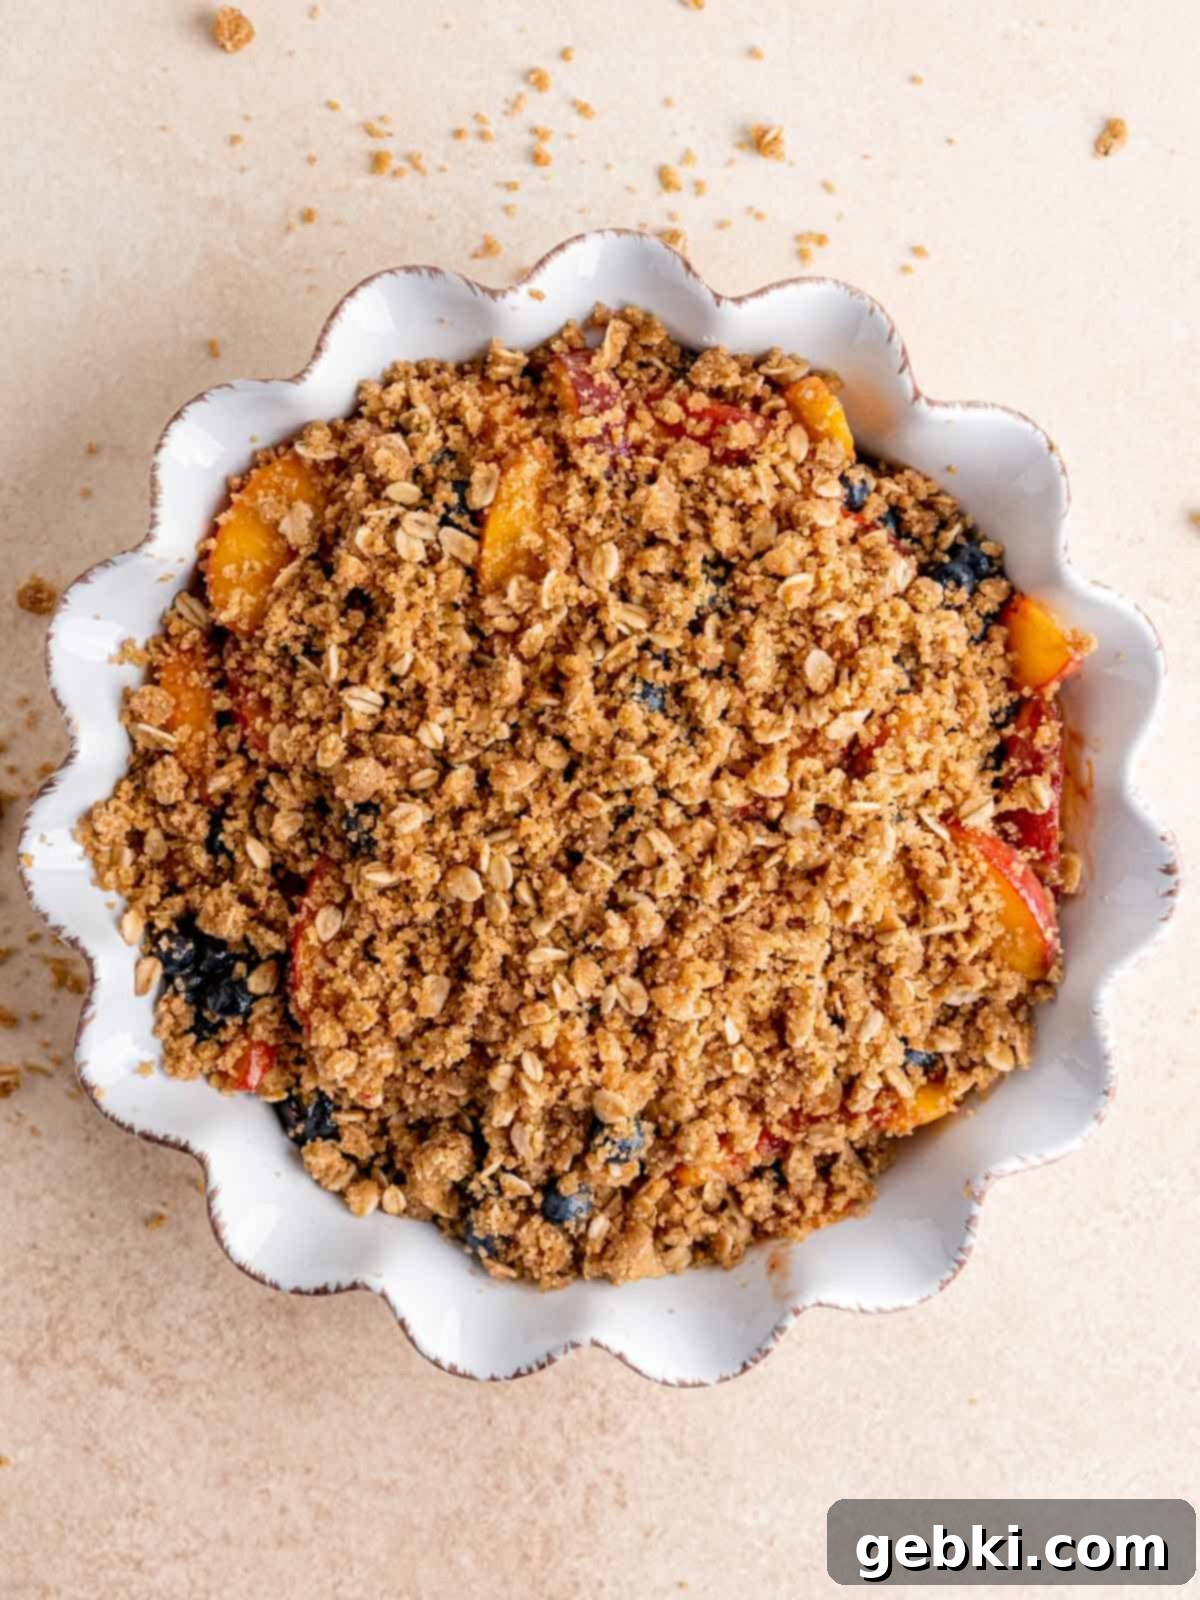
Step 3: Assemble Your Crisp. Pour the vibrant fruit filling evenly into a lightly buttered, oven-safe baking dish (a 7-9 inch round or 8-inch square dish works perfectly). Once the fruit is spread, evenly sprinkle the oat crisp mixture over the entire surface of the fruit. Ensure good coverage for that perfect golden topping.
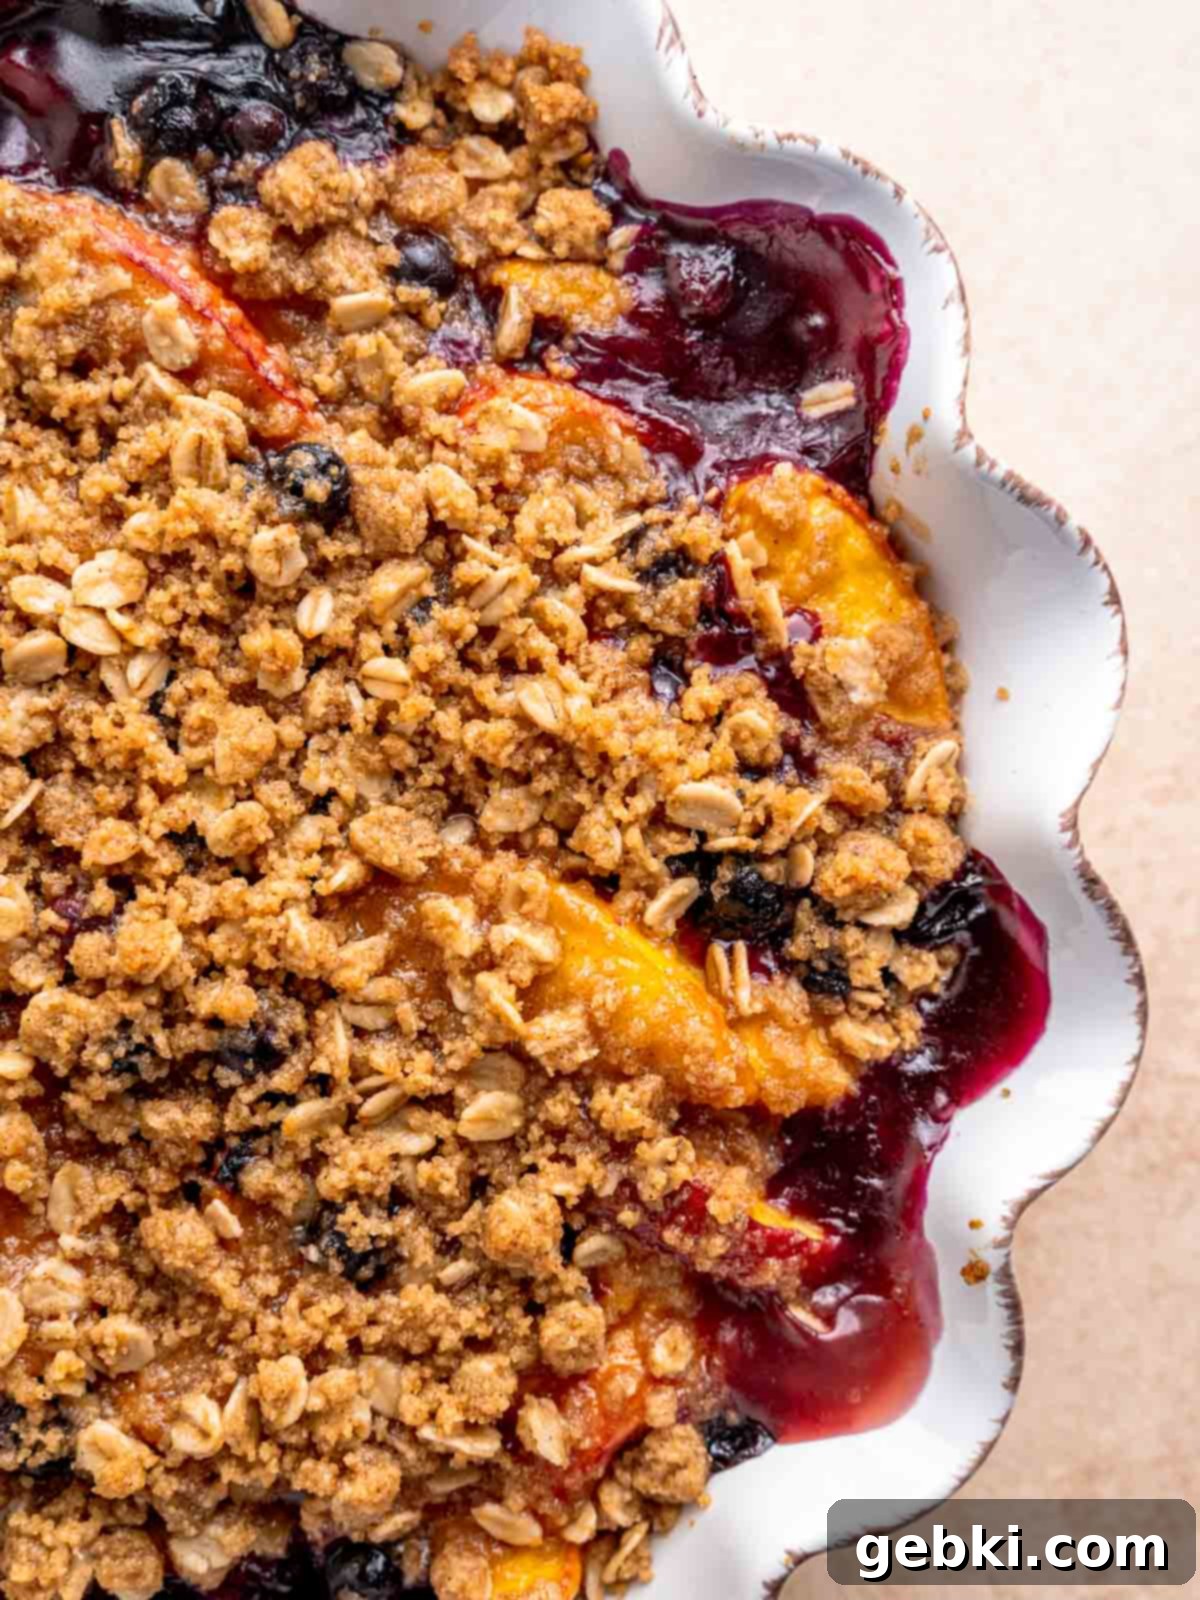
Step 4: Bake to Golden Perfection. Place the assembled crisp into your preheated oven at 350°F (175°C). Bake for approximately 40-45 minutes, or until the crisp topping is beautifully golden brown and the fruit filling is visibly bubbling around the edges. This bubbling indicates that the fruit is cooked through and the sugars have caramelized. Once baked, remove from the oven and allow it to cool for at least 10 minutes before serving. This brief cooling period helps the fruit filling set slightly, preventing it from being too runny.
Expert Tips for the Best Blueberry Peach Crisp
Achieving a truly outstanding blueberry peach crisp is simple with a few insider tricks. These expert tips will help ensure your dessert is perfect every time, from prep to serving:
- Always Preheat Your Oven: This delicious dessert comes together remarkably quickly, so it’s crucial to preheat your oven to the specified temperature (350°F or 175°C) before you even begin assembling the ingredients. A properly preheated oven ensures even baking from the moment your crisp goes in, leading to a perfectly golden topping and a consistently cooked fruit filling.
- Adjust for Peach Ripeness: If your fresh summer peaches are a bit underripe and firm, slicing them thinner than usual (about ¼-inch thick) will allow them to cook through more thoroughly. This helps them become wonderfully soft and sweet, despite their initial firmness. Conversely, very ripe peaches can be sliced slightly thicker.
- Prevent Sticky Cleanup with a Baking Sheet: Depending on the size of your baking dish and the juiciness of your fruit, your blueberry peach crumble may bubble over during baking. To prevent a difficult cleanup in your oven, always place the dish on a parchment paper or foil-lined, rimmed baking sheet before putting it into the oven. This simple step catches any drips, making cleanup a breeze.
- Ensure Dry Fruit for Optimal Texture: After washing your peaches and blueberries, make sure to dry them thoroughly before mixing them into the filling. Excess moisture can make the fruit filling too watery and prevent the flour from properly thickening it. A quick pat dry with paper towels is all it takes to avoid a soggy crisp.
- Don’t Rush the Cooling Process: While it’s tempting to dig into this warm dessert immediately, allowing it to cool for at least 10-15 minutes after baking is important. This short resting period allows the fruit juices to thicken and set, preventing a runny crisp and ensuring each scoop holds its shape beautifully.
- Check for Doneness: Beyond just a golden-brown topping, you want to ensure the fruit is tender. You can gently insert a knife or skewer into the fruit filling (avoiding the topping) to check for tenderness. If it slides in easily, your fruit is perfectly cooked.
Blueberry Peach Crisp Recipe FAQs
Here are answers to some of the most common questions about making and enjoying this delicious blueberry peach crisp:
Absolutely! This fruit crisp is quite convenient for meal prepping or entertaining. You have a couple of options:
- Refrigerate: You can prepare the fruit mixture and place it in your buttered baking dish, then cover and refrigerate for up to 1 day in advance. Prepare the crisp topping just before baking, and add it to the fruit directly from the refrigerator.
- Freeze (Unbaked): For longer storage, you can prep the entire crisp (fruit filling and topping layered in the dish) and freeze it immediately, tightly covered, for up to 1 month. When ready to bake, thaw it in the refrigerator overnight before baking as directed.
No, you do not need to thaw frozen fruit before baking this crisp! In fact, it’s generally better to use frozen fruit straight from the freezer. Thawing can release excess moisture, which might make your crisp filling too watery. Expect the baking time to be slightly longer (perhaps an extra 10-15 minutes) when using frozen fruit, as the oven will need to heat the fruit first.
Yes, absolutely! Individual portions are a fantastic idea for serving at parties or for portion control. Feel free to divide the fruit filling and crisp topping into small oven-safe ramekins or individual cast-iron skillets. Be sure to adjust the bake time accordingly; smaller portions will cook faster, likely needing only 20-30 minutes. Keep an eye on them for a golden topping and bubbling fruit.
Yes, you can easily adapt this recipe to be gluten-free. For the crisp topping, simply substitute the all-purpose flour with a 1:1 gluten-free baking flour blend (ensure it contains xanthan gum). For the fruit filling, you can use the same gluten-free flour blend, or for a naturally gluten-free option, use cornstarch instead of flour as a thickening agent (use about 1.5-2 tablespoons of cornstarch for the fruit filling). Ensure your oats are certified gluten-free, as some oats can be cross-contaminated during processing.
You’ll know your blueberry peach crisp is perfectly baked when the topping is a beautiful golden brown and the fruit filling underneath is visibly bubbling vigorously around the edges of the dish. The bubbling indicates that the fruit juices have thickened and are wonderfully hot and caramelized. If the topping is browning too quickly, you can loosely tent the dish with aluminum foil during the last 10-15 minutes of baking.
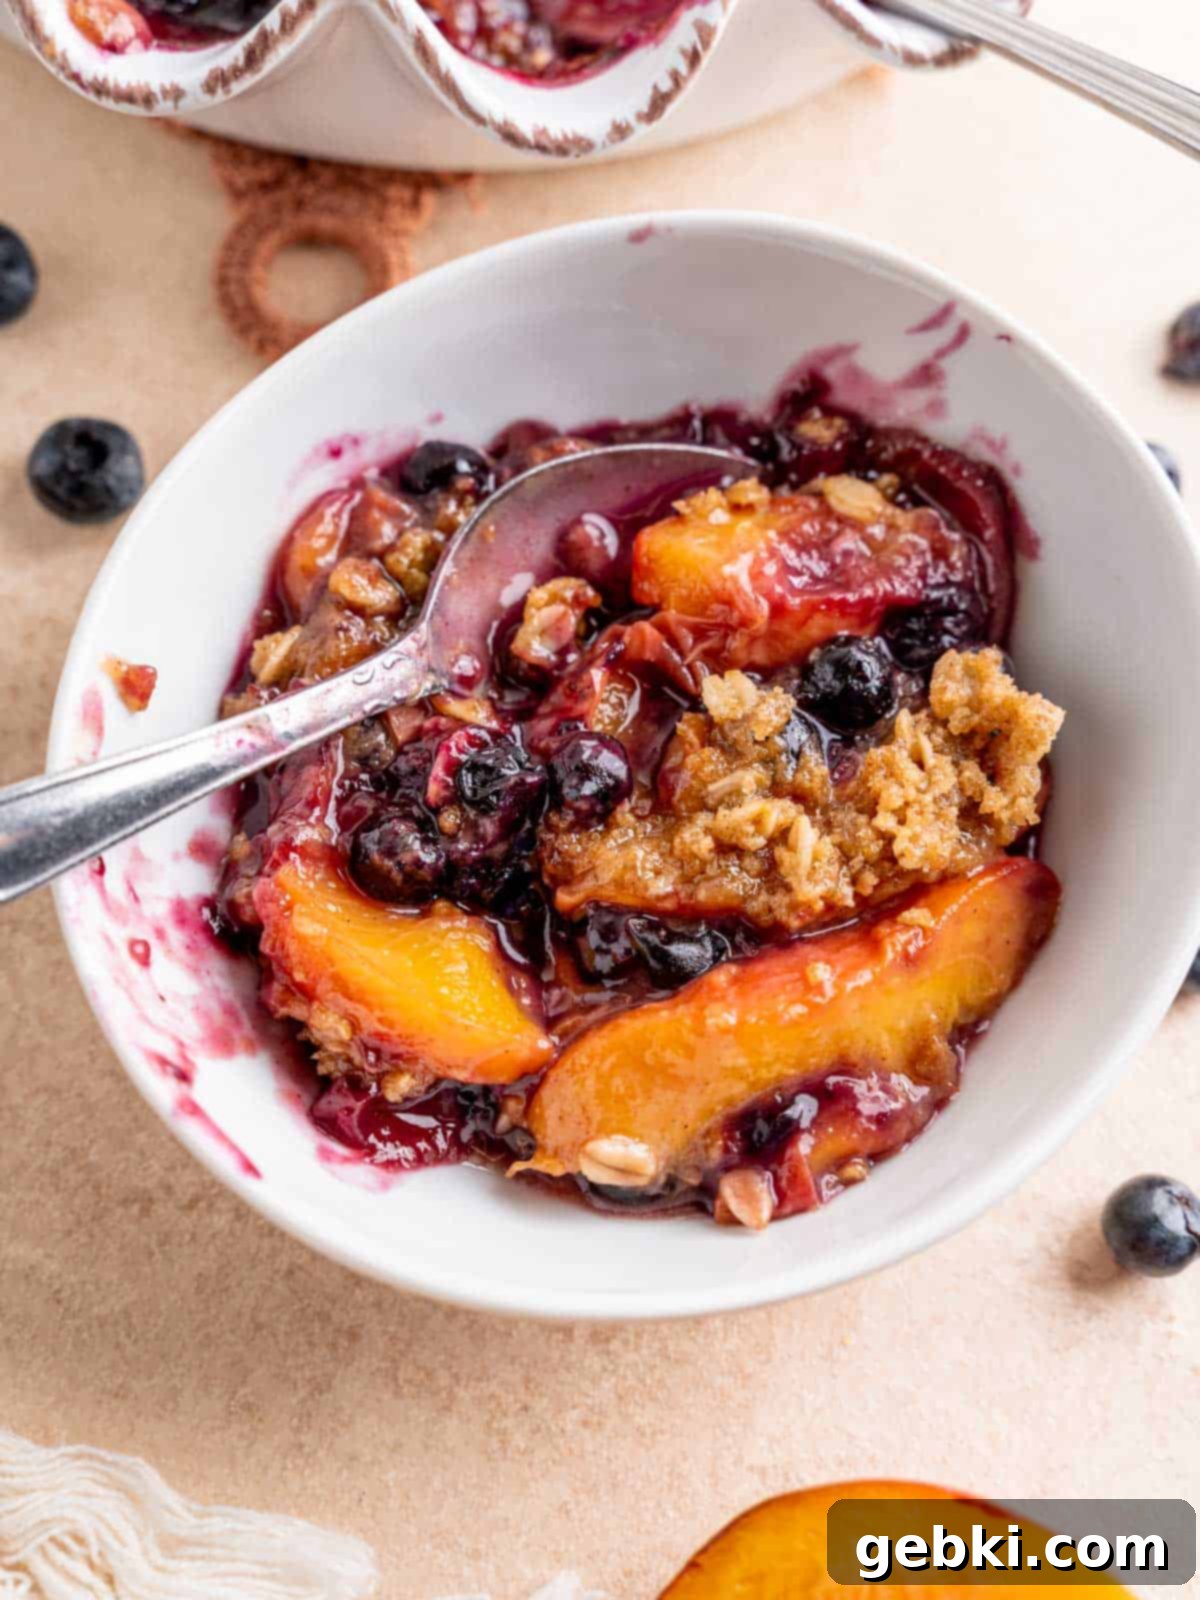
Storage & Reheating Instructions for Your Blueberry Peach Crisp
Enjoying your homemade blueberry peach crisp doesn’t have to end after the first serving! Proper storage and reheating can keep this delightful dessert fresh and tasty for days.
Refrigerator Storage
Once baked, allow your blueberry peach crisp to cool completely to room temperature. This is crucial to prevent condensation, which can make the topping soggy. Once fully cooled, cover the baking dish tightly with plastic wrap or aluminum foil. Alternatively, transfer any leftover crisp to an airtight container. Store in the refrigerator for up to 5 days. It tastes fantastic cold, or gently reheated.
Freezing Instructions
This crisp freezes beautifully, offering a convenient make-ahead option or a way to preserve leftovers for later enjoyment:
- Baked Crisp: Allow the baked crisp to cool completely. Wrap it tightly in several layers of plastic wrap, then an additional layer of aluminum foil, or transfer it to a freezer-safe container. Store in the freezer for up to 2 months. For best results, thaw overnight in the refrigerator before reheating.
- Unbaked Crisp: You can also prepare the crisp up to the point of baking. Assemble the fruit filling and topping in your baking dish, then wrap it securely as described above. Freeze for up to 1 month. When you’re ready to bake, thaw the unbaked crisp in the refrigerator overnight. Then, bake as directed in the recipe, adding an extra 10-15 minutes to the baking time if needed, as it will start from a colder temperature.
Reheating Your Crisp
To reheat, simply place the refrigerated or thawed crisp (uncovered) in an oven preheated to 350°F (175°C) for about 15-25 minutes, or until warmed through and the topping is crisp again. If the topping starts to brown too much, you can lightly tent it with foil. You can also microwave individual servings for a quick reheat, though the topping might lose some of its crispness.
More Delicious Recipes You’ll Love
If you enjoyed this delightful blueberry peach crisp, you’re in for a treat! Here are a few more fruit-filled desserts from our kitchen that we think you’ll adore, perfect for any season or occasion.
-
Easy Strawberry Rhubarb Crisp Recipe
-
Spiced Blueberry Pie
-
Easy Mixed Berry Galette Recipe
-
Blueberry Cream Pie Jars

Did you try this recipe?
We’d absolutely love to hear about your experience! Please let us know what you thought by leaving a comment below. Don’t forget to share your delicious creations on Instagram, Facebook, & Pinterest! Tag us so we can see your amazing work!
Thank you!
-Kayla
📖 Recipe

Fresh Blueberry Peach Crisp Recipe
Kayla Burton
📌 Pin Recipe
🕒
15
40
55
🍽️
Dessert
American
📊
10
servings
206
kcal
Equipment
- 7-9 inch round or 8 inch square dish
- Mixing bowls
- Measuring spoons
- Scale/measuring cups
- Spatula
For the most consistent results, especially with dry ingredients, we highly recommend weighing them in grams (g) using a food scale!
Ingredients
Crisp Topping
- ¾ cup (94 g) all-purpose flour
- ⅓ cup (67 g) brown sugar light or dark, packed
- ½ cup (41 g) old-fashioned oats
- 1 teaspoon ground cinnamon
- ⅛ teaspoon salt
- 5 tablespoons (70 g) unsalted butter melted
Blueberry Peach Filling
- 4½ cups sliced peaches about 5 medium peaches
- 1½ cups blueberries
- 3 tablespoons (23 g) all-purpose flour
- ⅓ cup (67 g) brown sugar light or dark, packed
- 1 tablespoon lemon juice
Instructions
-
Preheat your oven to 350°F (175°C) and lightly butter your chosen baking dish to prevent sticking.
Crisp Topping
-
In a medium bowl, combine the flour, brown sugar, old-fashioned oats, ground cinnamon, and salt. Add the melted butter and mix thoroughly with a fork or your fingers until the mixture is crumbly and resembles coarse, wet sand.
Blueberry Peach Filling
-
In a separate large bowl, gently mix together the sliced peaches, blueberries, all-purpose flour, brown sugar, and fresh lemon juice. Ensure the fruit is evenly coated without crushing the berries.
Assemble and Bake
-
Pour the fruit filling into your prepared baking dish, spreading it evenly. Then, generously sprinkle the crisp topping over the entire surface of the fruit. Bake for approximately 40-45 minutes, or until the crisp topping is golden brown and the fruit filling is bubbling vigorously around the edges. Let it cool for at least 10 minutes before serving for the best texture.
Tip: If using a smaller baking dish, place it on a larger, rimmed baking sheet (lined with parchment paper) in case the fruit filling bubbles over during baking.
Notes
Honey Substitution: For a slightly different sweetness, the ⅓ cup of brown sugar in the fruit filling (but not the streusel topping) can be substituted with 3 tablespoons of honey.
Individual Crisps: To make charming individual desserts, divide the fruit mixture and topping into small oven-safe ramekins or skillets. Adjust the baking time as needed, typically 20-30 minutes.
Make Ahead: This crisp can be prepared in advance. The fruit filling can be mixed and refrigerated overnight. Prepare and add the crisp topping just before baking. Alternatively, assemble the entire crisp and freeze it unbaked for up to 1 month. Thaw in the refrigerator before baking.
Storage: Store any leftover baked and cooled crisp in an airtight container in the refrigerator for up to 5 days. For longer storage, it can be frozen for up to 2 months. Reheat gently in the oven for best results.
Nutrition: The provided nutritional information is an estimate per serving and should be used as a guide. Accuracy is not guaranteed.
Calories:
206kcal
Carbohydrates:
36g
Protein:
3g
Fat:
6g
Saturated Fat:
4g
Polyunsaturated Fat:
0.4g
Monounsaturated Fat:
2g
Trans Fat:
0.2g
Cholesterol:
15mg
Sodium:
44mg
Potassium:
152mg
Fiber:
2g
Sugar:
22g
Vitamin A:
413IU
Vitamin C:
5mg
Calcium:
24mg
Iron:
1mg
The provided nutritional information is an estimate per serving. Accuracy is not guaranteed.
Leave a comment below & tag @brokenovenbaking on social!
