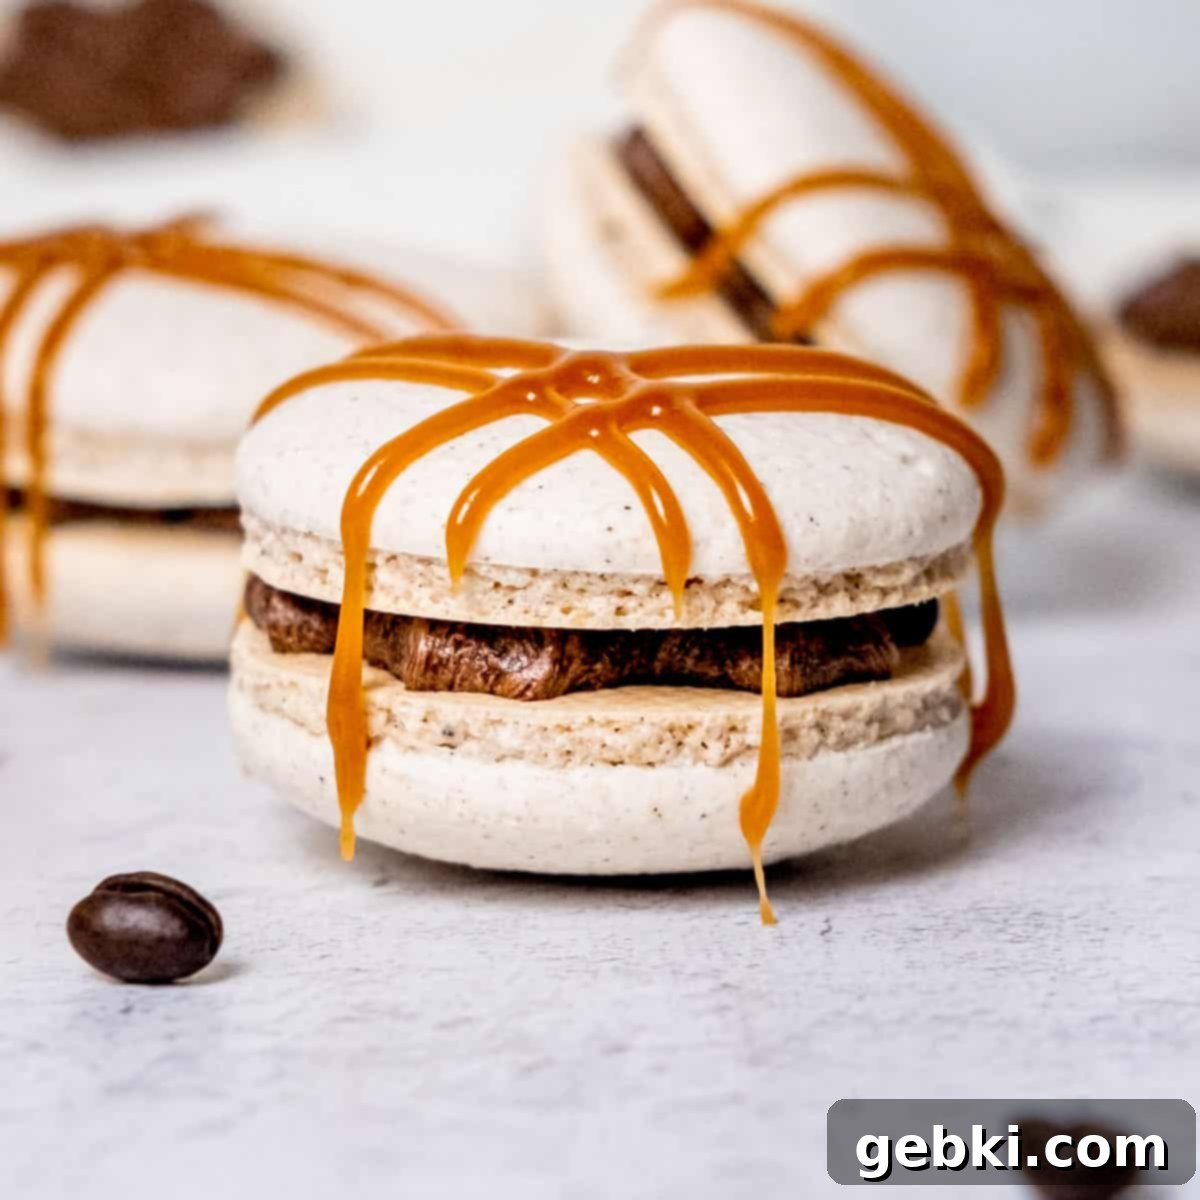
The Ultimate Dirty Chai Macarons Recipe: Spiced Shells & Espresso Buttercream
There’s something incredibly comforting about the rich, warm spices of chai, especially when paired with the bold kick of espresso. This magical combination, affectionately known as a “dirty chai latte,” has become a quintessential fall indulgence for many, myself included. My passion for incorporating spices into baked goods truly ignited with my chai sugar cookies, and ever since, I’ve been on a mission to infuse that distinctive chai flavor into everything! This led me to a delicious revelation: Dirty Chai Macarons.
Imagine the delicate, perfectly crisp shells infused with an aromatic chai spice blend, hugging a luscious, creamy espresso buttercream filling. It’s the beloved dirty chai latte, reimagined as an elegant and irresistible French confection. These macarons capture the very essence of autumn in every bite, offering a delightful balance of sweet, spicy, and robust coffee notes that will transport you to your coziest fall moments.
Update: Crafting macarons can be a delicate art, and achieving that signature “foot” and smooth shell requires precision. While I initially developed this recipe using the French method, I’ve since refined it to utilize the Swiss method. After extensive testing and significantly more consistent success, I’ve found the Swiss meringue method provides a more stable and forgiving base, making it an excellent choice for bakers looking for reliable results and beautifully formed macarons every time. This update ensures that you, too, can achieve macaron perfection with greater ease.
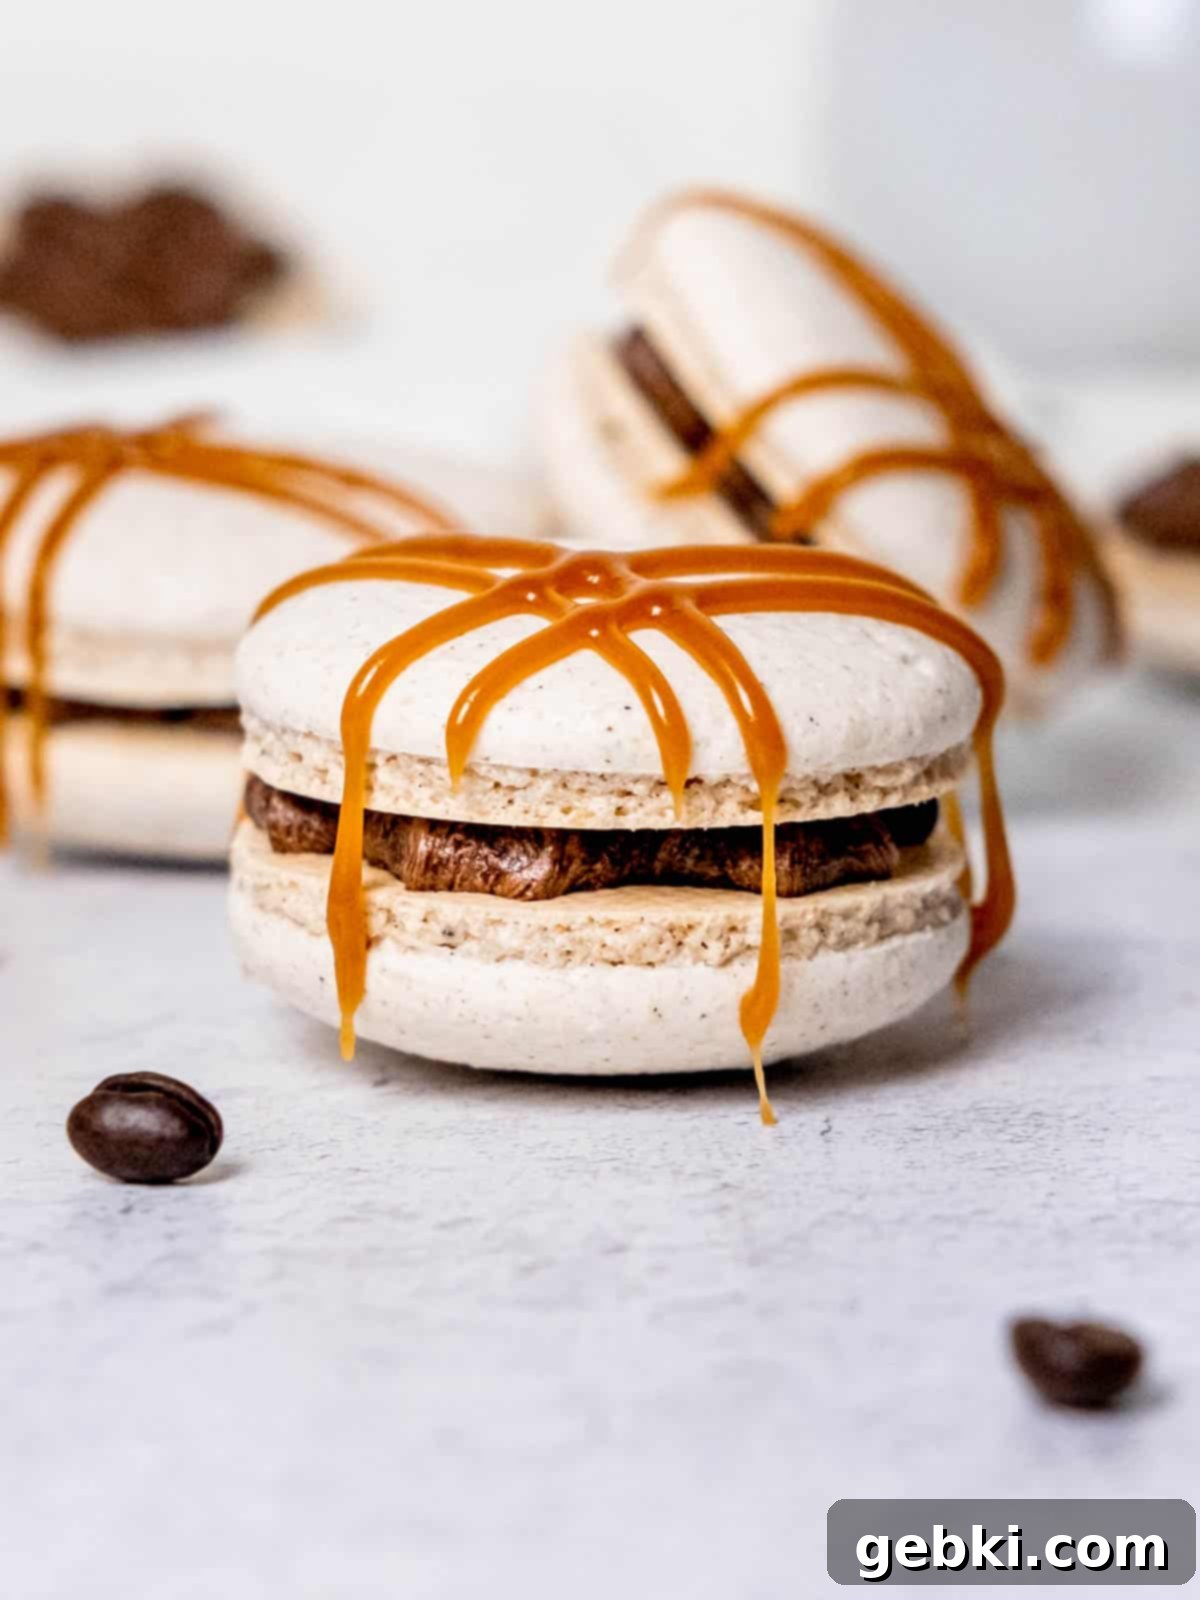
If you’re ready to dive into the delightful world of macaron making and crave the comforting flavors of dirty chai, you’ve come to the right place. This detailed guide will walk you through each step, ensuring you have all the knowledge and tips for creating these exquisite treats.
[feast_advanced_jump_to]
Essential Ingredients & Equipment for Dirty Chai Macarons
Before embarking on your macaron journey, gathering all your ingredients and specialized equipment is crucial. Macaron making thrives on precision, so having everything ready will set you up for success. This recipe calls for common baking staples, but the quality of your almond flour and chai spice can significantly impact the final flavor.
Ingredients:
- Egg whites (at room temperature for optimal whipping)
- Granulated sugar (for the stable Swiss meringue)
- Vanilla extract (enhances flavor)
- Almond flour (the foundation of macaron shells)
- Powdered sugar (sweetens and smooths the shells)
- Chai spice (the star flavor of the shells; see notes for homemade blend)
- Unsalted butter (for the rich espresso buttercream)
- Espresso (or strong coffee, for the buttercream’s coffee kick)
- Milk or heavy cream (adjusts buttercream consistency)
- Brown food coloring (optional, for a deeper chai color)
Equipment:
While some equipment is standard, a few specialized items are key to macaron success.
- Medium pot/double boiler (essential for the Swiss meringue method)
- Sifter (for super fine dry ingredients)
- Food chopper or processor (to refine almond flour and powdered sugar)
- Whisk (for initial mixing over the double boiler)
- Spatula (for delicate macaronage)
- Measuring spoons (for small quantities)
- Kitchen scale (absolutely crucial for precise measurements)
- Stand mixer with whisk attachment (for whipping stiff meringue)
- Piping bags & round tips (for shaping perfect macaron shells)
- Oven thermometer (to ensure accurate baking temperature)
- Silicone macaron mat (for even baking and uniform shapes)
- Baking sheet (to hold the macaron mat)
Explore more cozy fall dessert recipes 🍁
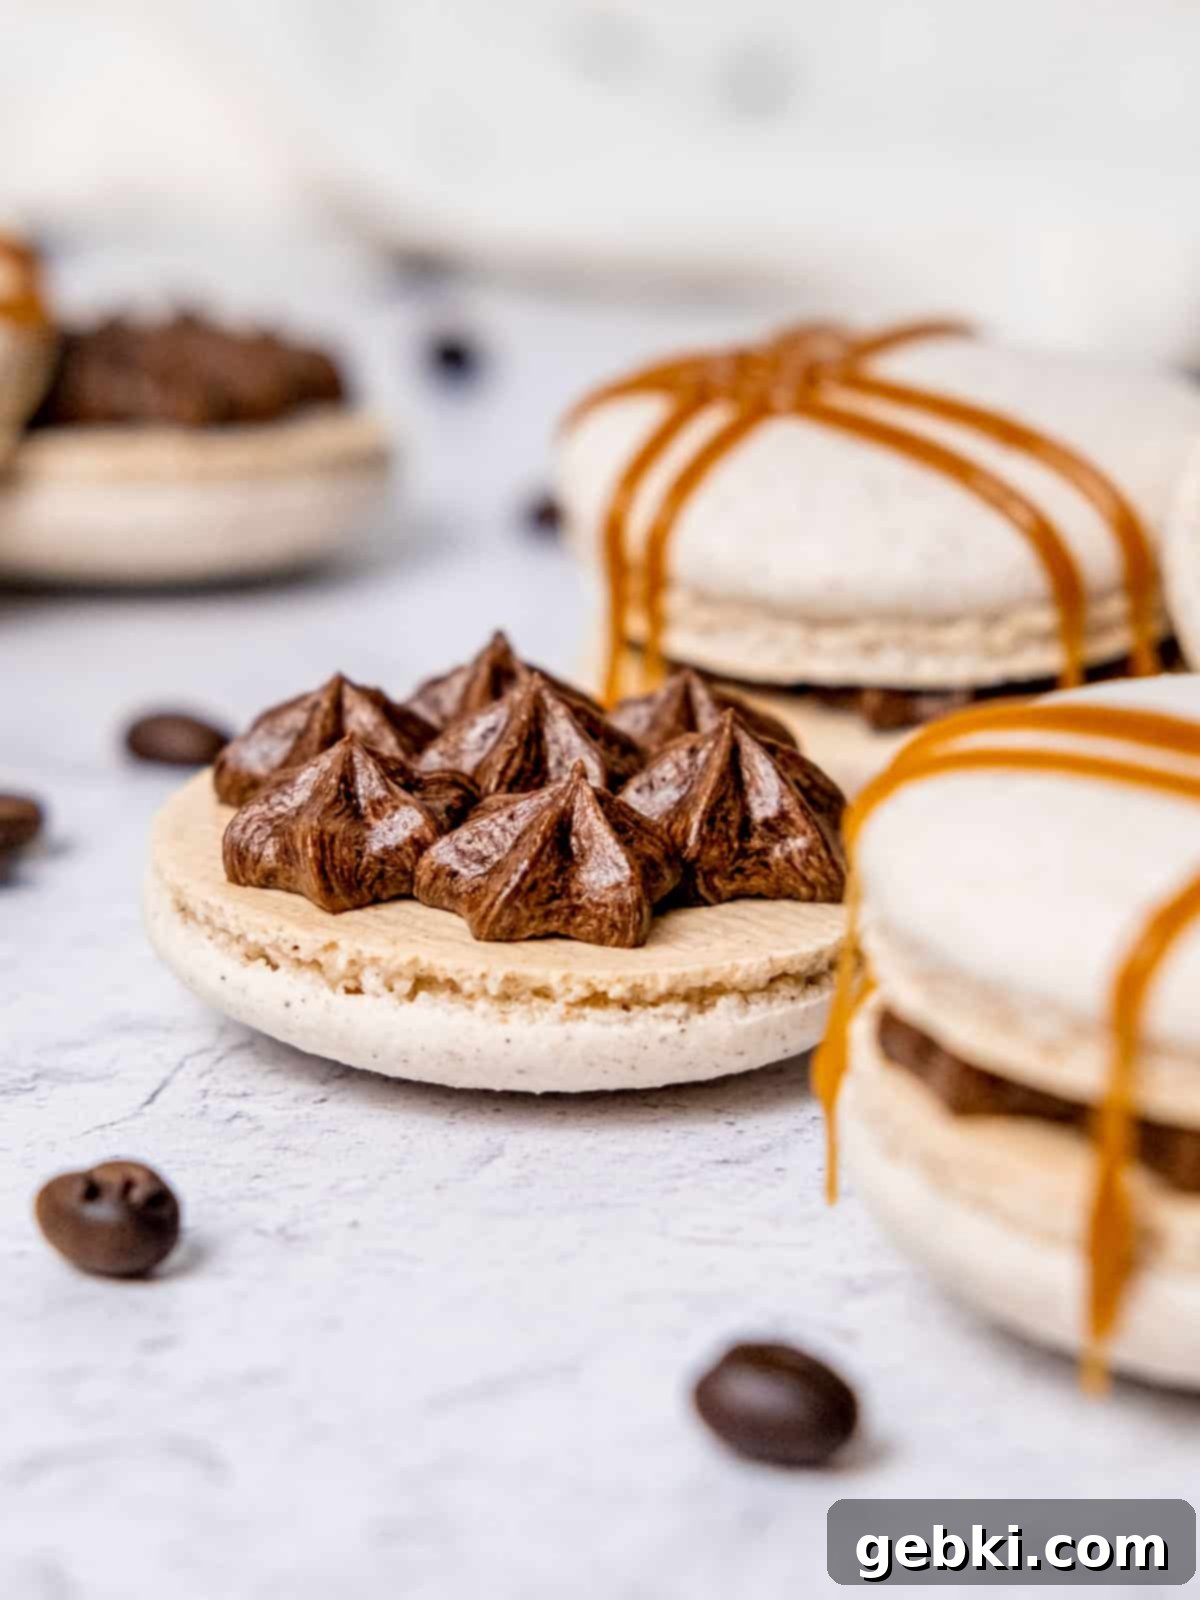
Crafting Your Dirty Chai Macarons: A Detailed Guide
Making macarons might seem intimidating, but by following these detailed steps and paying close attention to consistency, you’ll be well on your way to beautiful, flavorful dirty chai delights. Remember, practice makes perfect!
Step 1 – Prepare and Sift the Dry Ingredients for Smooth Shells
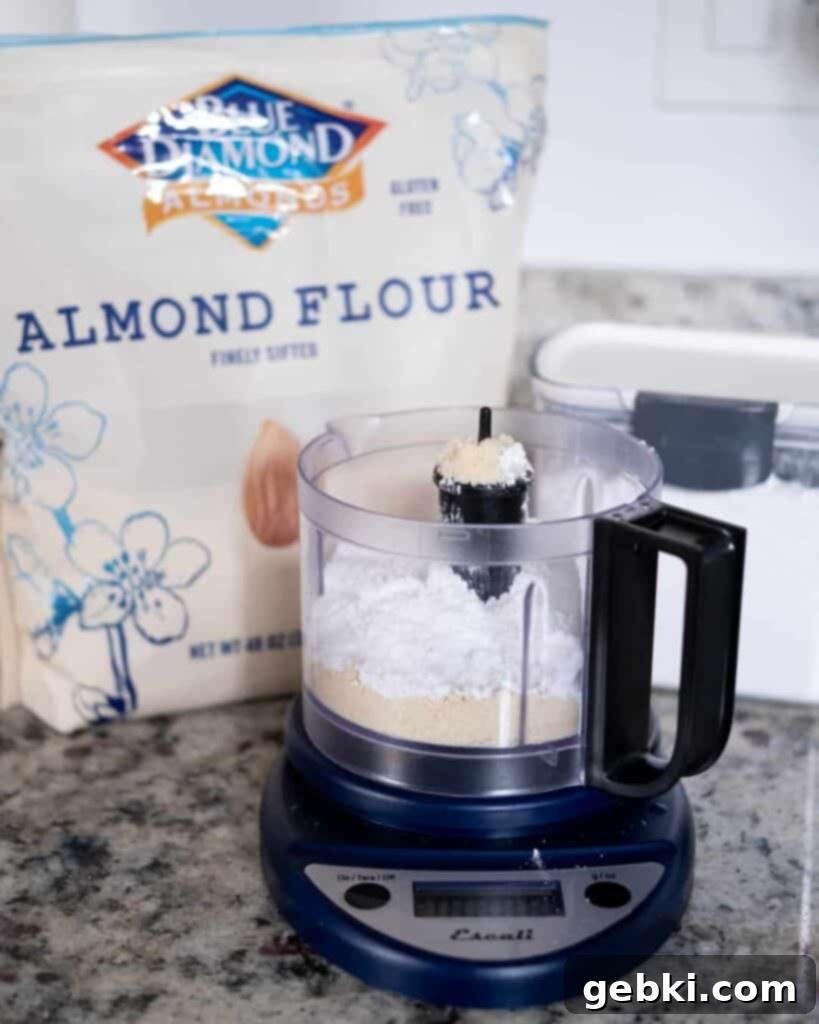
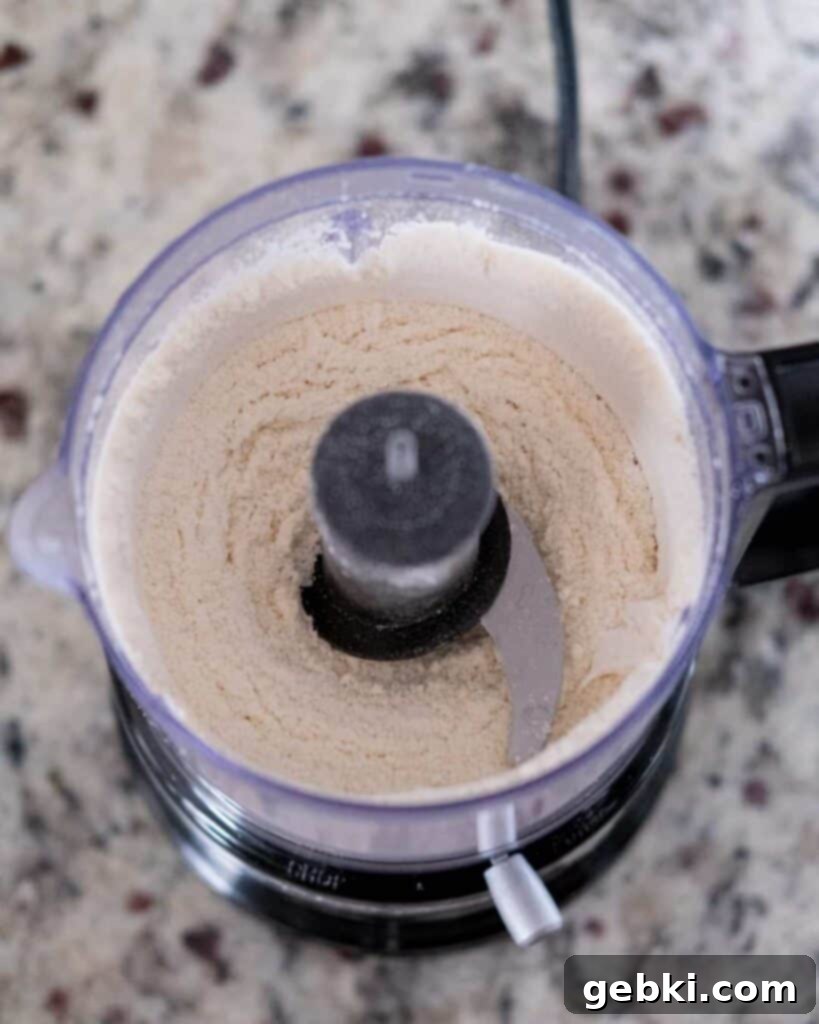
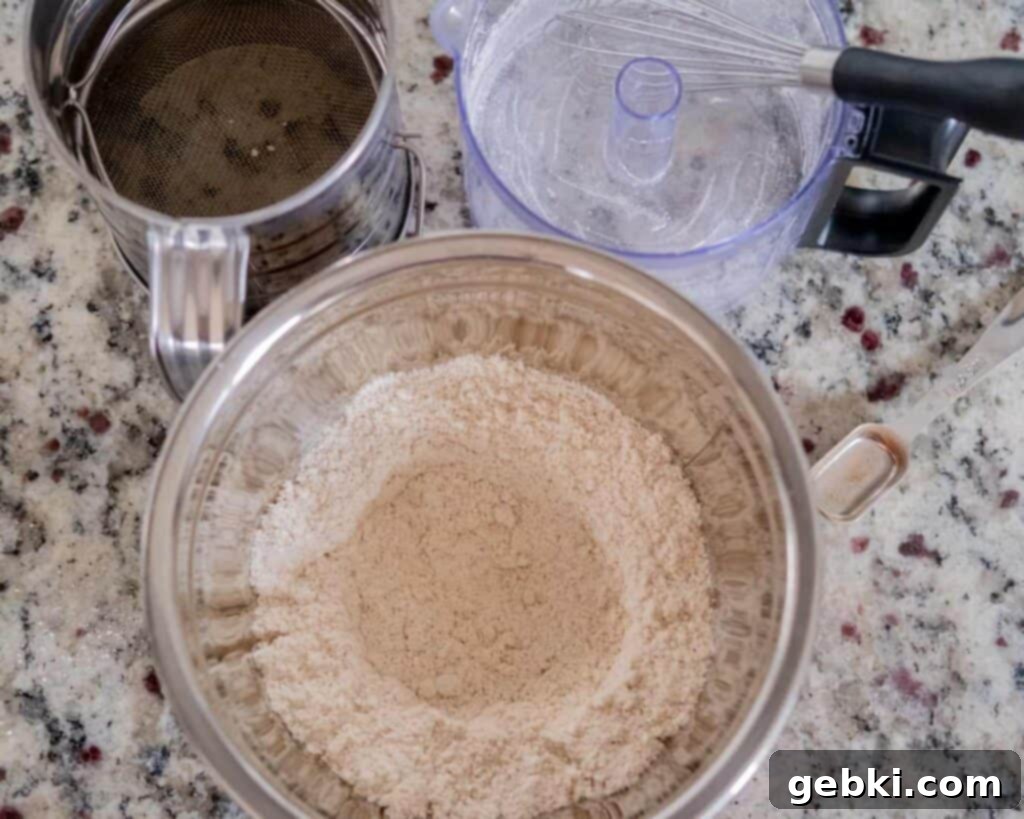
The key to perfectly smooth macaron shells, devoid of bumps and cracks, lies in the meticulous preparation of your dry ingredients. Begin by accurately weighing your almond flour, powdered sugar, and chai spice into a small bowl. Resist the urge to eyeball these measurements; a kitchen scale is truly your best friend here, as macaron success hinges on precise ratios.
First, pass this mixture through a fine-mesh sifter. This initial sifting helps to break up any larger clumps. Don’t be afraid to gently press down on stubborn lumps to help them through the sieve. After the first pass, transfer the sifted mixture to a food chopper or food processor. Pulse it for about 20 seconds, in 5-second bursts, to further refine the ingredients and ensure an ultra-fine consistency. Finally, sift the mixture one more time. This double sifting and chopping process ensures that your macaron batter will be exceptionally smooth, leading to those coveted unblemished shells. Discard any remaining large pieces that refuse to pass through the sieve, as these can disrupt the texture of your macarons.
Step 2 – Master the Swiss Meringue for Superior Stability
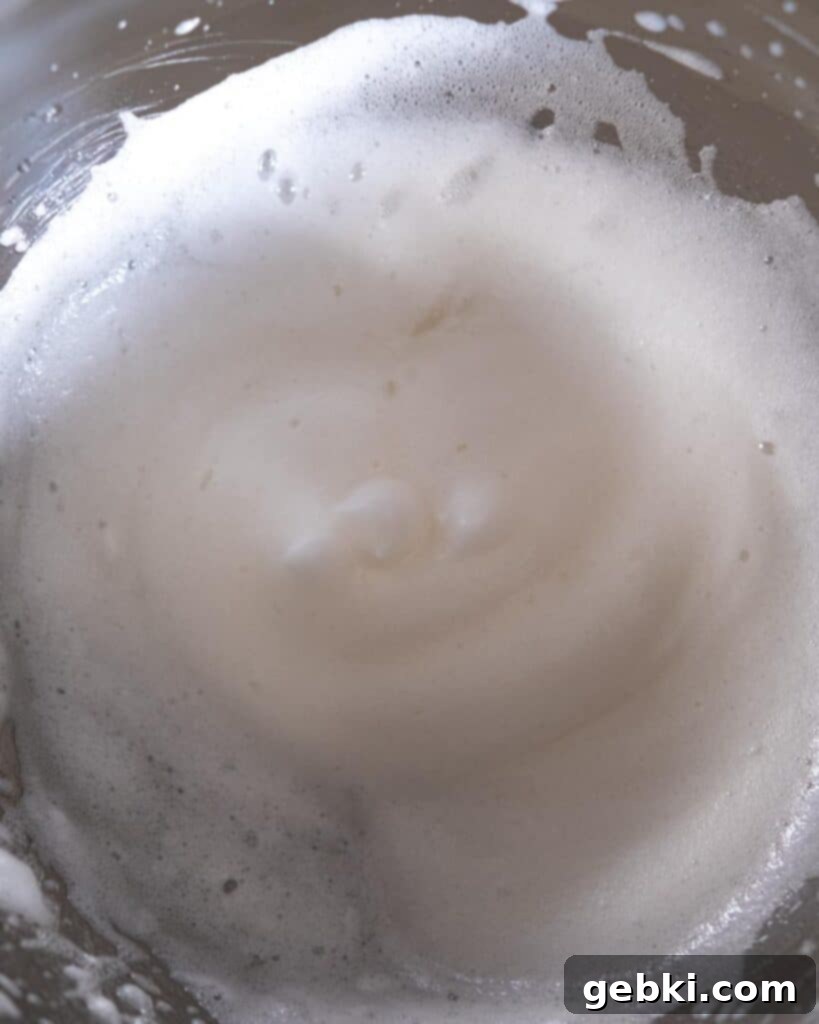
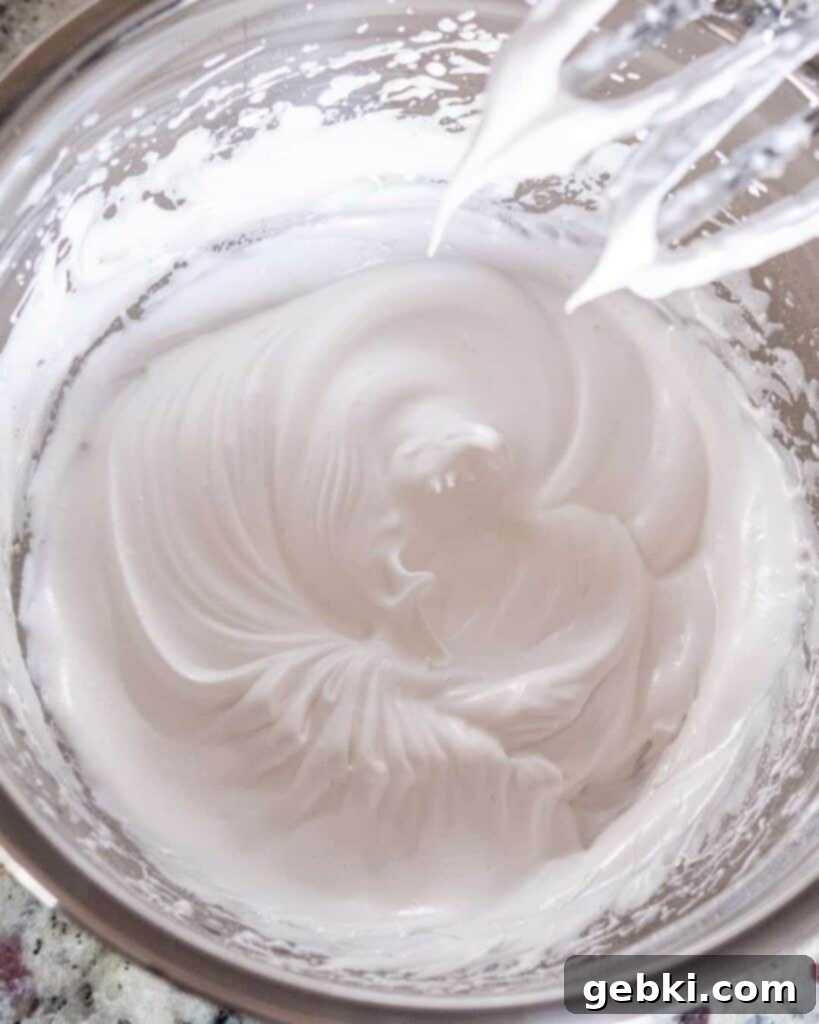
The Swiss meringue method is favored for its remarkable stability, which is essential for creating robust macaron shells. Begin by weighing your egg whites and granulated sugar into the extremely clean bowl of your stand mixer. A pristine bowl is non-negotiable, as any trace of grease can prevent your egg whites from whipping properly. Place this bowl over a medium pot of simmering water, creating a double boiler. Ensure the bottom of the bowl does not touch the water.
Continuously whisk the mixture over medium-low heat. This gentle heat dissolves the sugar into the egg whites, creating a smooth, transparent syrup underneath fine white bubbles, and pasteurizes the egg whites. Use a thermometer to monitor the temperature; once it reaches approximately 100°F (38°C), remove the bowl from the heat and transfer it to your stand mixer, fitted with the whisk attachment.
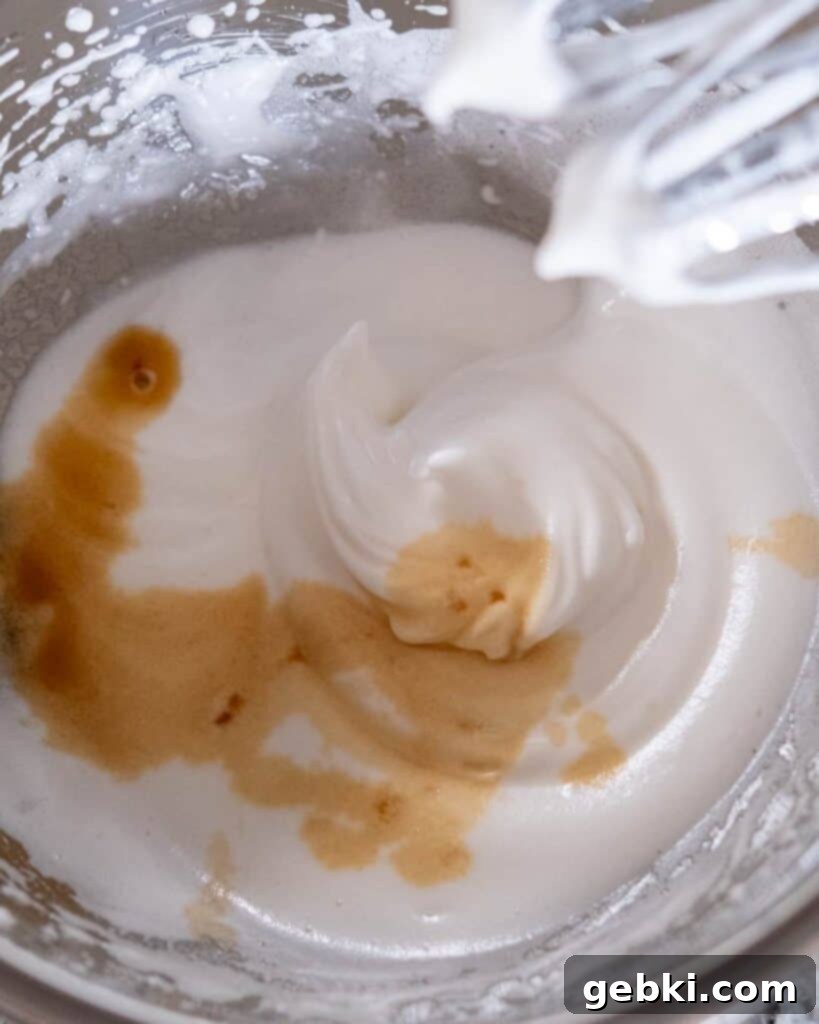
Start whisking at a low speed for about a minute, then gradually increase the speed every 3-5 minutes, moving up 1-2 notches until you reach high speed. As the meringue begins to turn opaque and thicken, add the vanilla extract. Continue to whisk on high speed until the meringue forms medium-stiff, glossy peaks. When you lift the whisk, the meringue should hold its shape, with a slight, elegant curl at the tip. This indicates a stable meringue, ready for the next crucial step.
Step 3 – The Art of Macaronage and Precise Piping
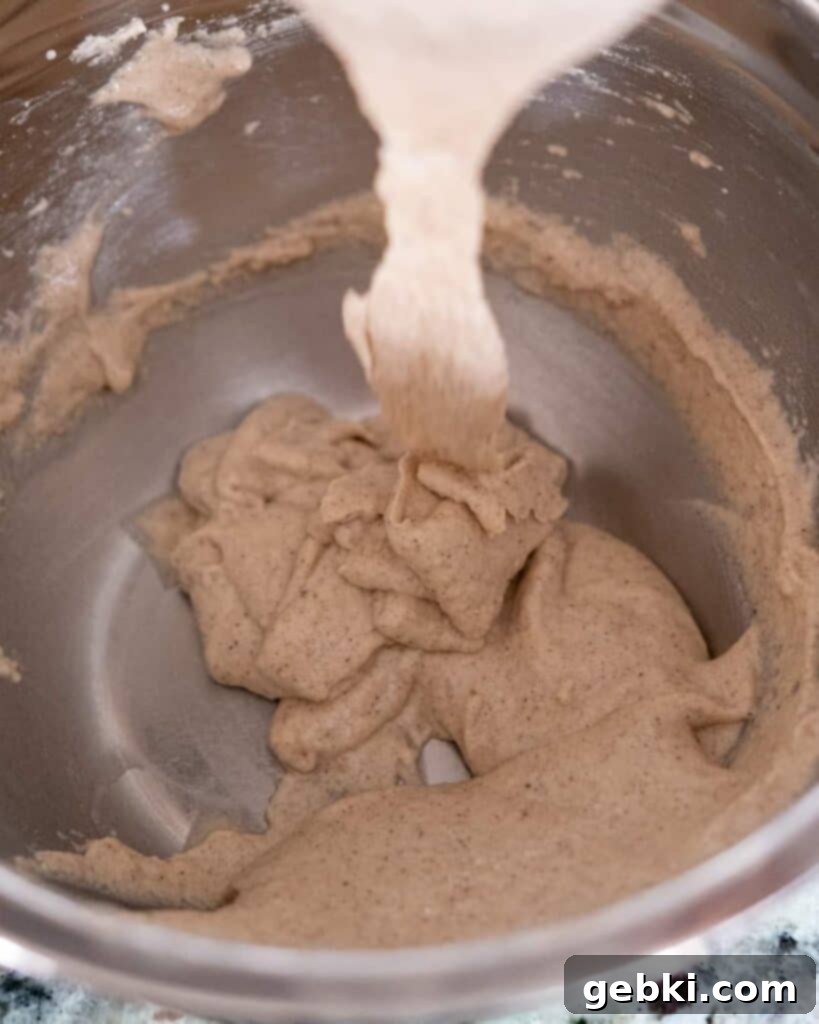
“Macaronage” is the crucial step where the sifted dry ingredients are folded into the meringue. This process is paramount to achieving the perfect consistency for your macaron batter, often described as “lava-like.” Add approximately one-third of the dry mixture into your meringue at a time. Using a wide rubber spatula, gently fold the ingredients together. The motion should involve scraping down the sides of the bowl, pushing the batter from the bottom up, and then pressing it against the side of the bowl to deflate some air. The goal is to create as few new air bubbles as possible while incorporating the dry ingredients.
Continue folding until the batter reaches the famous “figure eight” consistency. To test this, lift your spatula, and allow the batter to fall back into the bowl. It should flow in a continuous, smooth ribbon, forming a figure eight without breaking. If it breaks too quickly, it’s under-mixed; if it flows too rapidly and looks too liquid, it’s over-mixed. This stage is tricky and often requires practice to master.
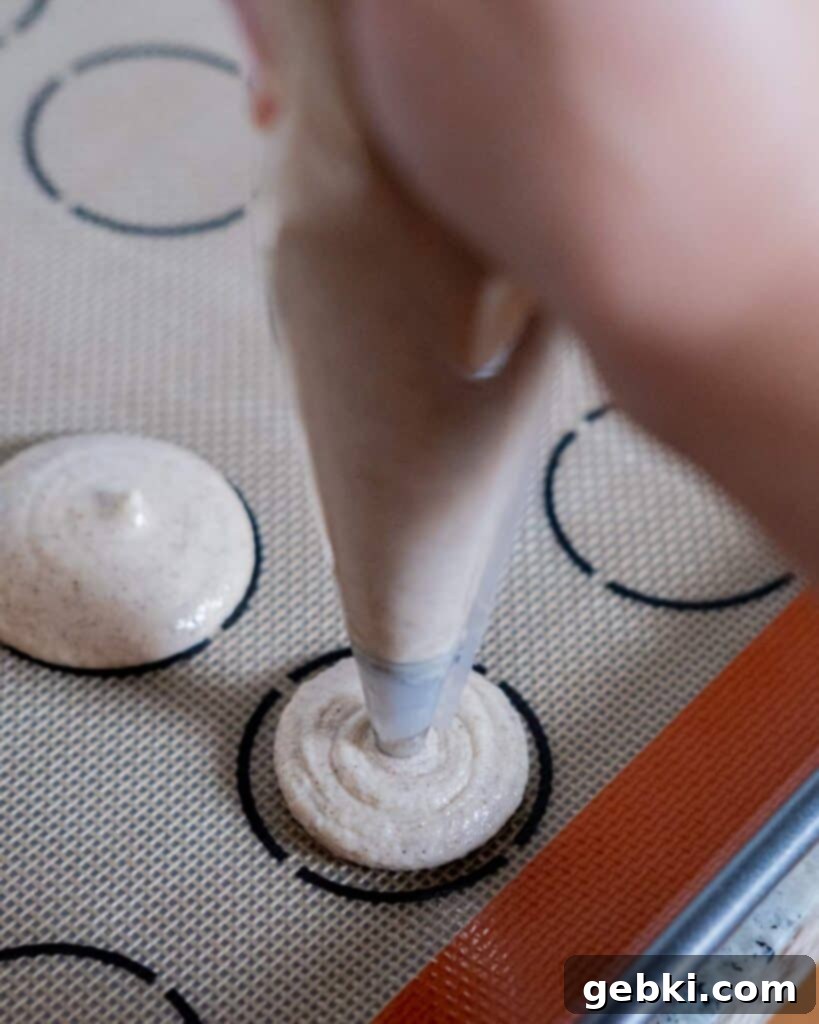
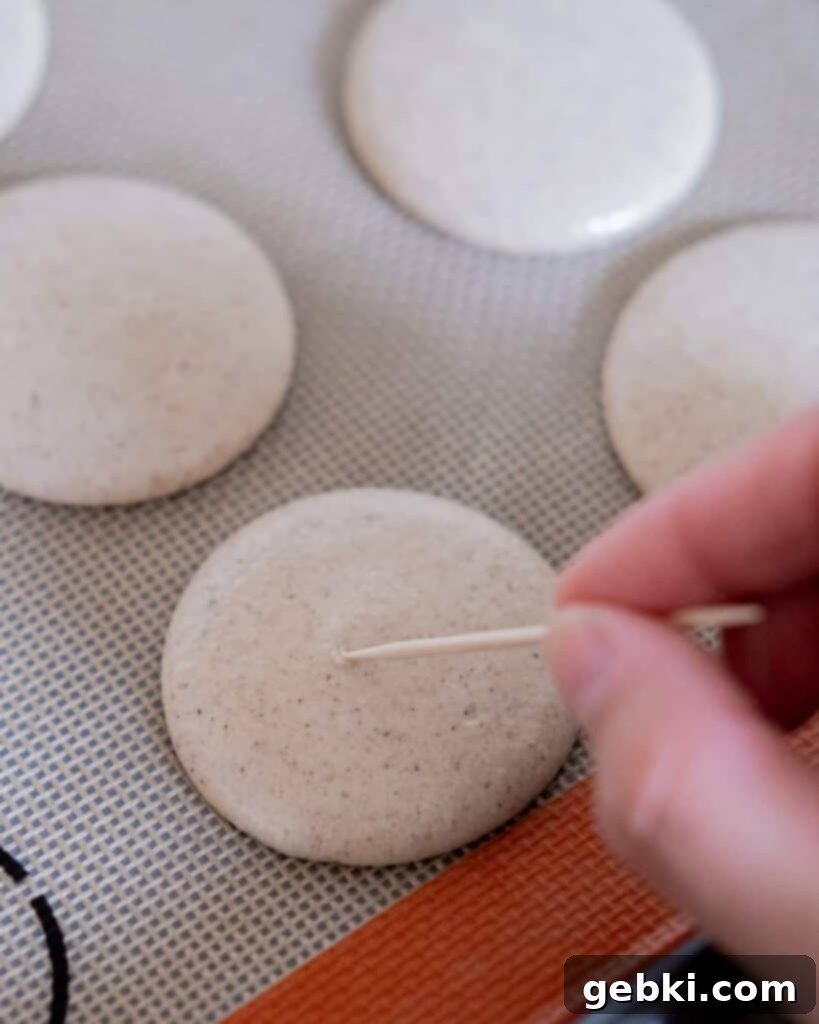
Once the ideal consistency is reached, transfer the batter immediately to a piping bag fitted with a medium-sized round tip. Pipe uniform circles, about 1 ½ inches in diameter, onto a silicone baking mat placed on a sturdy baking sheet. The silicone mat, with its pre-marked circles, is incredibly helpful for maintaining consistent sizes. Once the mat is full, lift the baking sheet about 6 inches off your counter and firmly drop it a few times (I highly recommend earplugs for this!). This action forces trapped air bubbles to rise to the surface. Use a toothpick to gently pop any visible bubbles, smoothing out the surface of each macaron shell for a flawless finish.
Step 4 – Baking Perfection and Creamy Espresso Filling
After piping, the macaron shells need to “rest” at room temperature. This resting period, typically 40-60 minutes, is vital for a skin to form on their surface. The shells are ready to bake when they are dry to the touch, meaning you can gently run your finger across the top without any batter sticking. This “skin” helps the macarons develop their distinctive “feet” – the ruffled edge at the base – by directing the rising heat upwards, creating a hollow, delicate shell.
While your macaron shells are resting, preheat your oven to 315°F (157°C) and prepare the delicious espresso buttercream filling. This filling is wonderfully straightforward to make. In a mixing bowl, combine softened unsalted butter, powdered sugar, cold espresso (or strong coffee), milk or heavy cream, and an optional touch of brown food coloring for a richer hue. It’s crucial that the espresso is cold when you add it; warm liquid can curdle the buttercream, preventing it from becoming smooth and cohesive. Mix all ingredients until they are well combined and the buttercream is light, fluffy, and perfectly spreadable.
Once the shells have rested and the oven is preheated to the correct temperature (always check with an oven thermometer), bake them for 12-15 minutes. The exact baking time can vary depending on your oven, so watch them closely. The shells should have firm feet and be slightly stable when gently nudged. After baking, let them cool completely on the baking sheet before attempting to remove them. Macarons are fragile when warm, and trying to lift them too soon can lead to breakage. Once cooled, they should peel off the silicone mat easily.
Unlocking Macaron Perfection: Essential Tips for Success
Macarons have a reputation for being finicky, but with the right techniques and a little patience, you can achieve consistently beautiful results. Here are some invaluable tips to guide you on your journey to macaron mastery:
- Mind the Weather: Humidity is Your Foe! Macarons are extremely sensitive to humidity. On hot, rainy, or overly humid days, the shells struggle to form that crucial dry skin after piping. Without this proper “skin,” they are prone to cracking in the oven and won’t develop those desirable “feet.” Choose a dry, low-humidity day for macaron baking to maximize your chances of success.
- Precision is Paramount: Weigh Your Ingredients. Unlike many baking recipes where volume measurements (cups, spoons) are acceptable, macarons demand exactness. Using a kitchen scale to weigh your ingredients in grams (as specified in this recipe) ensures the correct ratios, which are fundamental for the meringue’s structure and the macaron batter’s consistency. This is why my recipe provides measurements exclusively in grams.
- Room Temperature Egg Whites and Impeccably Clean Bowls. For the most stable and voluminous meringue, always use egg whites that are at room temperature. Cold egg whites won’t whip as effectively or incorporate air as well. Equally important is ensuring your mixing bowl (and whisk attachment) is squeaky clean and completely free of any grease or oil. Even a tiny speck of fat can prevent the egg whites from whipping to stiff peaks, compromising your entire macaron batch.
- Master the Macaronage: The “Figure Eight” Test. The folding process, known as macaronage, is often the trickiest part. You need to deflate just enough air from the meringue to create a batter that flows smoothly but isn’t too runny. The ideal consistency is achieved when the batter falls off your spatula in a continuous “ribbon” that can form a figure eight (or “lava-like” flow) before slowly reincorporating into the rest of the batter in the bowl. Over-mixing will result in flat, spread-out macarons, while under-mixing will lead to lumpy shells without feet. It truly takes practice to recognize this perfect stage.
- Invest in a Silicone Baking Mat. While parchment paper can be used, silicone baking mats (especially those with macaron templates) offer several advantages. They provide a non-stick surface, ensuring the macaron shells bake evenly and release easily without sticking. The pre-printed circles also help you pipe consistent sizes, leading to perfectly matched pairs.
- Calibrate Your Oven: Use an Oven Thermometer. Oven temperatures can fluctuate significantly from what the dial indicates. An accurate oven temperature is critical for macaron success; if it’s too hot, they might crack; if it’s too cool, they might not develop feet. Always keep an oven thermometer inside to ensure your oven is consistently at the precise temperature required by the recipe.
- Be Patient During the Resting Phase. Do not rush your macarons into the oven before they are properly rested. The resting time allows a thin “skin” to form on the piped shells. This skin is what prevents cracking and forces the batter to expand horizontally, creating those iconic “feet.” You should be able to gently touch the top of a macaron shell without any batter sticking to your finger. The exact resting time varies depending on your kitchen’s humidity and temperature, but it’s rarely less than 30 minutes and can sometimes take up to an hour or more. Patience here will be rewarded!
Frequently Asked Questions & Storage Tips
Got more questions about these delightful Dirty Chai Macarons? Here are some common queries and practical advice to ensure you enjoy them to the fullest.
For optimal freshness and flavor, store your assembled Dirty Chai Macarons in an airtight container in the refrigerator for up to 1 week. Macarons actually taste best after they’ve had a chance to “mature” or “age” in the fridge overnight. This allows the flavors of the shell and filling to meld beautifully, creating a more harmonious and delicious experience. So, if you can resist, assemble them the day before and enjoy them the next!
Yes, absolutely! Since macarons are traditionally made with almond flour, these Dirty Chai Macarons are naturally gluten-free, making them a wonderful treat for those with gluten sensitivities or dietary preferences.
Macarons only use egg whites, leaving you with a few extra yolks. Don’t let them go to waste! Egg yolks are fantastic for enriching many other desserts. You could use them to make a creamy pudding, a luscious banana cream pie, a rich crème brûlée, or even delicious homemade ice cream. Get creative and enjoy another treat!
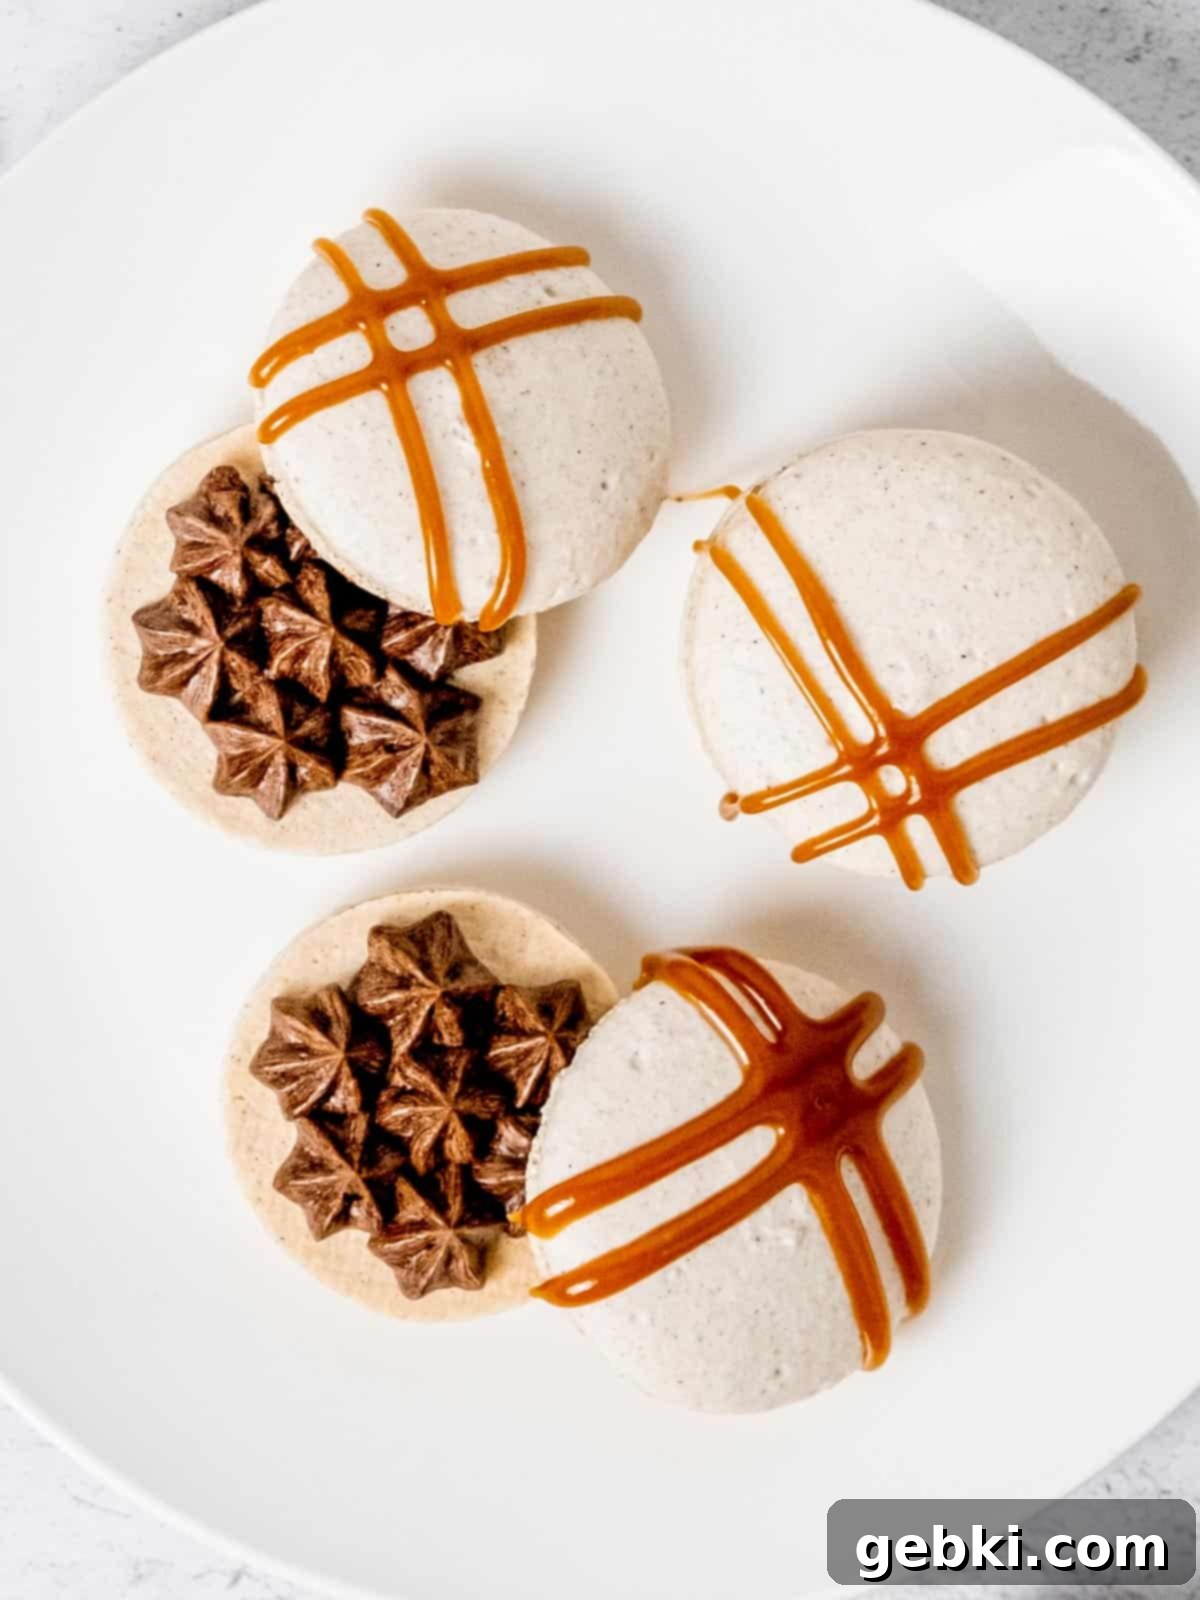
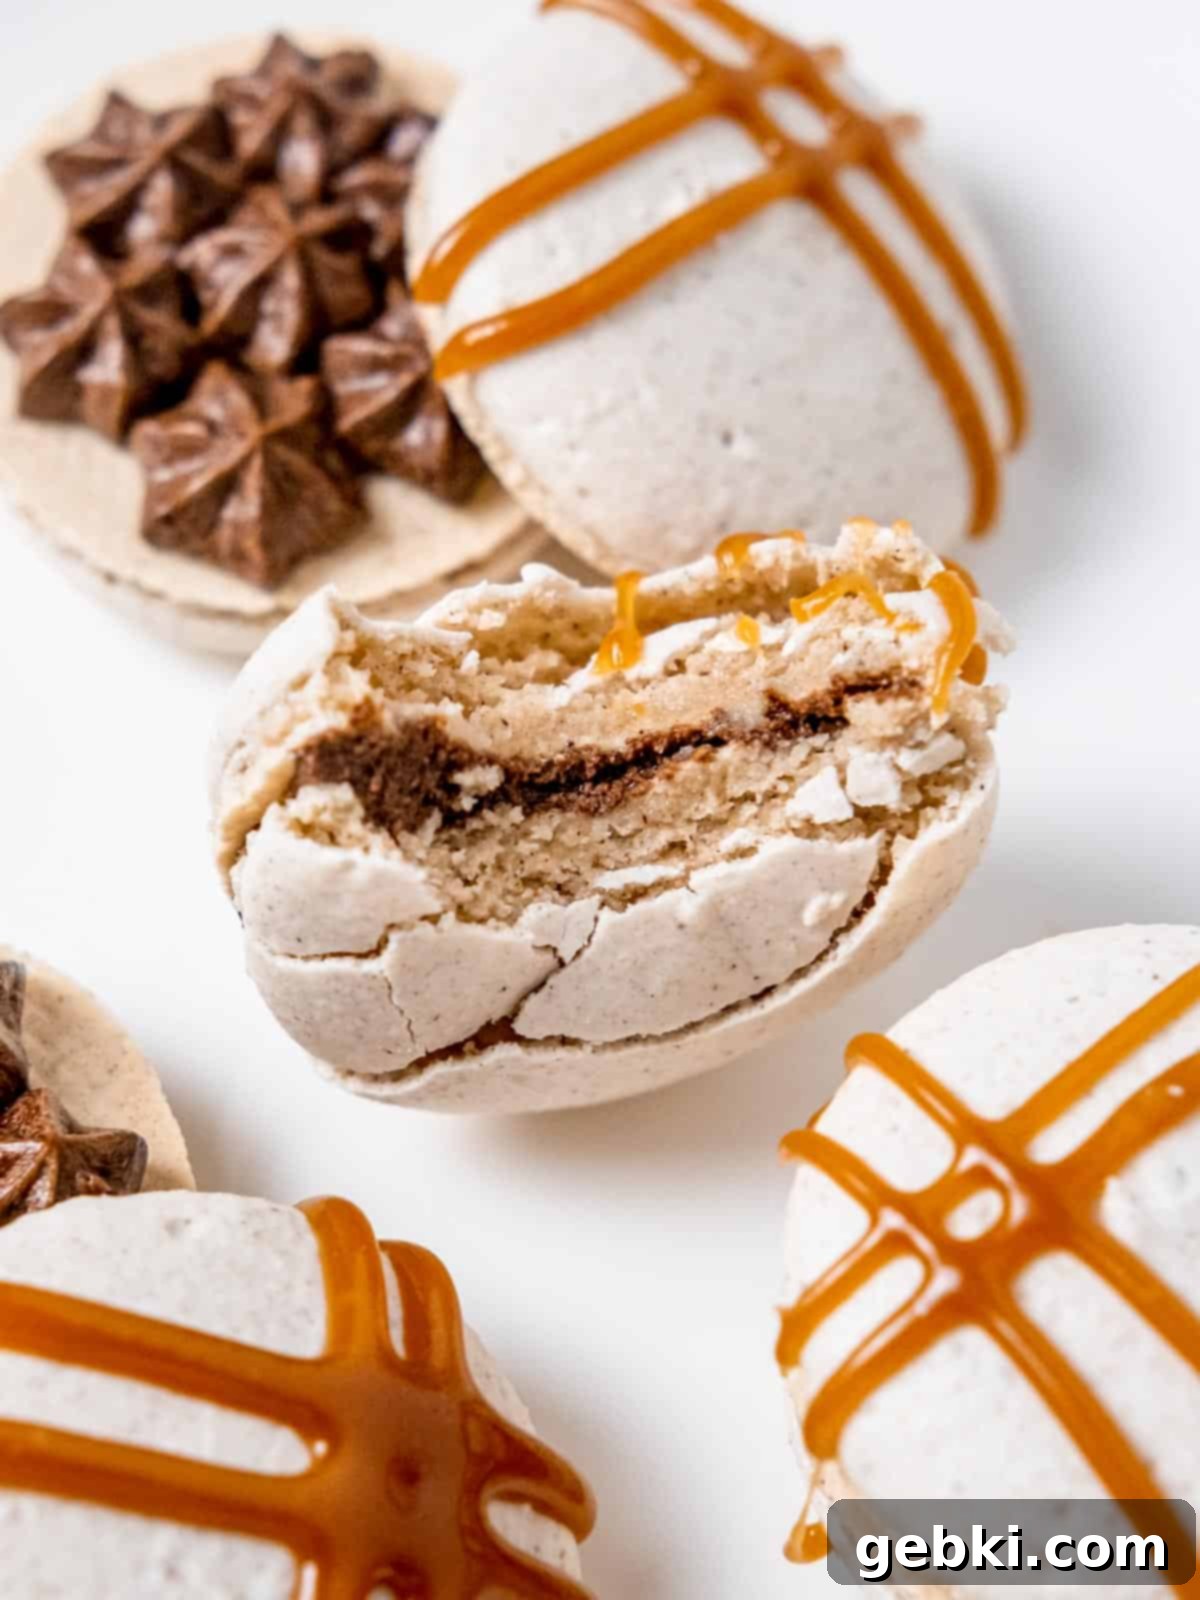
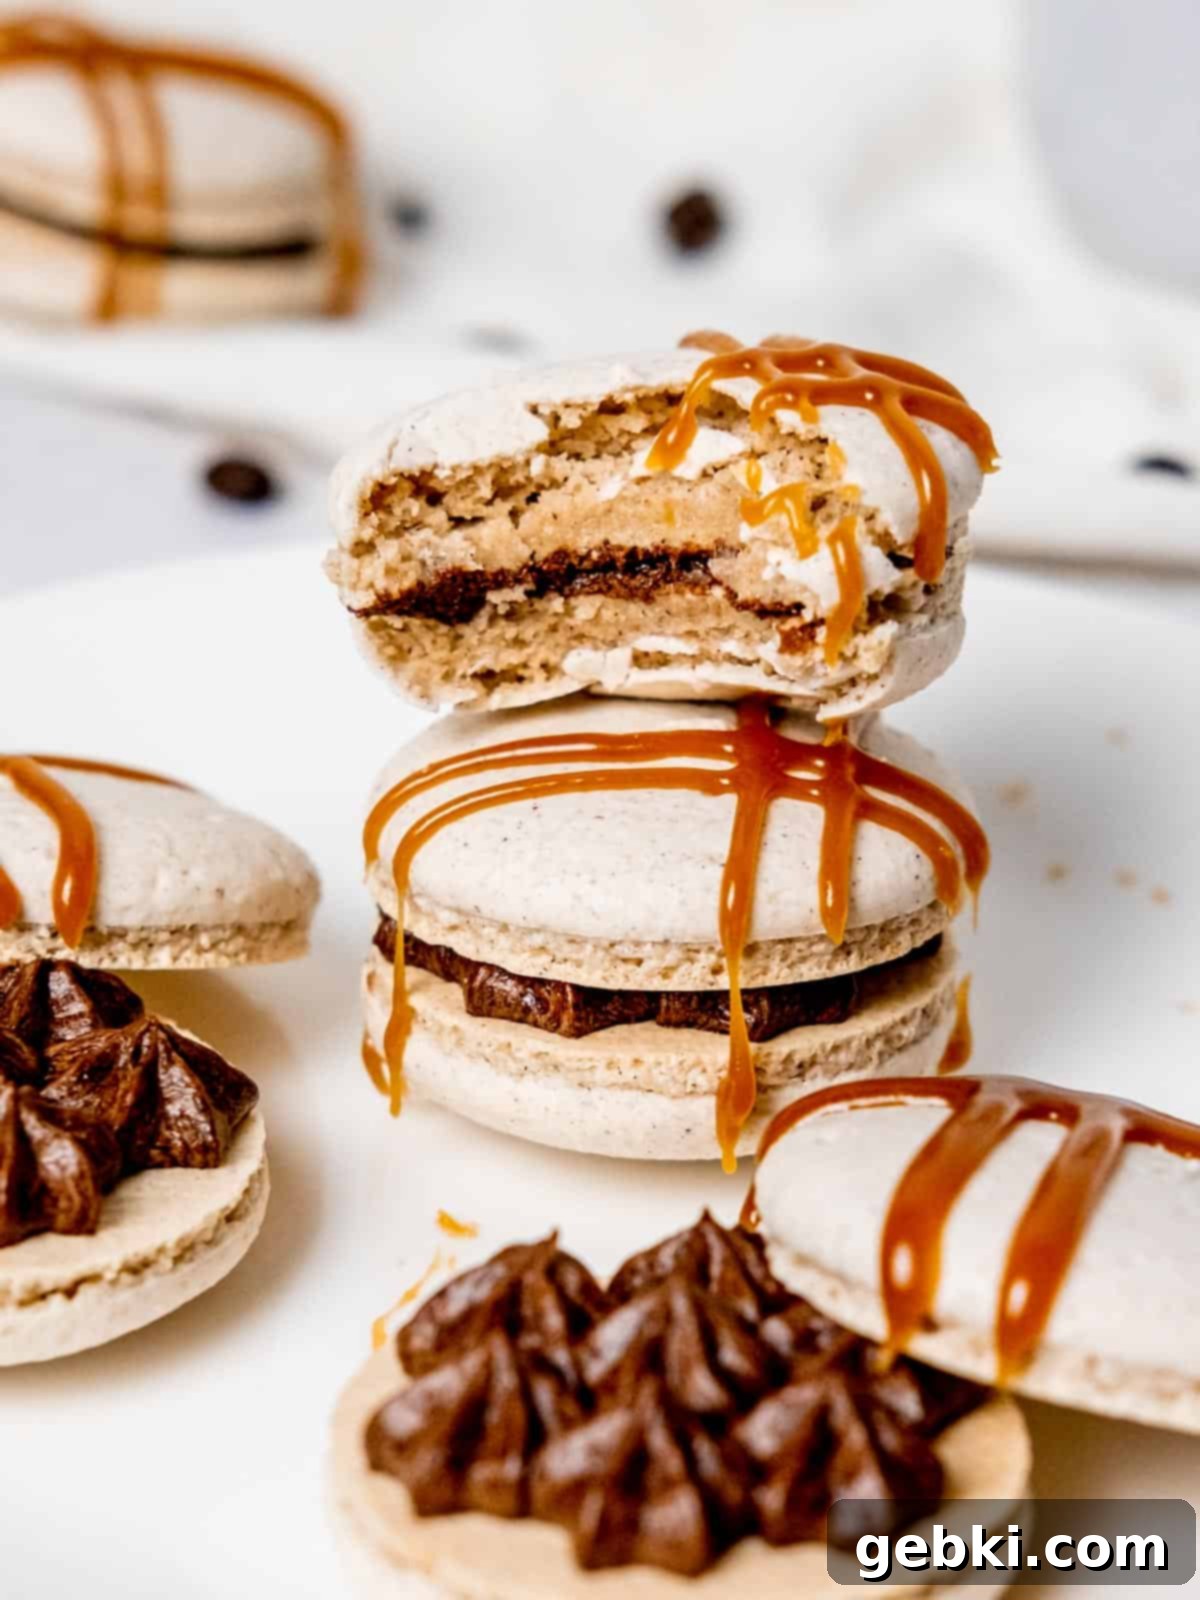
For an extra touch of visual appeal and a delightful flavor boost, I drizzled a bit of caramel sauce on top of some of the finished macarons. The sweet, buttery notes of caramel pair wonderfully with the chai and espresso, adding another layer of complexity to these already fantastic treats!
With these tips and answers, you’re all set to create and savor your homemade Dirty Chai Macarons. They are truly a labor of love that yields incredibly rewarding results.
Did you try this recipe?
Tag @brokenovenbaking on Instagram and leave a star review below!
📖 Recipe
Dirty Chai Macarons
Kayla Burton
Pin Recipe
Equipment
-
Medium pot/double boiler
-
Sifter
-
Food chopper
-
Scale
-
Measuring spoons
-
Stand mixer with whisk attachment
-
Piping tips and bags
-
Silicon mat
-
Oven thermometer
-
Whisk
-
Spatula
-
Baking sheet
Ingredients
Chai Macaron Shells
- 90 grams egg whites (about 3 large eggs) room temperature
- 90 grams granulated sugar
- 1 teaspoon vanilla extract
- 95 grams almond flour
- 95 grams powdered sugar
- 2 teaspoons chai spice *see notes below
Espresso Buttercream
- ½ cup (1 stick) (113.5 g) unsalted butter room temperature
- 2 cups (240 g) powdered sugar
- 2 tablespoons espresso (or coffee) cold
- 2 tablespoons milk or heavy cream
- brown food coloring optional
Instructions
Macaron Shells
-
Sift the almond flour, powdered sugar and chai spice. Transfer to a food chopper and pulse for 20 seconds in 5 second intervals. Sift them again and discard any large clumps.
-
In the clean bowl of a stand mixer, mix the egg whites and granulated sugar over a pot of simmering water (double boiler) on medium-low heat. Whisk constantly until the mixture reaches around 100°F (it should look like a transparent syrup underneath white bubbles).
-
Transfer the bowl to the stand mixer fitted with a whisk attachment (or remove from heat and use a hand mixer). Whisk on low speed for a minute, and then increase the speed 1-2 notches every 3-5 minutes. Once the meringue starts to get white and somewhat thick, add the vanilla extract. Continue increasing the mixer to full speed and whisking until it reaches medium-stiff peaks.
-
Gently fold ⅓ of the dry mixture at a time into the meringue. Continue folding until the batter is smooth and creates a figure 8 without breaking when it trickles down from the spatula.
-
Transfer the batter into a piping bag with a medium sized round tip. Pipe even circles (about 1½ inches in diameter) onto a silicone baking mat on top of a baking sheet.
-
I recommend wearing earplugs for this step:
Carefully lift your baking sheet about 6 inches and drop it onto the counter. Repeat 4 more times. (This is to help release any bubbles) Then, using a toothpick, smooth out any bubble holes or peaks in the batter.
-
Let the macarons sit in a dry environment for 40-60 minutes. They’re ready to bake when they’re no longer sticky to the touch. Preheat oven to 315°F while the macarons set.*
-
Bake for 12-15 minutes and then let them cool completely before removing from the sheet.
Espresso Buttercream
-
Cream the butter, then add powdered sugar, espresso, milk, and optional food coloring. Mix until well combined.
Assemble the Macarons
-
Transfer the espresso buttercream to a piping bag fitted with your preferred piping tip. Pair the macaron shells up and then pipe frosting on half of them, then sandwich them together.
Save This Recipe! 💌
We’ll email this post to you, so you can come back to it later!
Notes
*To make your own chai spice, combine:
- 1 teaspoon ground nutmeg
- 1 teaspoon ground cardamom
- 1 teaspoon ground cloves
- 1 teaspoon allspice
- 2 teaspoon cinnamon
- 3 teaspoon ginger
*Optimal macaron-baking oven temperatures may vary based on oven/environment. I’ve found 315F best for me, but it might take some testing to find the best temperature for you.
The provided nutritional information is an estimate per serving. Accuracy is not guaranteed.
More Recipes You’ll Love:
If you enjoyed these delightful Dirty Chai Macarons, you’re sure to find more favorites among our collection of comforting and flavorful baked goods. From chewy cookies to simple bars, there’s always something new to discover and enjoy.
- Chewy Salted Caramel Oatmeal Cookies
- Soft Lemon Sugar Cookies (That Actually Taste Like Lemon!)
- Honey Orange Shortbread Cut-Out Cookies (No-Chill)
- Chewy Andes Mint Chocolate Cookies
- Easy Almond Croissant Shortbread Cookies
- Soft and Easy Strawberry Sugar Cookies
- Easy Raspberry Crumble Cookies (Better than Costco)
- The Best Easy Nutella Bars
