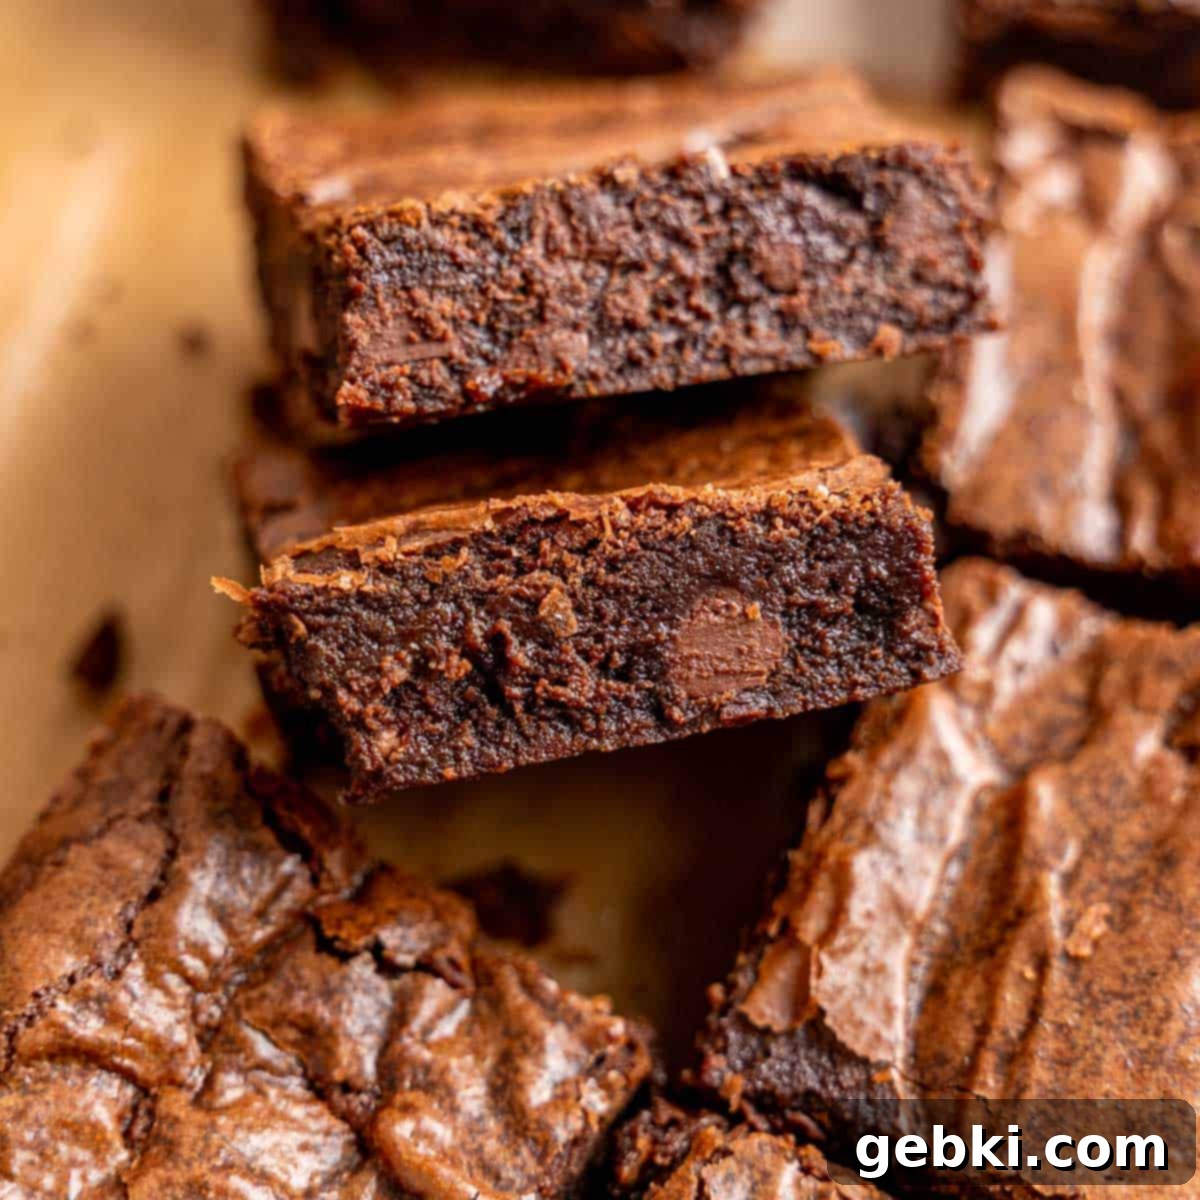
Easy Fudgy Small Batch Brownies: Your Go-To Loaf Pan Recipe with Just 1 Egg
Do you often find yourself yearning for a decadent, fudgy brownie, but hesitate to bake a full tray, knowing you’ll end up with more leftovers than you can handle? That’s precisely the dilemma that inspired this incredible small batch brownie recipe! Designed for ultimate convenience and minimal waste, this recipe allows you to whip up a perfect batch of brownies right in your loaf pan. With just 1 egg and a handful of pantry staples, you’ll produce 8 delightful brownies, each boasting that irresistible crinkly top, a wonderfully gooey center, and deliciously crispy edges. It’s the ideal solution for satisfying your chocolate cravings without committing to a large dessert.
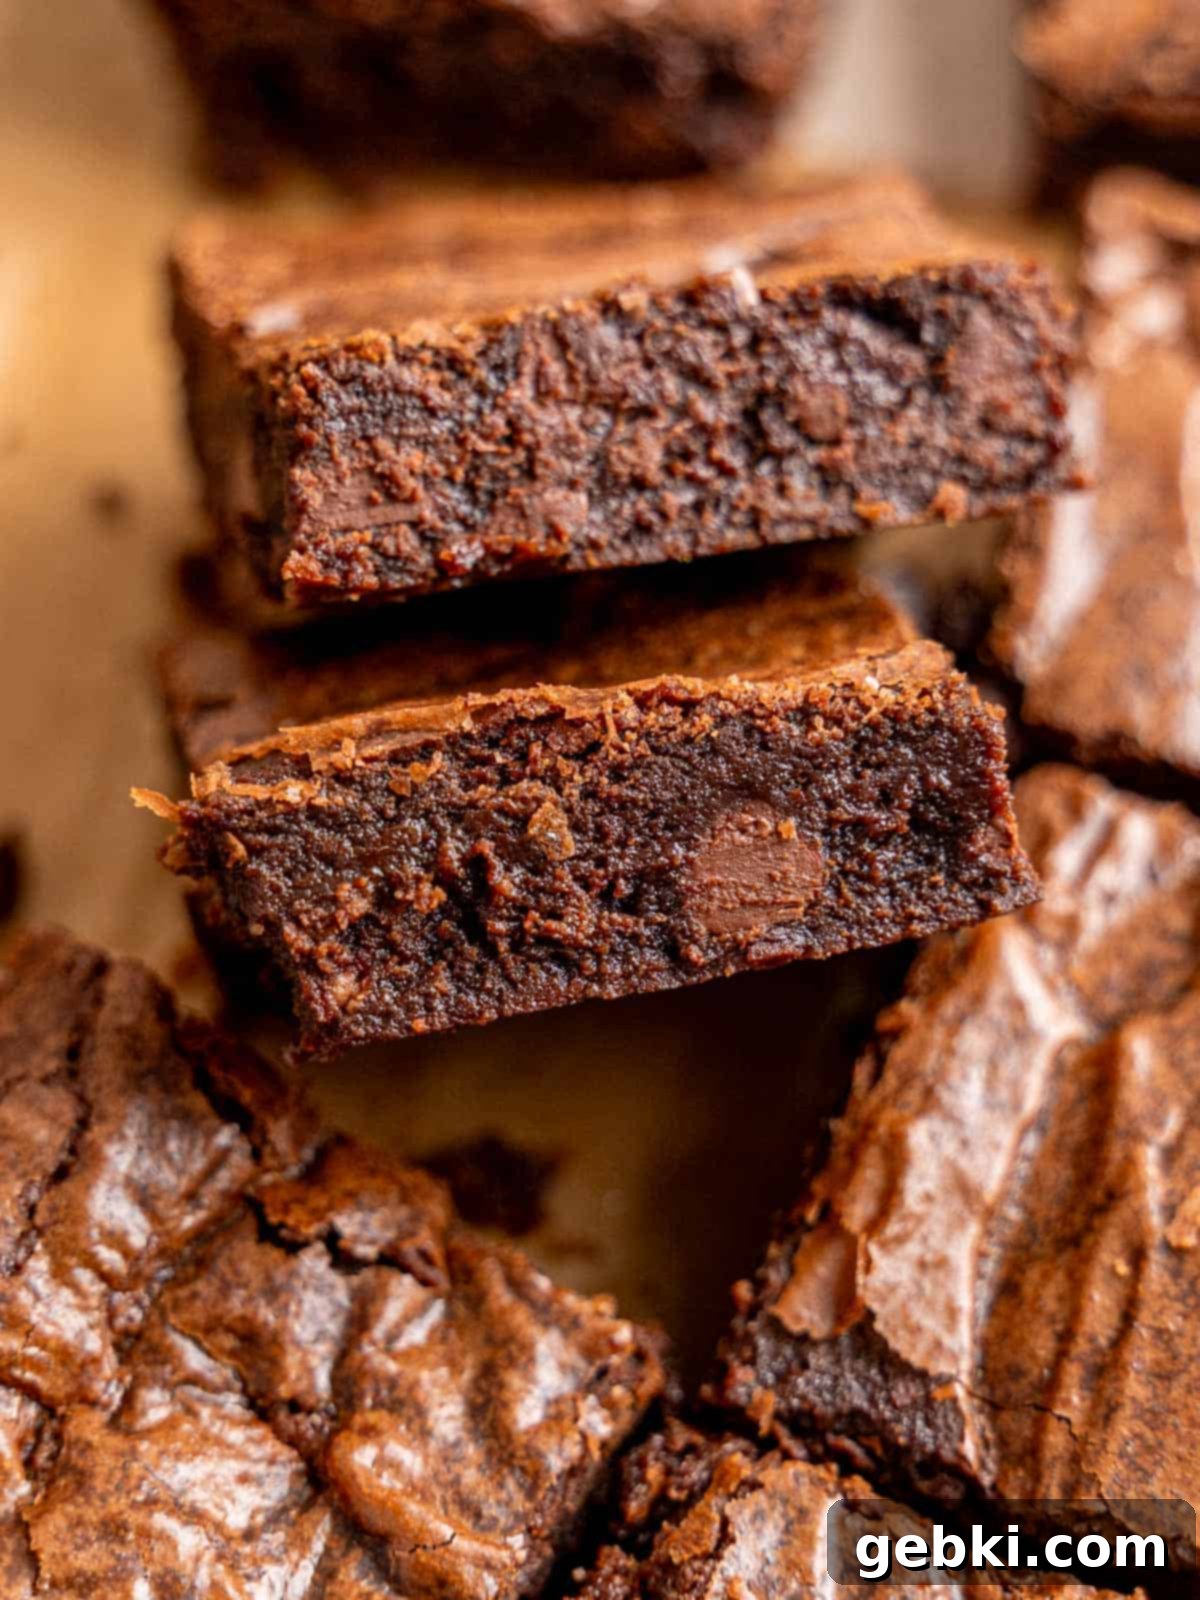
Small-batch recipes are an absolute game-changer, especially when you’re cooking for just one or two people, or when you simply don’t want to waste precious ingredients (let’s face it, grocery prices aren’t getting any lower! 😅). These recipes help minimize food waste and ensure you always have fresh, delicious treats without the overwhelming quantity.
Given how much love my sourdough discard cookie recipe receives (it also yields a perfect small quantity of about 9 cookies), I knew a brownie equivalent would be a highly sought-after solution for all you small-batch baking enthusiasts. This recipe brings that same level of convenience and deliciousness to the world of brownies, ensuring you never have to compromise on freshness or flavor.
[feast_advanced_jump_to]
Why You’ll Adore These Easy Small Batch Brownies
- This recipe consistently makes exactly 8 perfectly sized brownies. They’re substantial enough to satisfy, but small enough that you won’t be burdened with an excessive amount of leftovers. For those times you want just a tiny bite, you can easily cut them into 12 or so mini, indulgent pieces! It truly is the ideal brownies for one or two people recipe.
- Every time I spot brownies, I get an intense craving for their rich, chocolatey goodness. However, making a huge batch for just my husband and me often leads to them going stale. This recipe guarantees fresh, homemade brownies that always taste superior to any frozen or store-bought alternative, straight from your oven to your plate!
- You likely have all the necessary ingredients in your pantry right now. Even if your baking supplies are running low on specific items, this clever small-batch recipe is an excellent way to use up those last few sprinkles of flour or a single egg, preventing food waste and saving you a trip to the store.
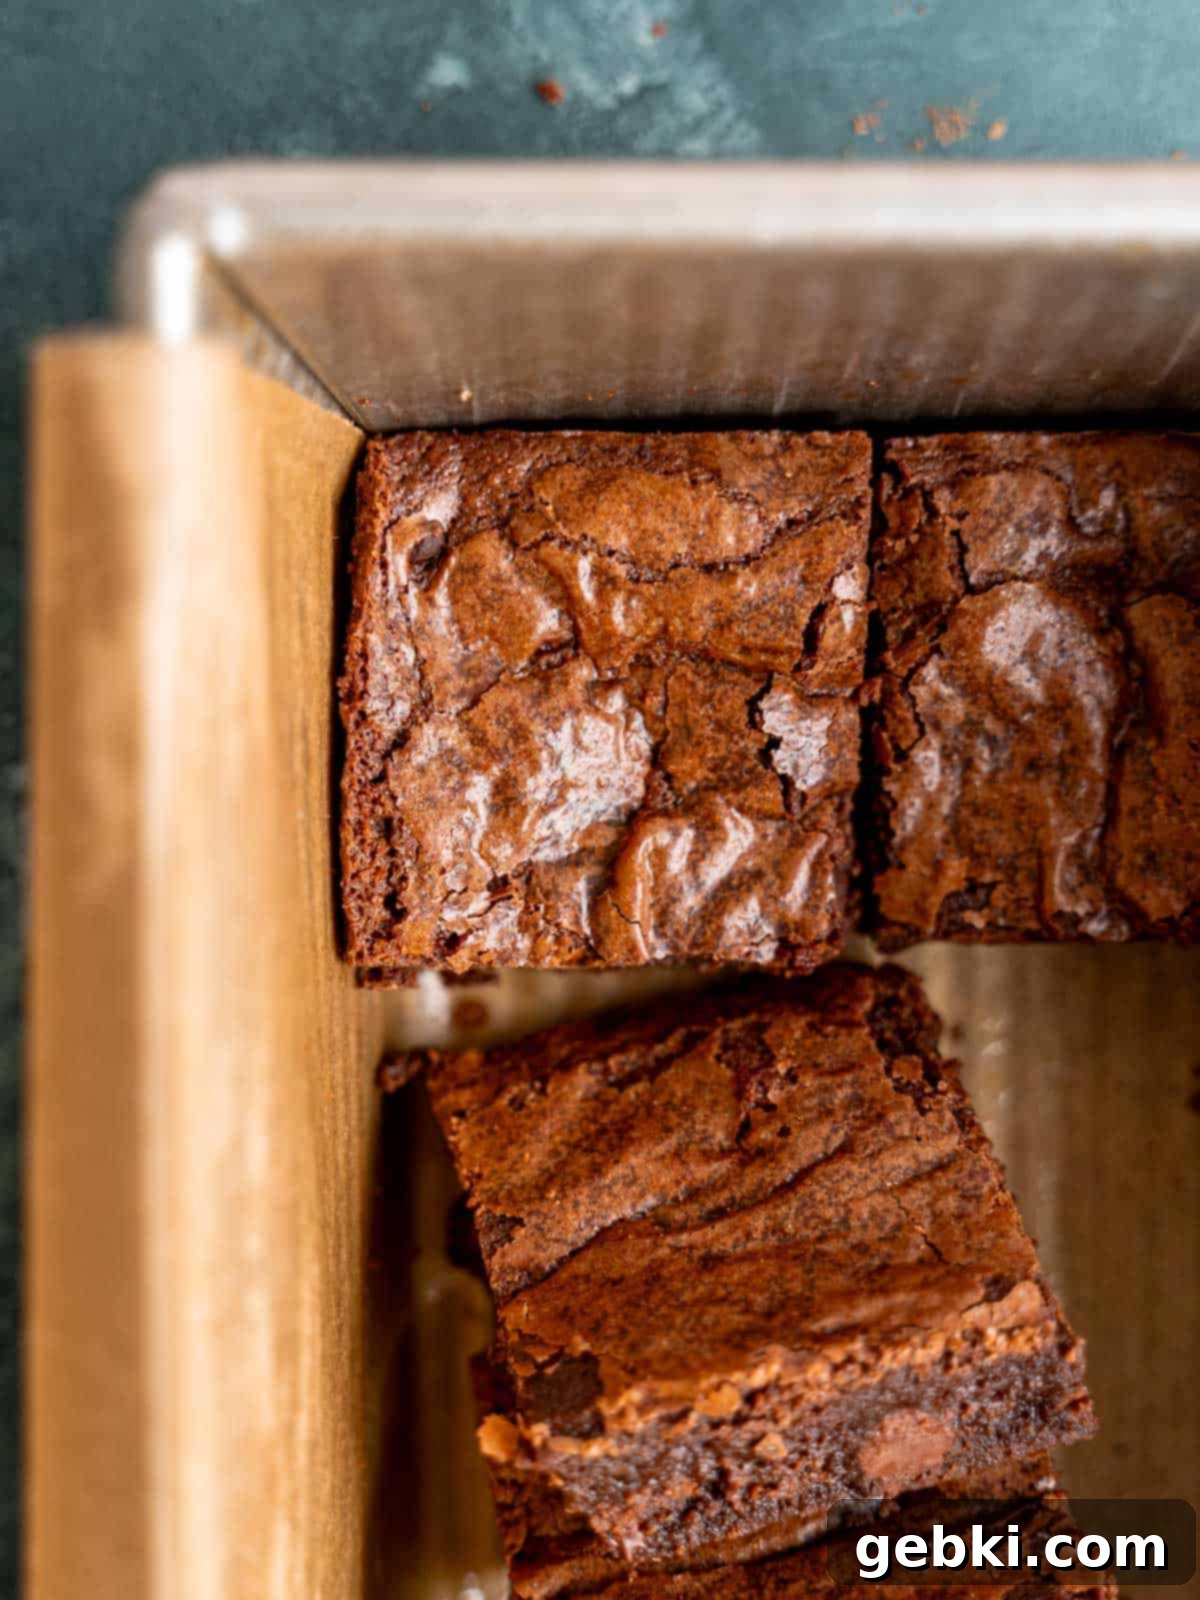
- Baking them in a loaf pan offers a unique advantage: everyone gets an amazing edge piece! No more fighting over the best part – every brownie boasts those delightful crispy edges combined with a soft, fudgy interior.
- Beyond just convenience, these brownies deliver on taste and texture. They boast the best fudgy texture, rich chocolate flavor, and that signature shiny, crackly top that signifies a truly exceptional brownie.
Essential Ingredients for Your Fudgy Small Batch Brownies
This simple 1-egg brownie recipe relies on everyday kitchen ingredients to achieve its incredibly fudgy texture and rich flavor. Here’s a closer look at what makes these brownies so special:
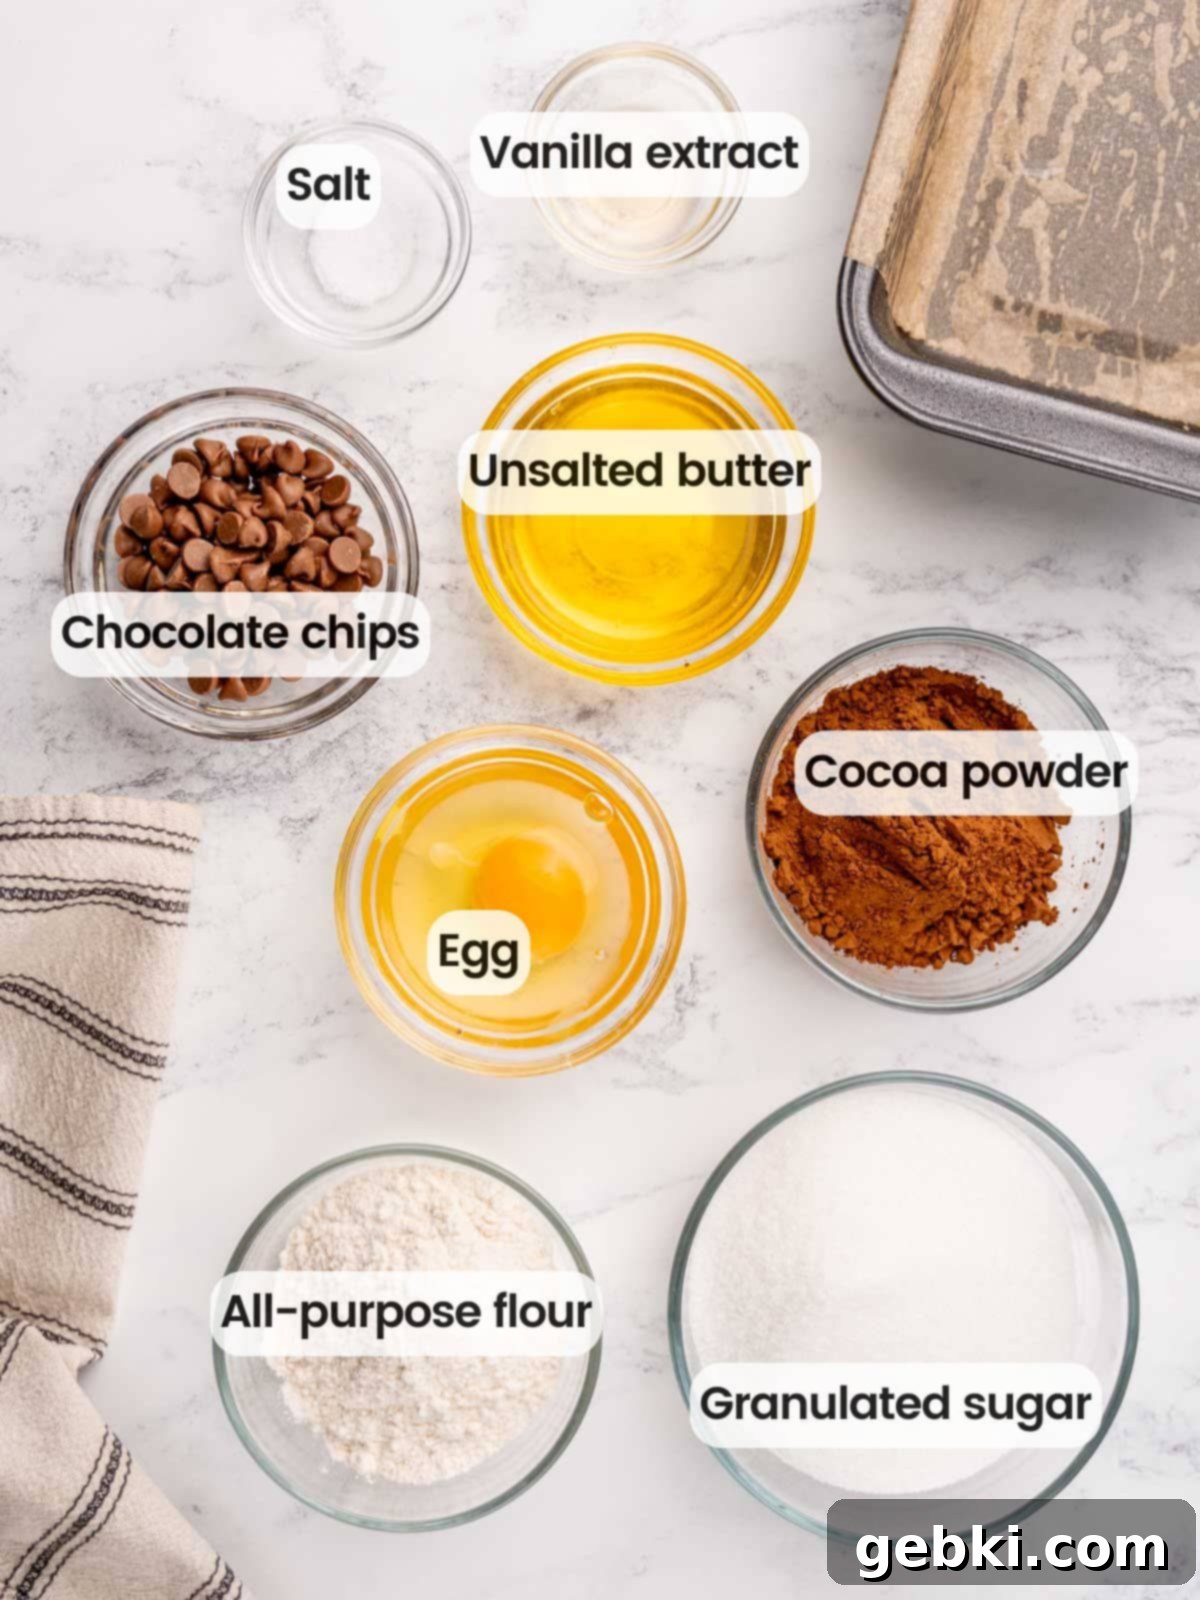
Ingredient Notes & Substitutions:
- All-Purpose Flour – You’ll only need a mere ⅓ cup of all-purpose flour for this perfectly proportioned recipe. For the most precise and consistent baking results, I highly recommend using a food scale to weigh your flour. While I haven’t personally experimented with alternative flours in this specific small-batch recipe, if you do, please share your results in the comments section to help other bakers!
- Unsweetened Cocoa Powder – This is the star ingredient responsible for the deep, rich chocolate flavor that defines a good brownie. Both Dutch-processed and natural cocoa powder will work beautifully in this recipe, so simply use whichever you have readily available in your pantry. My personal favorites for consistent quality are Hershey’s and Good & Gather brands.
- Unsalted Butter – Opting for unsalted butter gives you complete control over the total salt content in your brownies, allowing for a perfectly balanced flavor profile. Remember to melt it in the microwave and then let it cool slightly before incorporating it into the batter. This crucial step prevents the warm butter from inadvertently cooking your egg, which would alter the brownie’s final texture.
- Granulated Sugar – The magic of those shiny, crinkly brownie tops and that lusciously fudgy interior is largely thanks to the interaction between the granulated sugar, warm butter, and egg. Whisking them together thoroughly helps dissolve the sugar, contributing to that desirable texture.
- Large Egg – A single large egg is all it takes for this brilliant small-batch recipe! If you’re a fan of recipes that use just one egg in your baking endeavors, you’ll also adore my small-batch peanut butter cookies, which impressively use just one egg yolk for their rich flavor and texture.
- Semi-Sweet Chocolate Chips – I believe chocolate chips elevate these brownies to another level of decadence, adding pockets of molten chocolate. However, if you prefer a simpler brownie or don’t want the extra chocolate, feel free to omit them. You can also experiment with dark, bittersweet, milk chocolate, or even a combination of your favorite chocolate varieties instead of just semi-sweet.
For a complete list of ingredients and precise measurements, please refer to the detailed recipe card below.
Delicious Brownie Mix-Ins & Flavor Variations
Feel free to customize your fudgy small batch brownies by adding up to ¼ cup of your favorite mix-ins! These additions can significantly enhance the flavor and texture:
- Chopped nuts: Add a delightful crunch with chopped walnuts or pecans. Toasting them lightly beforehand can deepen their flavor.
- Different chocolate varieties: Swap the semi-sweet chocolate chips for white chocolate chips for a sweeter, creamier contrast, or use dark chocolate for an extra intense cocoa experience.
- Nut butter swirls: Create an irresistible swirl by dolloping in peanut butter or Nutella on top or in the middle of the batter before baking. Use a knife or skewer to gently swirl.
- Espresso powder: A teaspoon of espresso powder can significantly enhance the chocolate flavor, turning them into delectable mocha brownies without adding a coffee taste.
- S’mores transformation: For a fun twist, incorporate mini marshmallows and graham cracker pieces into the batter or sprinkle on top during the last few minutes of baking for a delightful s’mores vibe.
If you’re looking for individual brownies that are already perfectly portioned and easy to serve, be sure to check out my popular mini brownie bites recipe!
How to Make Perfect Fudgy Brownies in a Loaf Pan
These loaf pan brownies are incredibly simple to prepare, coming together effortlessly in just a few steps. Follow this guide to achieve amazing, consistent results every time you bake:
1. Preparation is Key
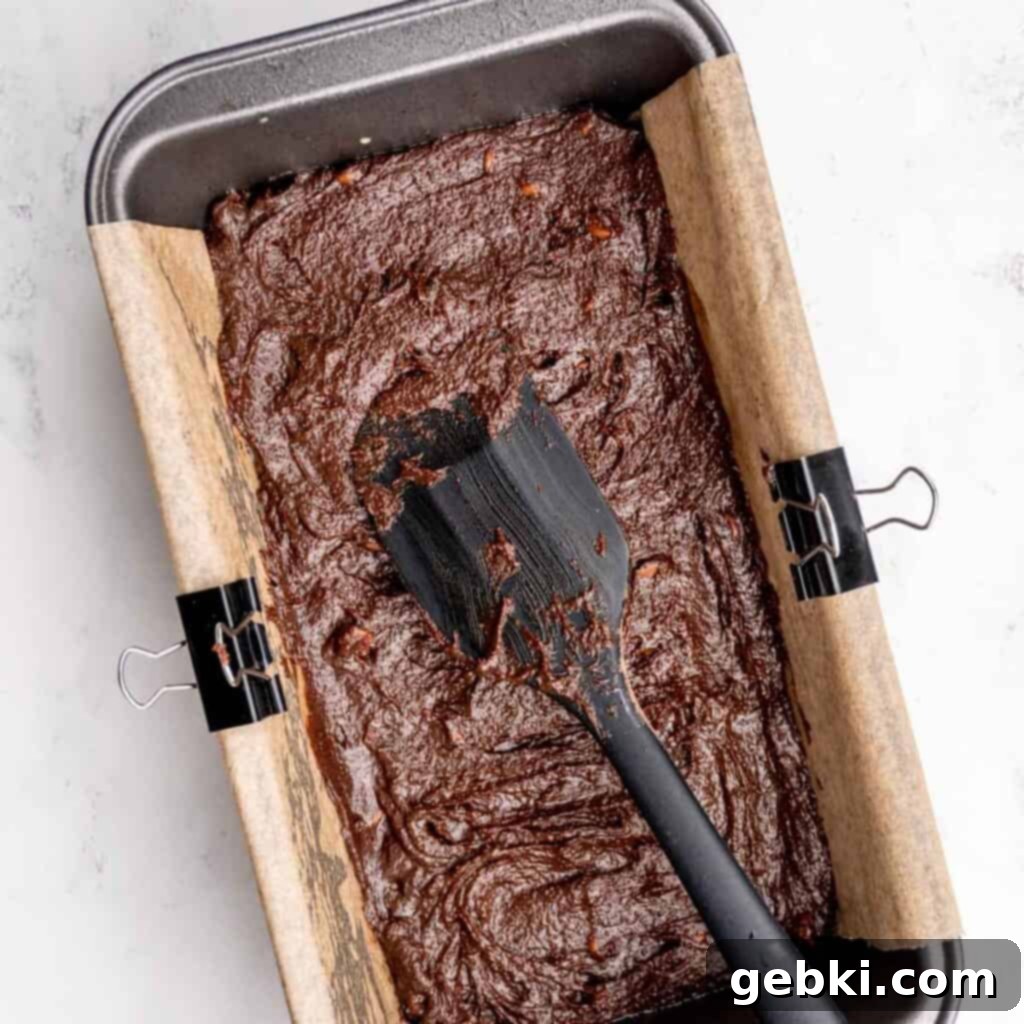
Begin by preheating your oven to 350°F (177°C). Lightly grease an 8×4 or 9×5-inch metal loaf pan with baking spray to ensure easy release. For even simpler removal and cleanup, place a sheet of parchment paper over the pan, allowing it to hang over the sides like a sling. This creates convenient “handles” once the brownies are baked (you can see this technique illustrated in step 5’s photo below).
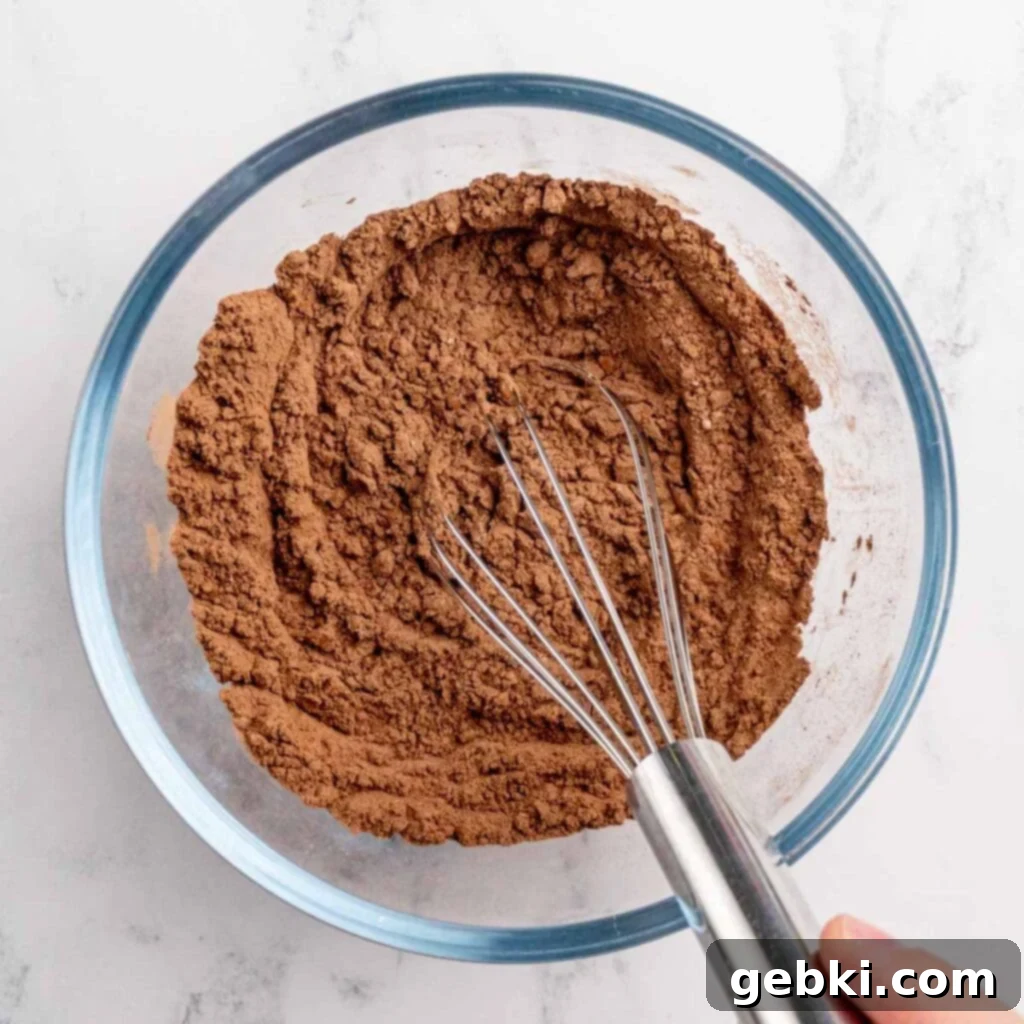
2. Mix Dry Ingredients
In a small mixing bowl, thoroughly whisk together the all-purpose flour, unsweetened cocoa powder, and salt until they are well combined and no lumps of cocoa remain. This ensures even distribution of flavor and leavening throughout your brownies.
3. Combine Wet Ingredients
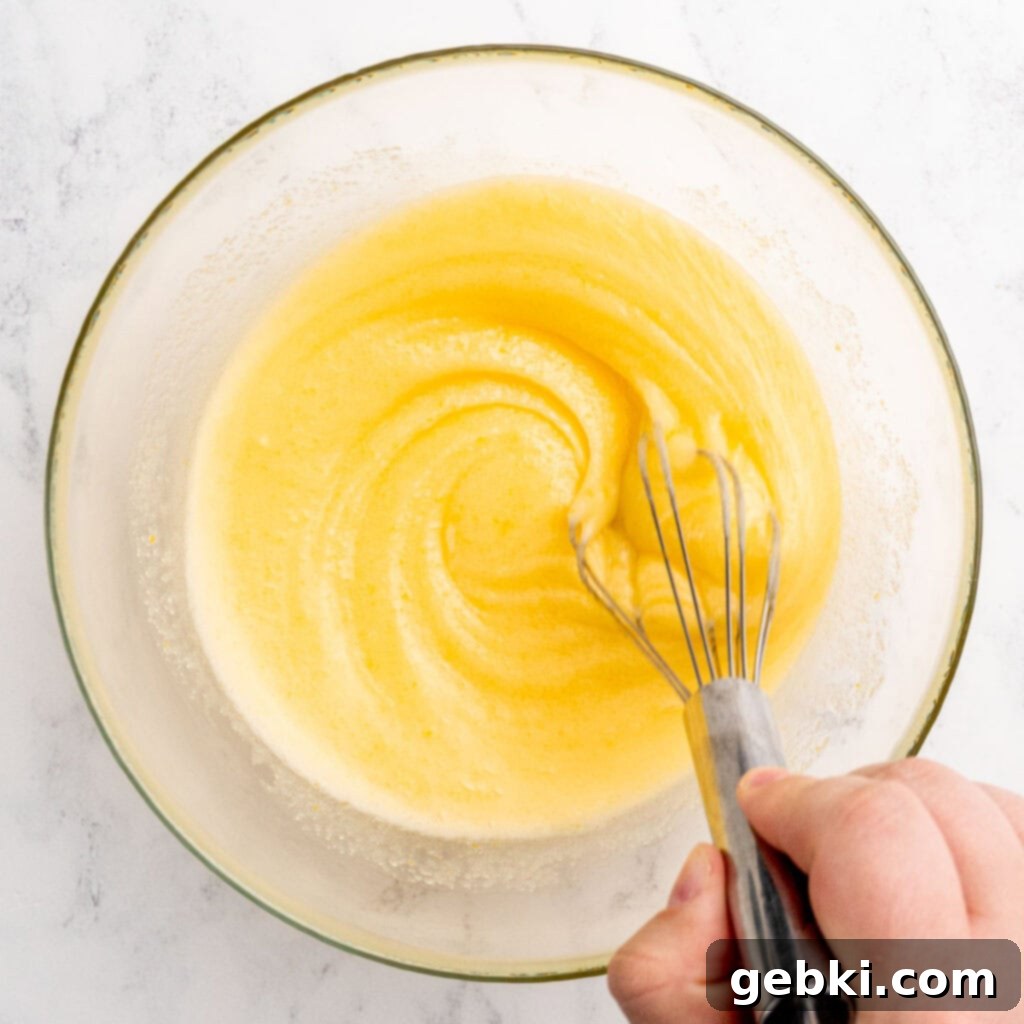
In a separate, medium-sized bowl, add the melted unsalted butter (ensure it has cooled slightly so it doesn’t scramble the egg!), granulated sugar, vanilla extract, and the large egg. Whisk these ingredients together vigorously for about 2-3 minutes. This crucial step helps dissolve the sugar, incorporating air into the mixture and contributing significantly to that sought-after shiny, crinkly top texture on your brownies.
4. Gently Combine
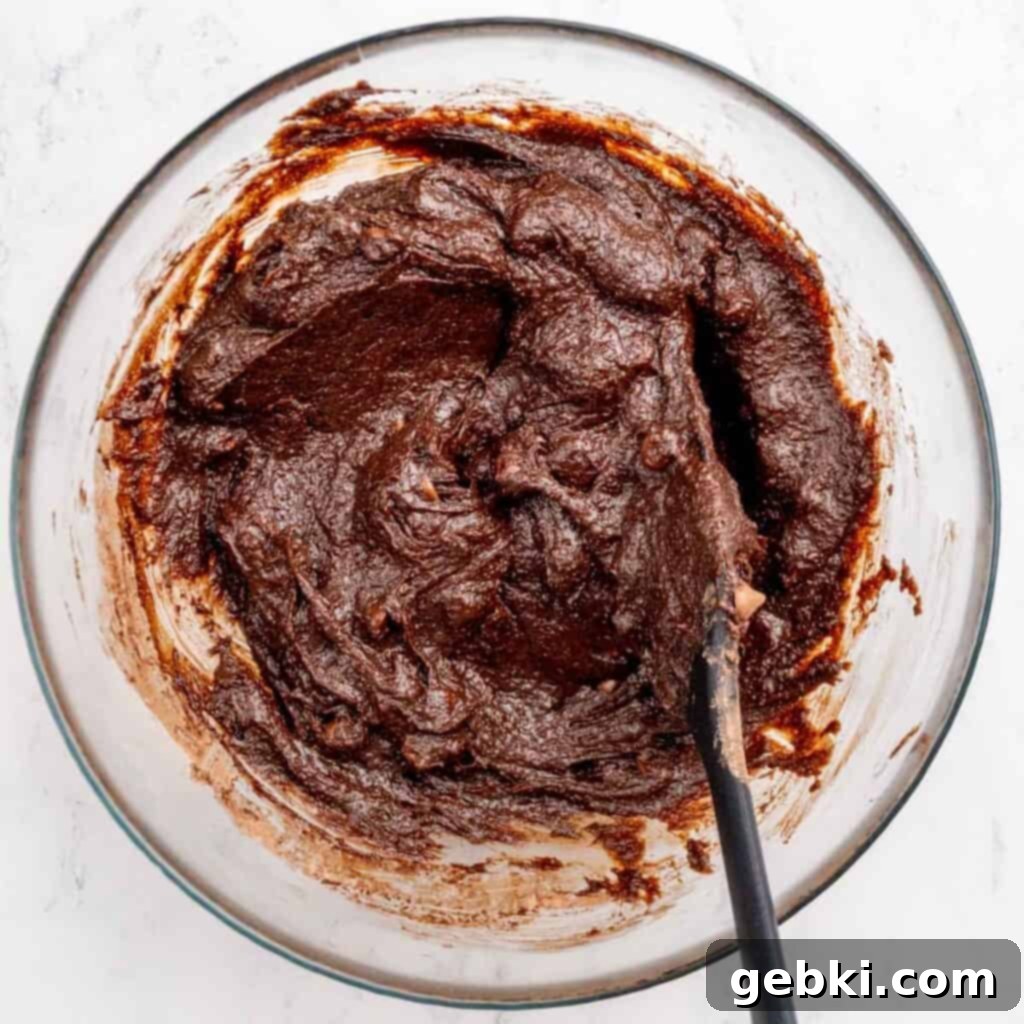
Add your dry ingredients from the small bowl to the wet mixture in the medium bowl. Using a spatula, stir everything together gently until just combined and no dry streaks of flour or cocoa powder are visible. Over-mixing can develop the gluten in the flour, leading to a tougher, cake-like brownie rather than a fudgy one.
Pro Tip: Be careful not to over-mix the batter! This can cause them to have more of a tough cakey texture instead of that desirable fudginess.
5. Fold in Chips & Fill Pan
Gently fold in your semi-sweet chocolate chips until they are evenly distributed throughout the batter. Then, pour the luscious brownie batter into your prepared loaf pan and use a spatula to spread it evenly, smoothing out the top for a consistent bake and appealing appearance.
6. Bake to Perfection
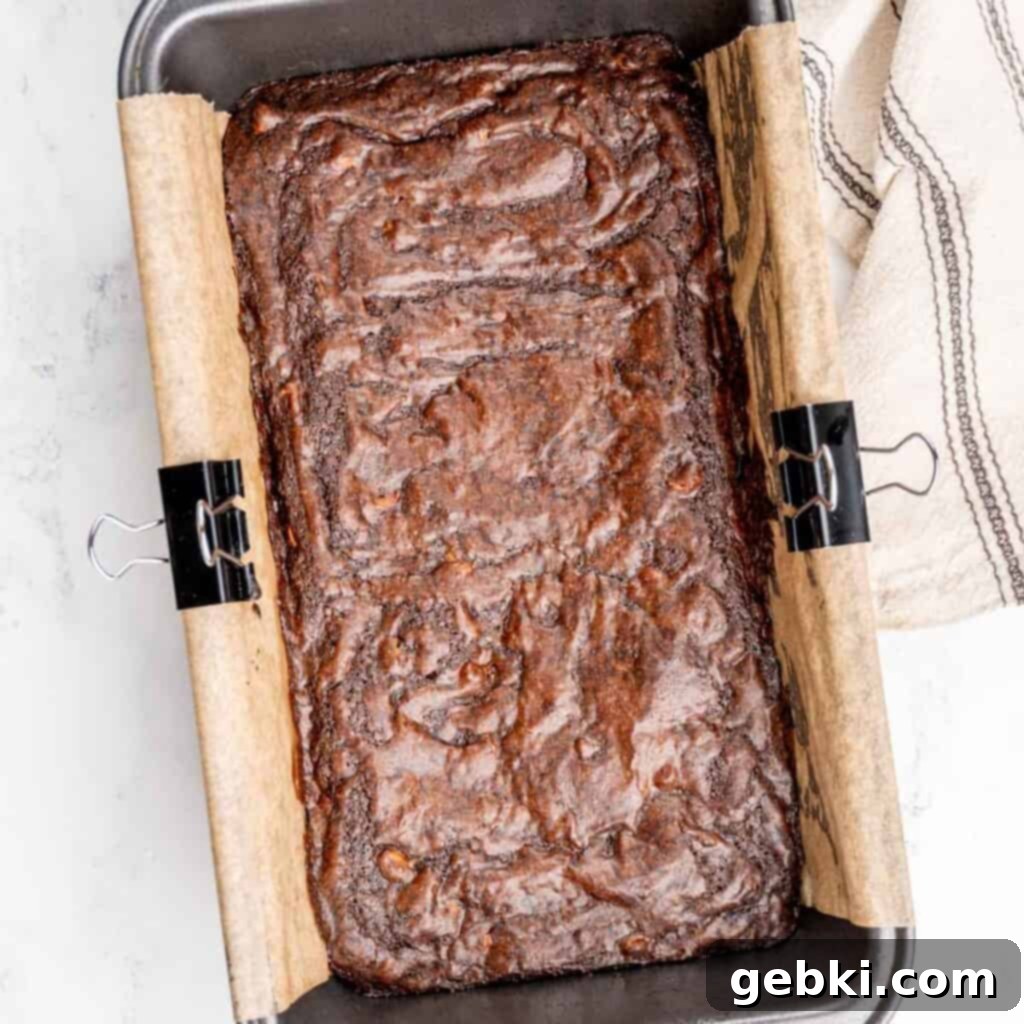
Place the loaf pan on your oven’s middle rack and bake the brownies for approximately 25-30 minutes. Baking time can vary slightly depending on your oven, so keep a close eye on them during the final minutes to prevent over-baking. The goal is a perfectly fudgy interior!
How to Check for Brownie Doneness
Knowing exactly when your brownies are perfectly baked can be a bit of an art! Remember that they will continue to set and bake slightly in the hot pan even after you remove them from the oven, so it’s crucial to avoid over-baking. Over-baked brownies lose their fudgy texture and can become dry. Here are my tried-and-true methods for checking if they’re done:
- The Jiggle Test: Gently give the loaf pan a slight shake. If the very center of the brownies still visibly jiggles like liquid, they need a few more minutes in the oven. If the center looks mostly set with a slight tremble, move on to the toothpick test.
- The Toothpick Test: Carefully insert a toothpick or a thin skewer into the center of the brownies. If it comes out covered in wet batter, they are definitely not done yet. If it comes out with a few moist crumbs clinging to it, they are perfectly baked and will be wonderfully fudgy! A completely clean toothpick indicates they are likely over-baked and will result in a cakey texture.
Pro Tips for the Best Fudgy Loaf Pan Brownies
- To achieve those gorgeous, shiny, and crackly brownie tops that everyone loves, the secret lies in whisking your wet ingredients thoroughly. The initial mixing of sugar with warm, melted butter helps dissolve the sugar crystals, and then whisking the egg into this mixture really well creates a light, almost meringue-like batter. This aeration and sugar dissolution are key to that coveted crinkled surface.
- I know, it’s incredibly tempting to dive into a warm brownie straight out of the oven, but allowing them to cool completely is absolutely essential! As they cool, the brownies continue to set, developing their intensely rich flavor and achieving that perfectly dense, fudgy texture. Additionally, fully cooled brownies are much easier to cut cleanly without crumbling.
- For impeccably clean-cut edges on your brownies, use a warm chef’s knife. My simple trick is to run the knife under hot tap water for a few seconds, carefully wipe it completely dry with a clean cloth, and then make your slice. Repeat this process for each cut to get professional-looking brownies every time.
Frequently Asked Questions About Small Batch Brownies
I haven’t personally tested this specific small batch brownie recipe without an egg, as the egg plays a crucial role in both structure and achieving the crinkly top. However, you could try substituting the large egg with ¼ cup of unsweetened applesauce or a flax egg (1 tablespoon ground flaxseed meal mixed with 3 tablespoons water, let sit for 5 minutes). If you experiment with an egg substitute, please let us know how your brownies turn out in the comments section!
If you’re truly looking for a brownie fix without any baking at all and want to avoid eggs, my edible brownie batter recipe is eggless and incredibly quick to prepare – ready to enjoy in just 5 minutes!
Absolutely! This small batch recipe is easily scalable. Feel free to simply double the entire recipe’s ingredients. When doubling, you should bake it in a standard 8×8-inch square pan for approximately 30-35 minutes, or until the toothpick test indicates doneness. If you’re looking for more inspiration for larger batches or different variations, be sure to check out my other delicious dessert bars and brownie recipes on the blog.
This recipe is perfectly formulated for an 8×4-inch or 9×5-inch metal loaf pan. You can technically use any size loaf pan you have available, but keep in mind that the pan’s dimensions will affect the final thickness of your brownies. A smaller pan will yield thicker brownies, while a larger one will result in thinner brownies and potentially a shorter baking time.
No, I strongly advise against using a glass pan for this brownie recipe. Please stick to a metal pan for the best results.
The reason is rooted in how different materials conduct heat. Glass is an insulator, meaning it heats up slowly and retains heat for a long time. This often leads to uneven baking, where the edges can become over-baked and dry before the center is fully set. Furthermore, glass pans can be prone to shattering if subjected to rapid temperature changes, for example, from a hot oven to a cold countertop.
Conversely, metal is an excellent conductor of heat. It heats up quickly and distributes heat much more evenly throughout the batter, promoting a consistent bake, those desirable crispy edges, and a perfectly fudgy interior without drying out the brownies.
Storage Solutions for Your Small Batch Brownies
Room Temperature Storage
If you happen to have any of these delicious brownies leftover – a rare occurrence, perhaps! – they store beautifully. Once completely cooled, place them in an airtight container at room temperature. They will remain wonderfully fresh and fudgy for up to 4 days. In my opinion, their flavor and texture often peak on the day after they’re baked, allowing the chocolate to fully meld and deepen.
Serving Tip: For an extra indulgent treat, warm a brownie in the microwave for about 15-20 seconds until just slightly gooey, then top it with a generous scoop of vanilla bean ice cream 😋. Pure bliss!
Freezing Instructions
If you’d like to save some brownies for a future craving or simply extend their shelf life, they freeze exceptionally well. Once the brownies are fully cooled and sliced, wrap individual pieces tightly in plastic wrap, then place them in a freezer-safe airtight container or a heavy-duty freezer bag. Store them in the freezer for up to 1 month. When you’re ready to enjoy them, simply let them thaw at room temperature for an hour or two before serving. You can also briefly warm them in the microwave for that freshly baked experience.
More Irresistible Brownie Recipes You’ll Love
-
Fudgy Mug Brownie
-
Mini Brownie Bites
-
Mini Brownie Bites
-
Easy Fudgy Sourdough Discard Brownies
-
Thick Fudgy Chocolate Raspberry Brownies
-
Thick Fudgy Chocolate Raspberry Brownies

Did you try this recipe?
We’d love to hear your thoughts and see your delicious creations! Please let us know what you thought by leaving a comment below. Don’t forget to share your baked masterpieces on Instagram, Facebook, & Pinterest! Tag us so we can see your amazing brownies!
Thank you for baking with us!
-Kayla
📖 Recipe
Fudgy Small Batch Brownies
Kayla Burton
Pin Recipe
Equipment
-
8×4 or 9×5-inch Metal loaf pan greased & lined with parchment paper
-
Mixing bowls
-
Measuring spoons
-
Scale/measuring cups
-
Spatula
-
Whisk
Ingredients
- ⅓ cup (42 g) all-purpose flour
- 6 tablespoons (32 g) unsweetened cocoa powder
- ⅛ teaspoon salt
- 6 tablespoons (84 g) unsalted butter measured, then melted & slightly cooled
- ¾ cup + 2 tablespoons (175 g) granulated sugar
- 1 teaspoon vanilla extract
- 1 large egg room temperature
- ¼ cup (45 g) semi-sweet chocolate chips or your favorite chocolate
Instructions
-
Preheat your oven to 350°F (177°C). Lightly grease a metal loaf pan (8×4 or 9×5-inch) with non-stick spray and line it with parchment paper, allowing the edges to hang over the sides for easy removal.
-
In a small bowl, whisk together the all-purpose flour, unsweetened cocoa powder, and salt until thoroughly combined.⅓ cup all-purpose flour, 6 tablespoons unsweetened cocoa powder, ⅛ teaspoon salt
-
In a medium bowl, vigorously whisk together the slightly-cooled melted butter, granulated sugar, vanilla extract, and one large egg for 2-3 minutes. This is key for that shiny, crinkly top.6 tablespoons unsalted butter, ¾ cup + 2 tablespoons granulated sugar, 1 teaspoon vanilla extract, 1 large egg
-
Add your dry ingredients to the wet mixture. Using a spatula, stir gently until no dry streaks of flour remain in the batter. Be careful not to overmix.
-
Fold in the semi-sweet chocolate chips until they are evenly distributed throughout the batter.¼ cup semi-sweet chocolate chips
-
Pour the brownie batter into the prepared loaf pan and use your spatula to smooth out the top for an even layer.
-
Bake the brownies on your oven’s middle rack for approximately 25-30 minutes.
Check for doneness: Gently shake the pan. Does the center still jiggle significantly? If yes, continue baking for a few more minutes. If it’s mostly set with a slight tremble, insert a toothpick into the center. Is the toothpick covered in wet batter? If so, it needs more time. If there are just a few moist crumbs clinging to the toothpick, your fudgy brownies are done!
Save This Recipe! 💌
We’ll email this post to you, so you can come back to it later!
Video
Notes
The provided nutritional information is an estimate per serving. Accuracy is not guaranteed.
