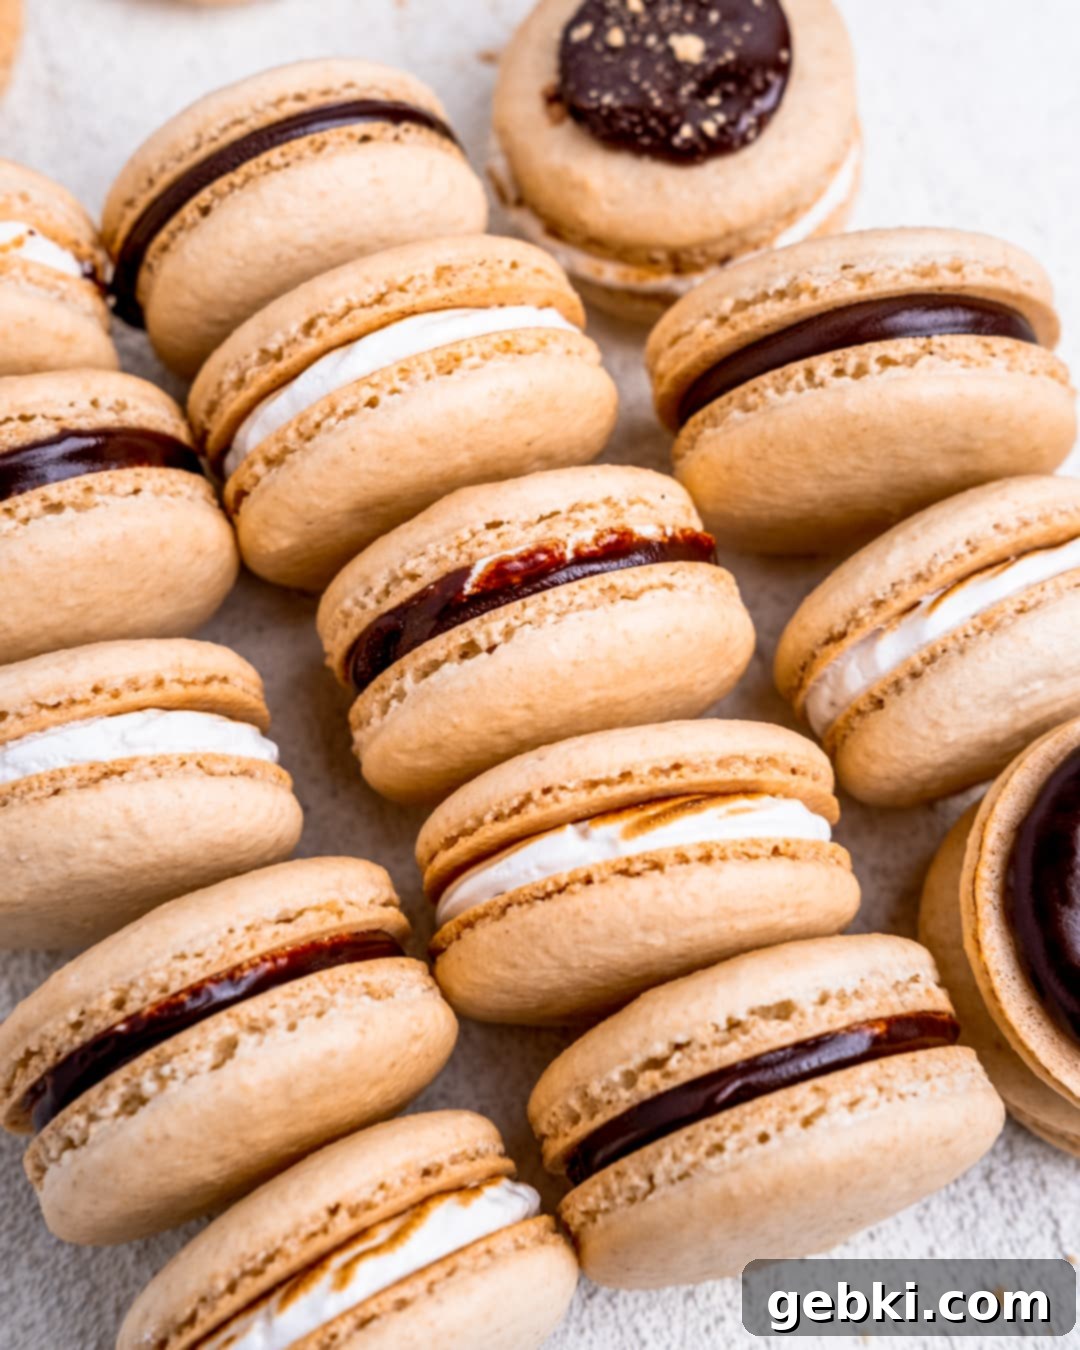
Elevate Your Dessert Game: The Ultimate S’mores Macarons Recipe with Swiss Meringue Perfection
There’s an undeniable magic to the classic s’more. It conjures images of crackling campfires, starlit nights, and the simple joy of toasting marshmallows on a stick, often leaving you with sticky fingers and clothes smelling faintly of smoke. It’s a deliciously messy, wonderfully rustic treat that embodies the spirit of summer nights and cherished memories, especially for anyone who grew up enjoying bonfires in places like Wisconsin. But what if you could capture all that beloved s’mores flavor – the crunchy graham cracker, the rich chocolate, and the gooey, toasted marshmallow – and transform it into something truly refined? Something that commands attention at a dinner party, yet still evokes that heartwarming nostalgia?
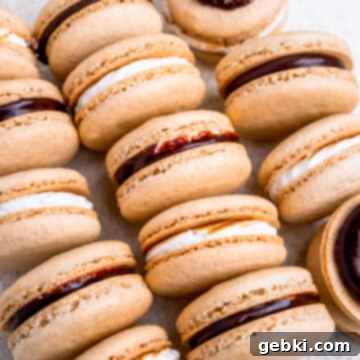
Enter the world of gourmet baking with our exquisite S’mores Macarons! This recipe takes the beloved campfire classic and elevates it into a sophisticated French-inspired confection. Imagine delicate, crisp graham cracker-flavored macaron shells, expertly piped and baked, giving way to a luscious dark chocolate ganache filling and a cloud of perfectly toasted marshmallow cream. It’s the ultimate fancy s’more, designed to impress and delight, proving that even the most laid-back treats can be dressed up for a special occasion. Perfect for when you want to celebrate, or simply indulge in a beautifully crafted dessert after a long year of simpler pleasures.
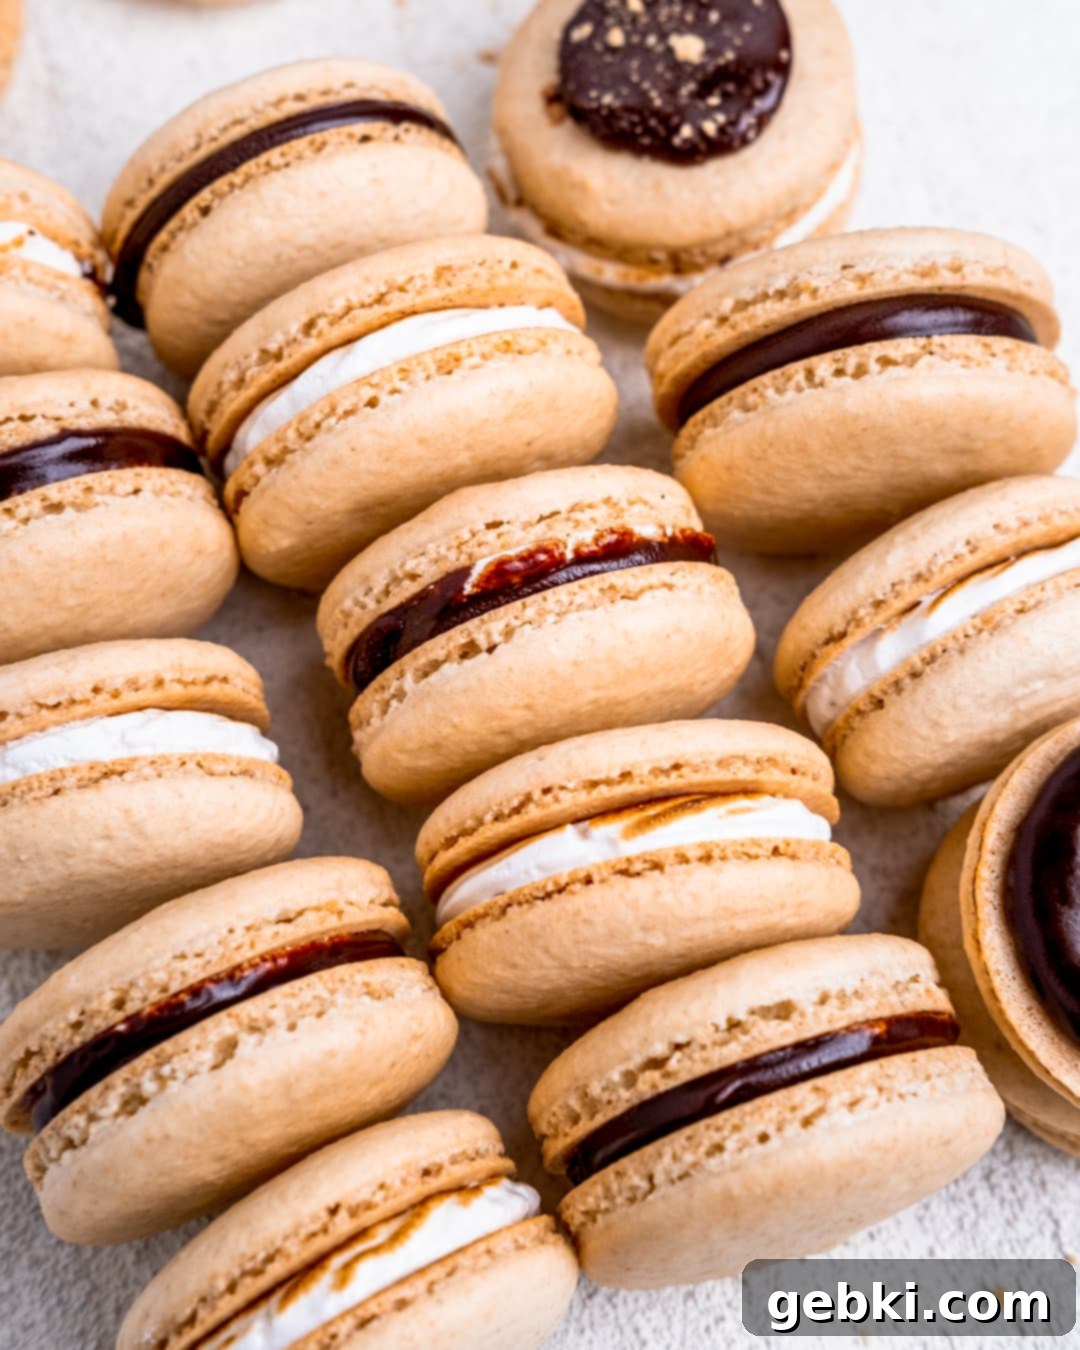
For many bakers, macarons have a reputation for being notoriously tricky to master. Their delicate nature, the finicky meringue, and the precise technique required can be daunting. However, after extensive experimentation and countless batches, I’ve discovered a game-changer that has dramatically improved my macaron success rate: switching from the traditional French method to the Swiss method. While a new, reliable oven certainly helps, the Swiss meringue technique is truly a revelation for consistent, beautiful macaron shells.
The core distinction between the Swiss and French methods lies in how the egg whites and sugar are prepared. In the French method, granulated sugar is gradually whipped into raw egg whites, creating a meringue. The Swiss method, on the other hand, involves gently heating the egg whites and sugar over a double boiler before whipping them into a meringue. This seemingly small extra step, taking only a few minutes, makes an astonishing difference in the stability and texture of the meringue. It creates a more robust, forgiving base for your macaron batter, leading to fewer cracked shells, better “feet,” and an overall smoother baking experience. If you’ve struggled with macarons in the past, giving the Swiss method a try could be the key to unlocking your macaron-making potential, particularly when aiming for perfect graham cracker shells for your s’mores macarons.
Craving more delightful s’mores creations? Don’t miss my S’mores Donuts recipe for another irresistible twist on this classic!
[feast_advanced_jump_to]
Mastering the Meringue: The Swiss Method’s Essential Step for Perfect Macarons
The foundation of any successful macaron lies in a perfectly crafted meringue, and the Swiss method offers unparalleled stability. This technique begins by gently heating the egg whites and granulated sugar over a double boiler. You’ll place your stand mixer bowl (or a large heat-resistant bowl) directly over a pot of simmering water, ensuring the bottom of the bowl doesn’t touch the water. Whisk continuously, but gently, until the mixture reaches approximately 100-110°F (about 38-43°C). Using a reliable thermometer is crucial here for accuracy. At this temperature, the sugar crystals fully dissolve into the egg whites, creating a smooth, stable syrup. While the exact scientific reasons are complex, this gentle heating process pasteurizes the egg whites, strengthens their protein structure, and helps prevent over-whipping, which can be a common pitfall in other macaron methods. Some bakers also believe this slight “pre-cooking” helps to lightly dehydrate the egg whites, similar to the traditional method of aging egg whites, contributing to a more stable meringue.
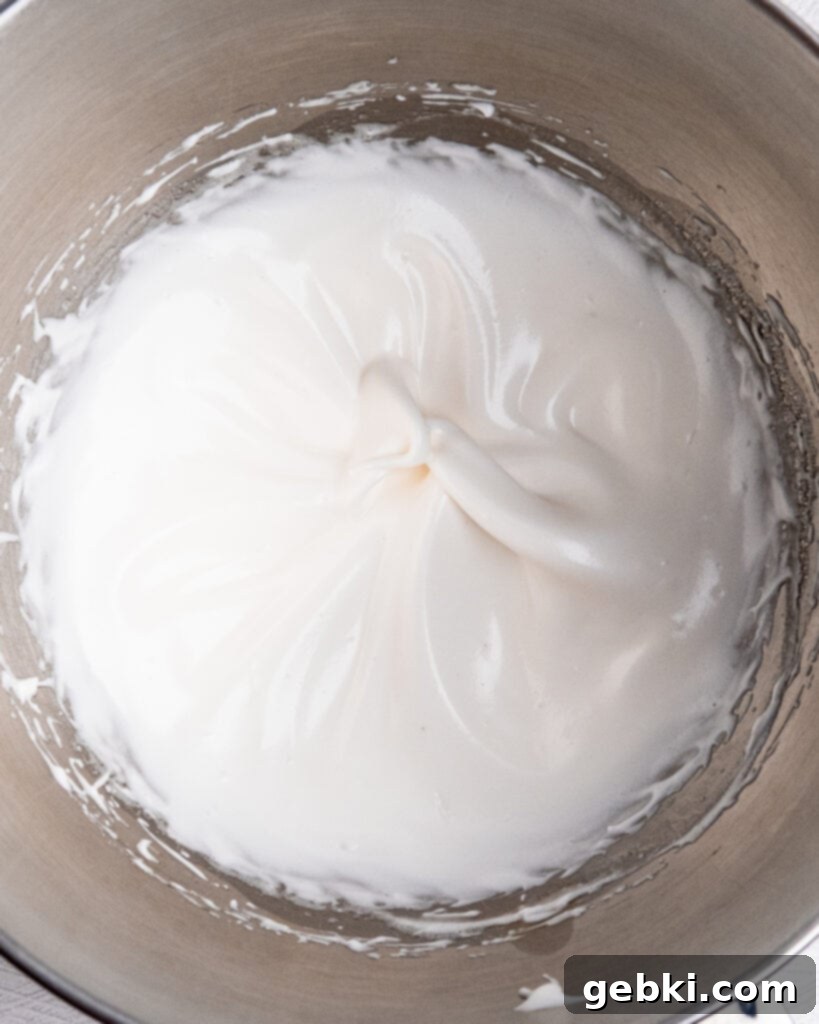
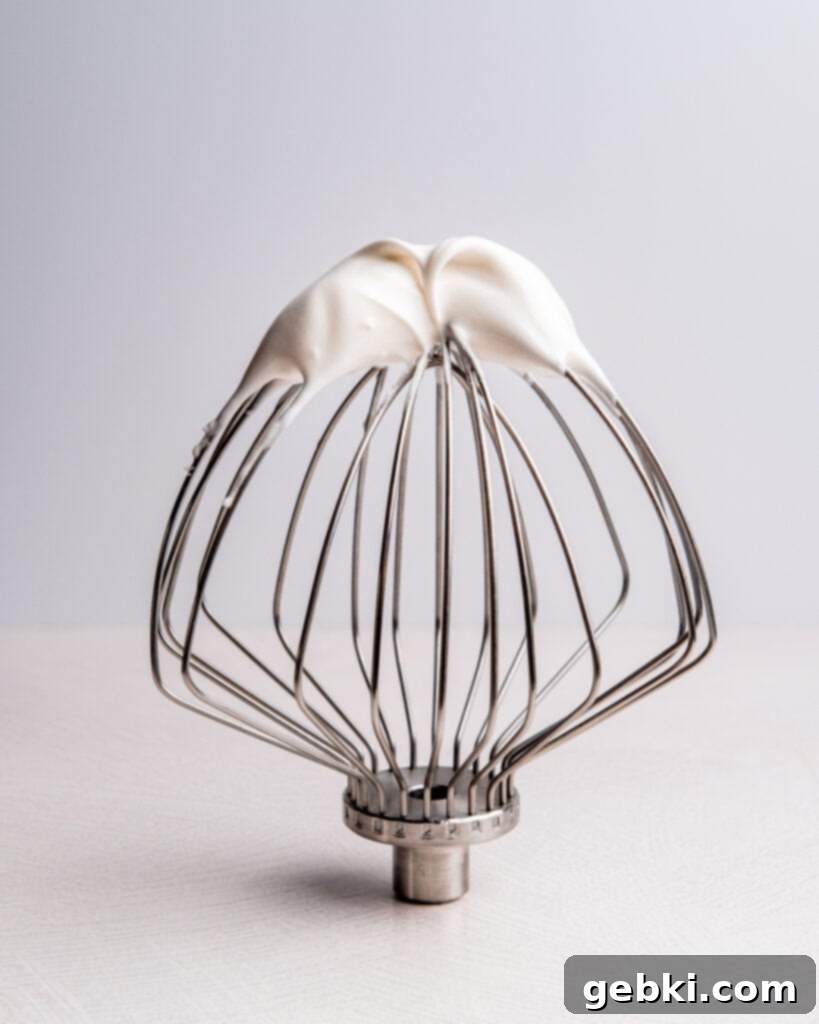
Once the egg white and sugar mixture reaches the desired temperature and you observe a more transparent, syrupy consistency beneath the surface bubbles, carefully transfer the bowl to your stand mixer, fitted with a whisk attachment. Begin whisking on a low speed. This initial low speed serves two important purposes: it allows the hot meringue mixture to cool down gradually, and it gently incorporates air without over-agitating the proteins. After a few minutes, progressively increase the mixer speed by 1-2 notches every 3-5 minutes. As the meringue cools and thickens, it will transform from a foamy liquid into a glossy, white, and voluminous cloud. Once it reaches a medium-high speed (around speed 8 on most mixers) and has visibly thickened, incorporate the vanilla extract. Then, increase the speed to full and continue whipping until you achieve what’s known as “soft peaks.” For Swiss method macarons, soft peaks are often ideal – the meringue should hold its shape, but the tip will gently curl or “droop” slightly when the whisk is lifted. Over-whipping to stiff peaks can make the macaron batter too stiff and difficult to macaronage, so aim for that perfect balance.
The Art of Macaronage: Sifting and Folding for Flawless S’mores Shells
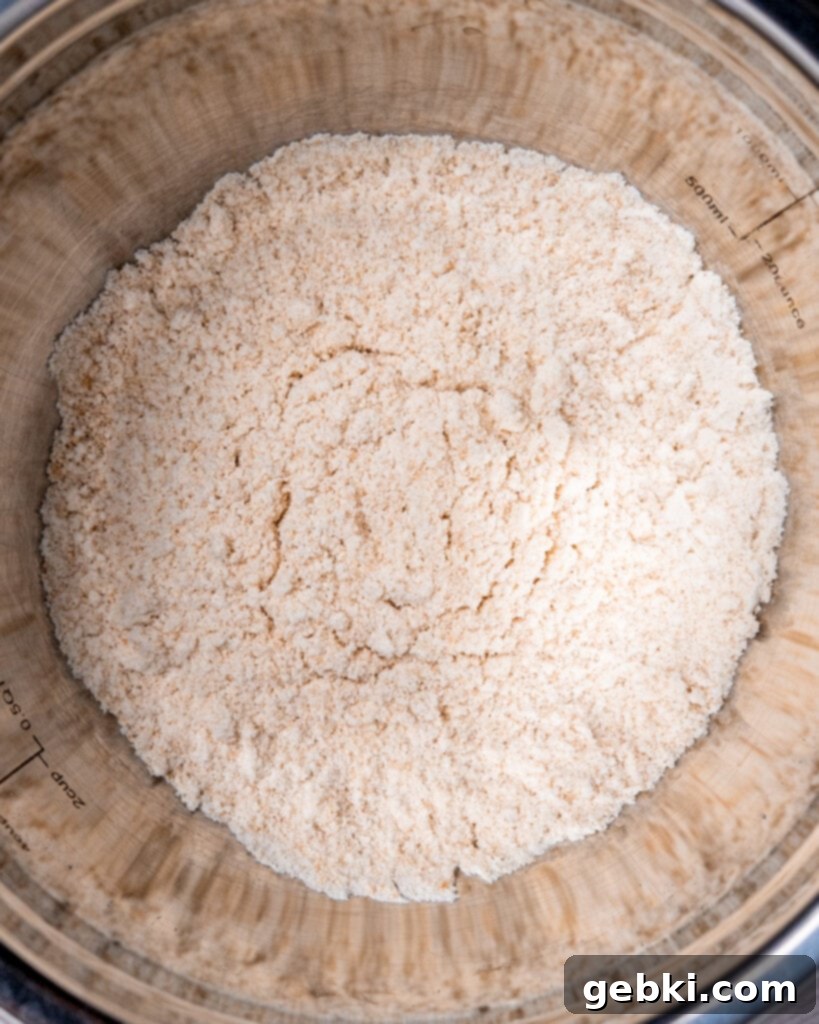
Once your stable Swiss meringue is ready, the next crucial step is incorporating the dry ingredients. Traditionally, this involves almond flour and powdered sugar. However, for our delightful s’mores macarons, we introduce a key flavor component: finely crushed graham cracker crumbs. This addition is what truly sets these macaron shells apart, giving them that authentic, irresistible graham cracker essence. Given that graham cracker crumbs can be significantly coarser than almond flour or confectioners’ sugar, proper preparation is paramount. You can start with pre-crushed crumbs, or for the freshest flavor and finest texture, I highly recommend making your own. Weigh out approximately 1½ sheets (about 23 grams) of graham crackers and pulse them in your food chopper or processor until they resemble fine sand. Then, combine these with the almond flour and powdered sugar. This entire dry mixture absolutely must be sifted multiple times to eliminate any larger pieces or lumps. Coarse particles will not only create an uneven, lumpy surface on your macaron shells but can also contribute to cracking during baking. Don’t be afraid to go between chopping and sifting several times until you achieve an exceptionally fine, consistent powder. This meticulous sifting process ensures a smooth, delicate shell texture, vital for gourmet macarons.
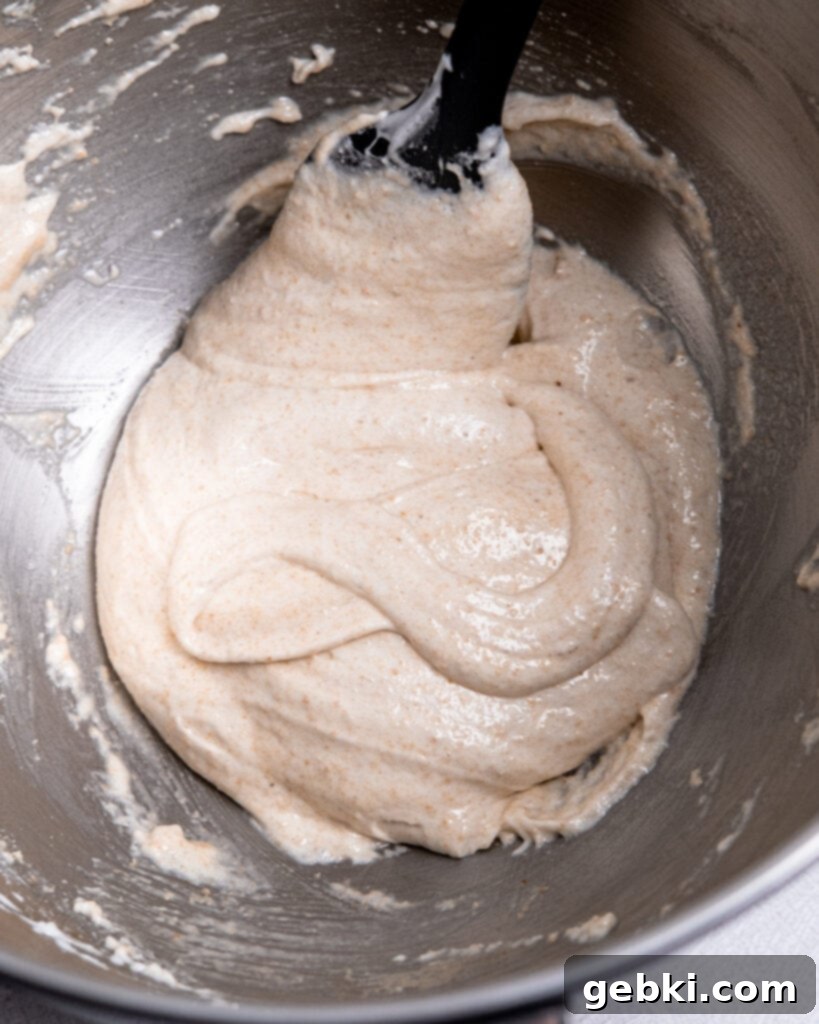
The “macaronage” is arguably the most critical and often intimidating stage of macaron making – it’s where the dry ingredients are carefully folded into the meringue to achieve the perfect batter consistency. The goal is to deflate just enough air from the meringue to create a flowing, ribbon-like batter, but not so much that it becomes watery. Add the sifted dry mixture to your meringue in two stages, gently folding with a spatula. Use a specific technique: scrape down the sides of the bowl, then push the batter from the center outwards, rotating the bowl as you go. Work slowly and patiently, as over-mixing is a common cause of macaron failure, leading to flat shells or no “feet.” You’ll know your macaronage is perfect when the batter, lifted on your spatula, flows down in a continuous stream, forming a “figure 8” that holds its shape for a few seconds before disappearing back into the main batter. This is often referred to as “lava-like” consistency.
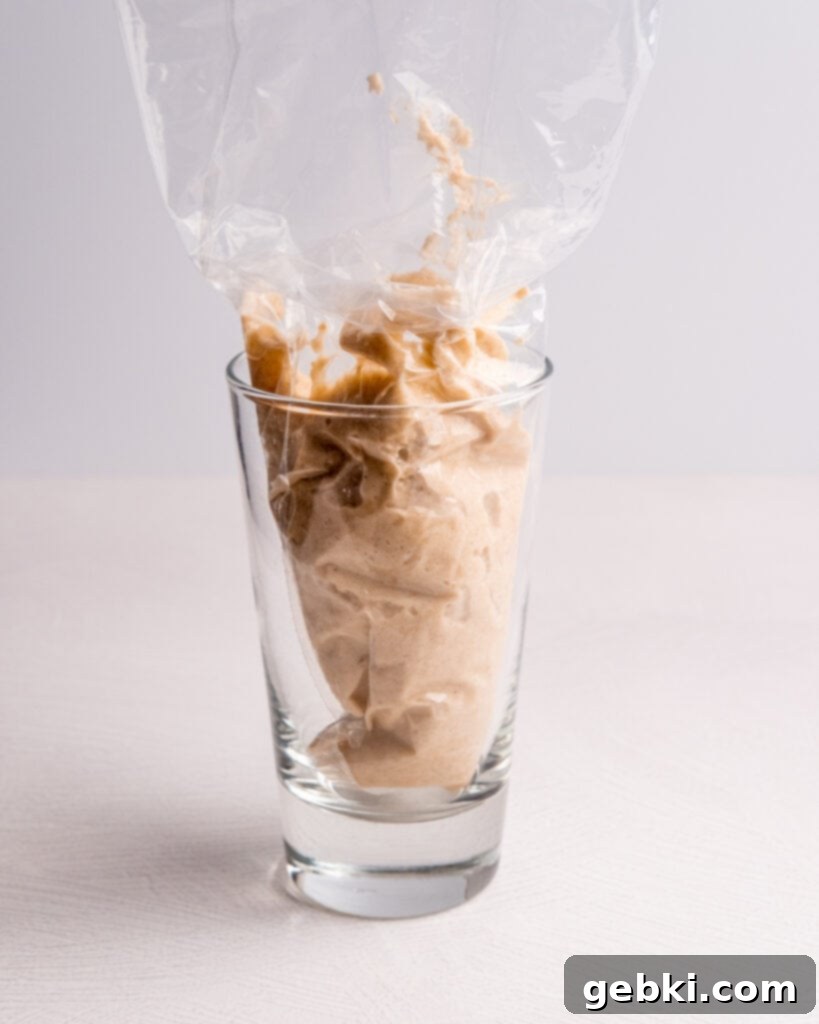
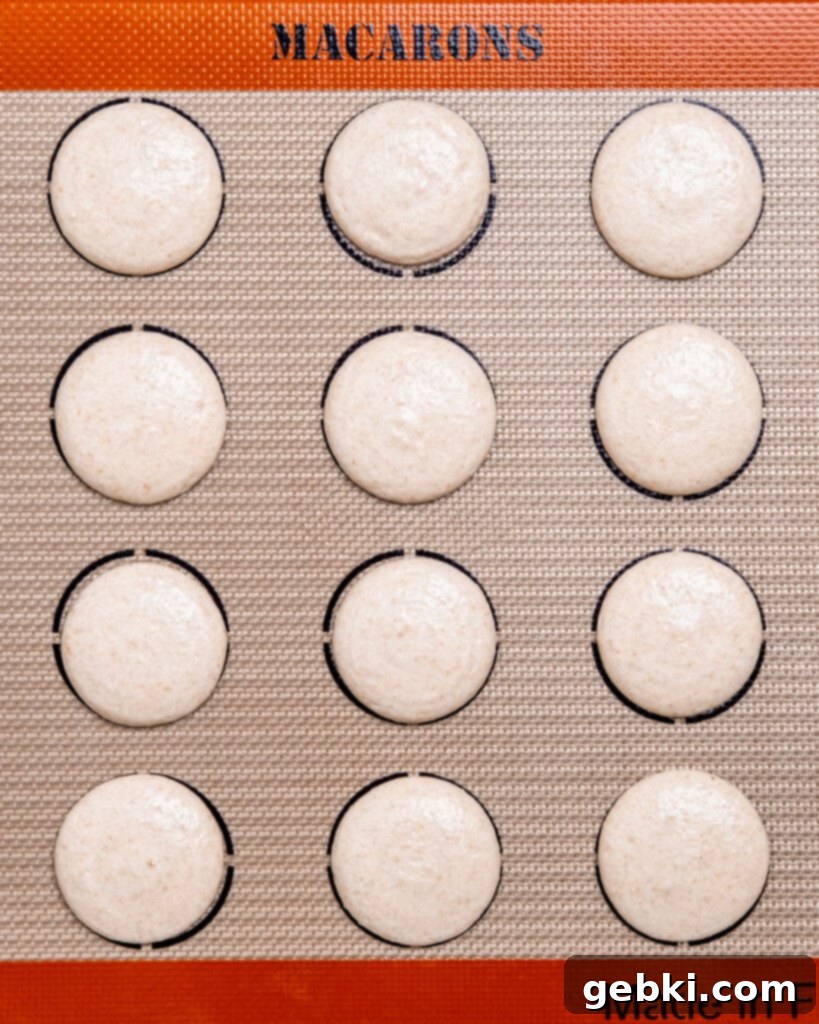
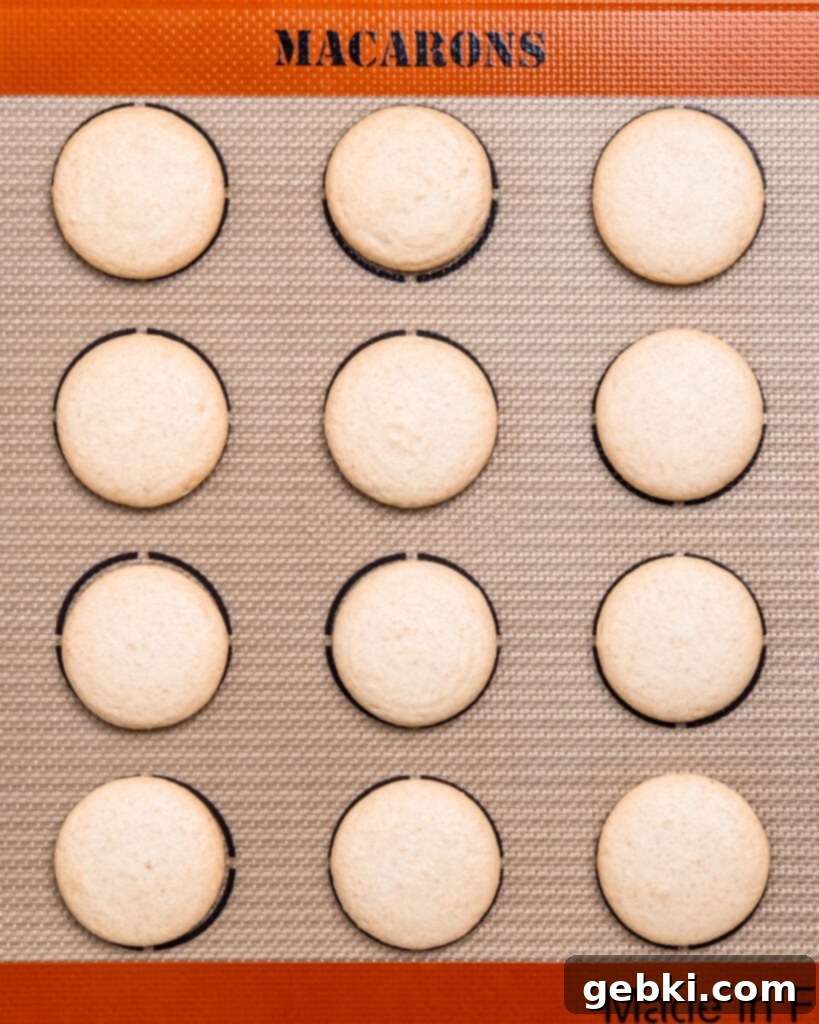
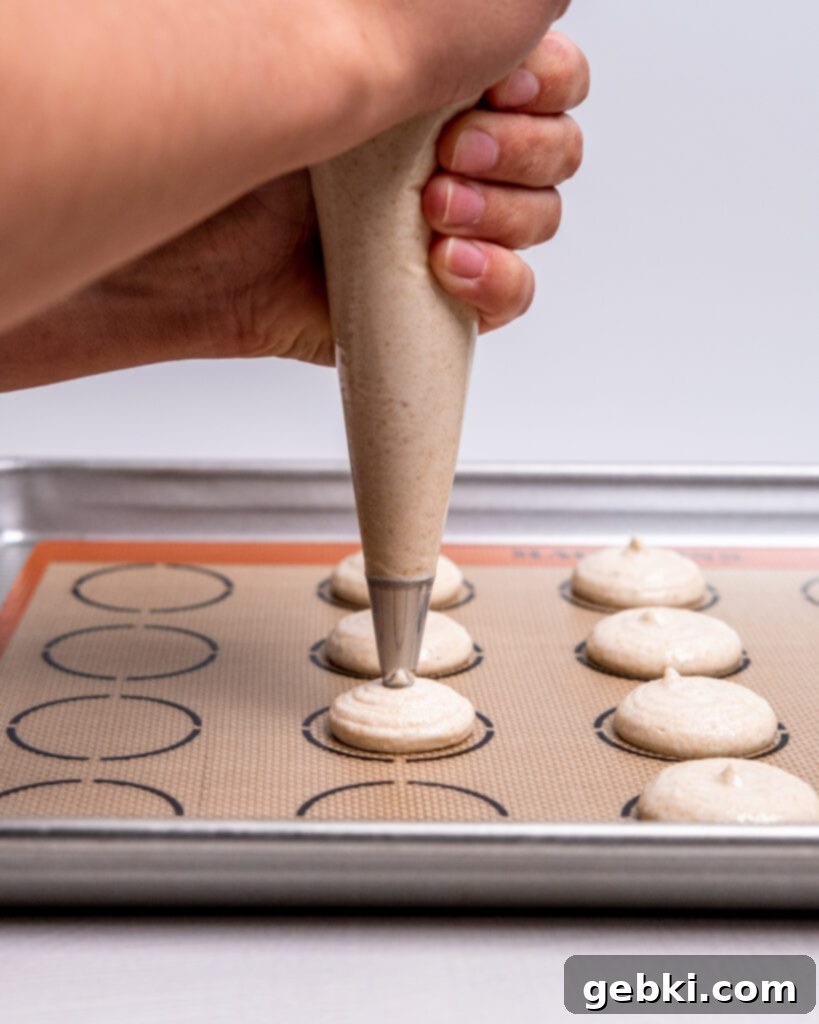
Once you’ve achieved this ideal consistency, transfer the batter into a pastry bag fitted with a medium round tip. Pipe uniform circles onto a baking sheet lined with a silicon mat (highly recommended for even baking and smooth bottoms) or parchment paper. Immediately after piping, vigorously bang your baking sheet against the counter several times. This crucial “degassing” step forces any trapped air bubbles to the surface, which you can then pop with a toothpick. Failing to degas can result in hollow shells or cracked tops. Finally, allow your piped shells to rest at room temperature, undisturbed, until they form a slight “skin” – they should be smooth and dry to the touch, and you shouldn’t be able to easily indent them. This resting period, which can vary based on your kitchen’s humidity, is essential for promoting the development of the characteristic “feet” (the ruffled base) during baking.
The Perfect Pairings: Rich Chocolate Ganache and Toasted Marshmallow Cream
No s’more is complete without its signature fillings, and for our S’mores Macarons, we’re pairing these delicate shells with two iconic flavors: a luxurious chocolate ganache and a fluffy, toasted marshmallow cream. The interplay of these textures and tastes creates a truly authentic and decadent experience.
Our rich chocolate ganache is simple yet incredibly effective. Made with good quality semi-sweet chocolate chips and heavy whipping cream, it offers a deep, satisfying chocolate flavor that perfectly complements the graham cracker shells. The key to a smooth ganache is to let the hot cream melt the chocolate completely before stirring. Patience is a virtue here; resisting the urge to stir too early prevents the chocolate from seizing. Once fully melted, gentle stirring from the center outwards creates an emulsified, glossy, and thick ganache that holds its shape beautifully when piped. Allow it to cool and thicken to a pipeable consistency – a little time in the refrigerator with occasional stirring can speed this up.
For the marshmallow component, I’ve opted for a homemade marshmallow meringue. This choice is deliberate, as a meringue-based marshmallow cream offers superior structural integrity, allowing for elegant piping with a star tip and holding its shape without deflating. The process involves gently heating egg whites and sugar with a touch of cream of tartar, then whipping them into stiff, glossy peaks before adding vanilla extract. The result is a light, airy, yet stable filling. While making your own marshmallow meringue provides a premium touch, a high-quality store-bought marshmallow fluff can certainly be used as a convenient alternative if you’re short on time, without compromising too much on flavor. Both options deliver that unmistakable sweet, sticky marshmallow goodness.
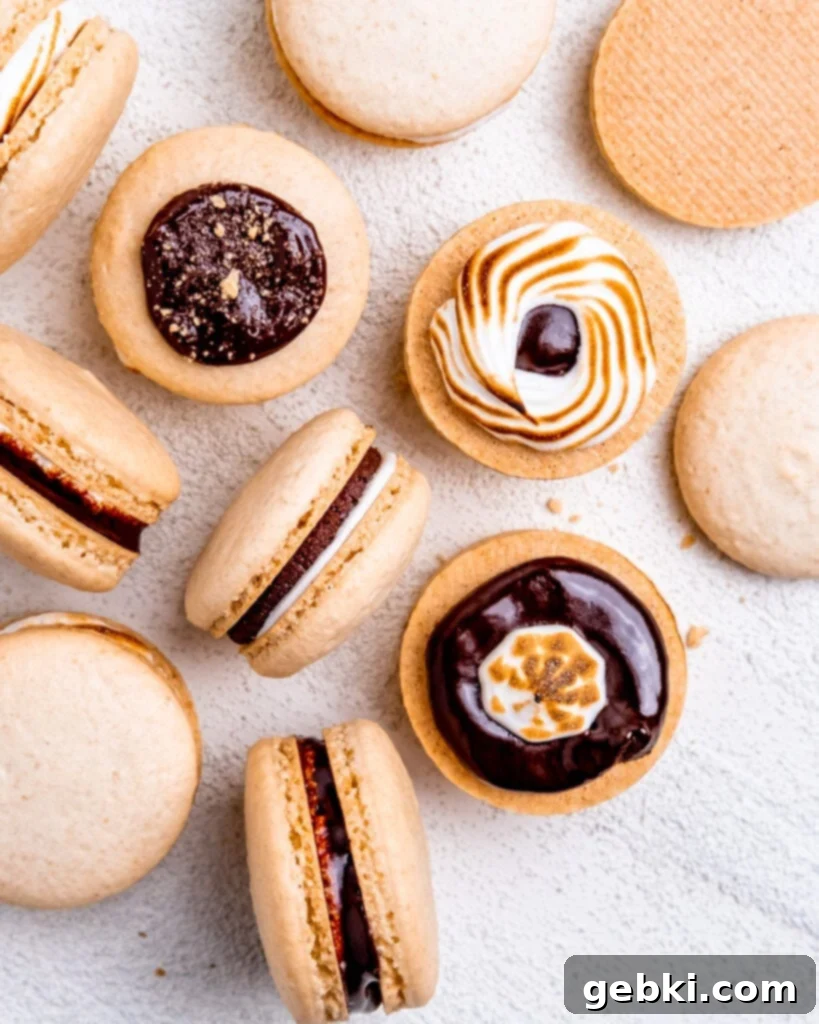
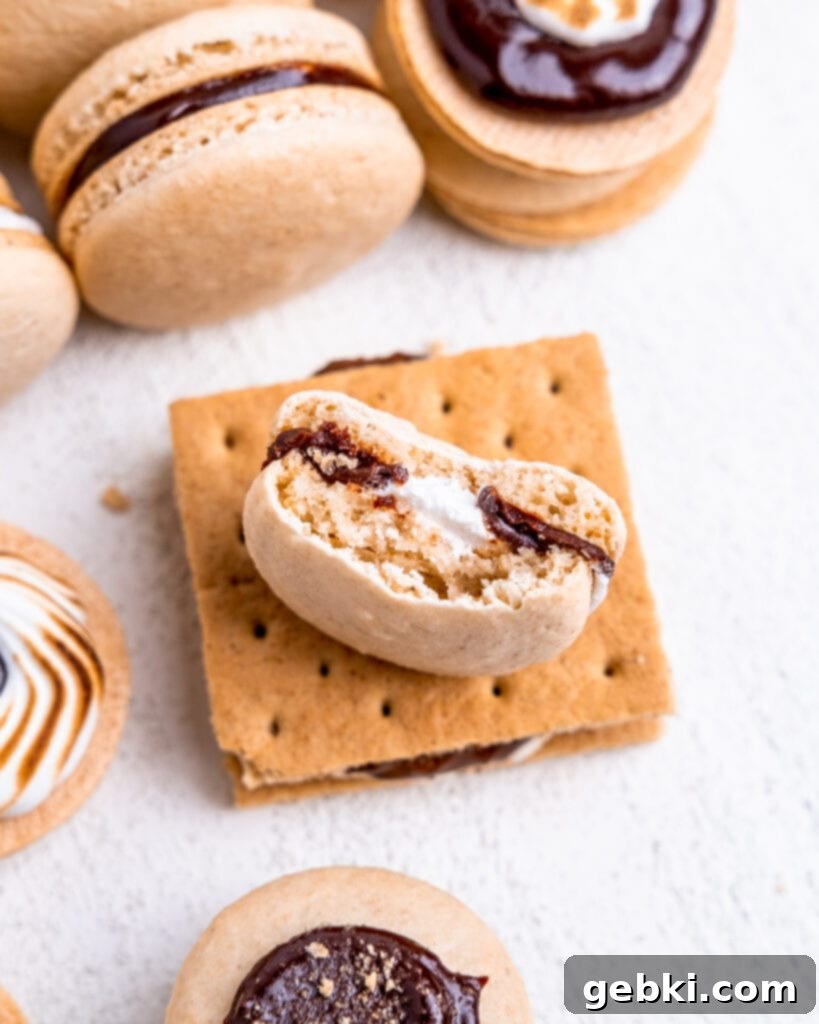
The final touch for these gourmet s’mores macarons is the optional, but highly recommended, toasting of the marshmallow cream. Using a kitchen torch adds a beautiful golden-brown color and a wonderfully smoky, caramelized flavor that truly mimics a campfire s’more. To assemble, pipe a dime-sized dollop of chocolate ganache into the center of one macaron shell. Then, using your marshmallow cream, swirl a generous amount around the ganache. Alternatively, you can pipe a circle of ganache around the edge and fill the center with marshmallow. Carefully torch the marshmallow cream until lightly golden and slightly bubbly. This visual and aromatic detail elevates the dessert further, making it not just a treat for the taste buds, but also a feast for the eyes. Finally, gently place an empty macaron shell on top of the fillings, pressing lightly to secure the two halves together, and repeat for all your beautifully crafted macarons.
Essential Tips & Storage for Your S’mores Macarons
When baking delicate confections like macarons, precision is paramount. Macarons are notoriously finicky, and even slight discrepancies in ingredient measurements can lead to disastrous results – from hollow shells to cracked tops or a lack of “feet.” Volume measurements using cups are inherently inaccurate; flour can be packed differently, and liquids can be misread. However, using a high-quality digital kitchen scale to measure ingredients by weight (grams) provides an exact and consistent measurement every single time. This eliminates variables and significantly increases your chances of macaron success. It’s a small investment that yields huge returns in your baking accuracy and confidence, ensuring your graham cracker shells are perfectly consistent.
Absolutely! While the homemade marshmallow meringue offers a slightly more refined texture and impressive piping capabilities (especially when toasted), store-bought marshmallow fluff is a perfectly acceptable and delicious substitute. It will save you a step in the preparation process and still deliver that iconic sweet, gooey marshmallow flavor essential to S’mores Macarons. Simply ensure it’s at room temperature for easier piping. The essence of the s’mores experience will remain intact, making this gourmet treat accessible to all bakers.
Yes, this step is critically important and should not be skipped! After piping your macaron shells, they will contain tiny air bubbles trapped within the batter. If these bubbles aren’t released before baking, they can cause your shells to crack, become hollow, or develop an uneven surface. The act of lifting the baking pan about 6 inches and dropping it firmly onto your counter several times (I recommend at least 5-7 times, and yes, sometimes earplugs are helpful!) forces these air bubbles to the surface. You can then gently pop any remaining visible bubbles with a toothpick. This degassing process is vital for achieving smooth, unblemished macaron shells with desirable “feet” and a full, even interior.
Indeed, the resting period, often called “curing” or “drying,” is a non-negotiable step for successful macarons. After piping, the shells need to sit uncovered at room temperature to allow a thin skin or crust to form on their surface. This process usually takes between 30 to 60 minutes, but it can vary significantly depending on the humidity and temperature of your kitchen. To check if they’re ready, gently touch a shell: it should feel smooth and dry, without any batter sticking to your finger. This dry “skin” is what prevents the macaron from cracking during baking and helps to push the batter downwards, forcing the characteristic ruffled “feet” to form. Rushing this step will almost certainly lead to cracked, footless shells, so be patient!
To maintain their delicate texture and delicious flavor, S’mores Macarons should be stored in an airtight container in the refrigerator. They will remain fresh and delightful for up to one week. However, a crucial tip for optimal enjoyment is to allow them to “mature” or “macaronage” in the refrigerator for at least 24 hours before serving. During this time, the moisture from the chocolate ganache and marshmallow cream filling slowly permeates the macaron shells, softening them slightly and allowing the flavors to meld and intensify. This maturation process results in a perfectly chewy interior and an explosion of s’mores flavor, making them even more irresistible. Remove them from the refrigerator about 15-20 minutes before serving for the best experience.
Did you try this recipe?
Tag @brokenovenbaking on Instagram and rate & comment below!
📖 Recipe
S’mores Macarons
Kayla Burton
Pin Recipe
