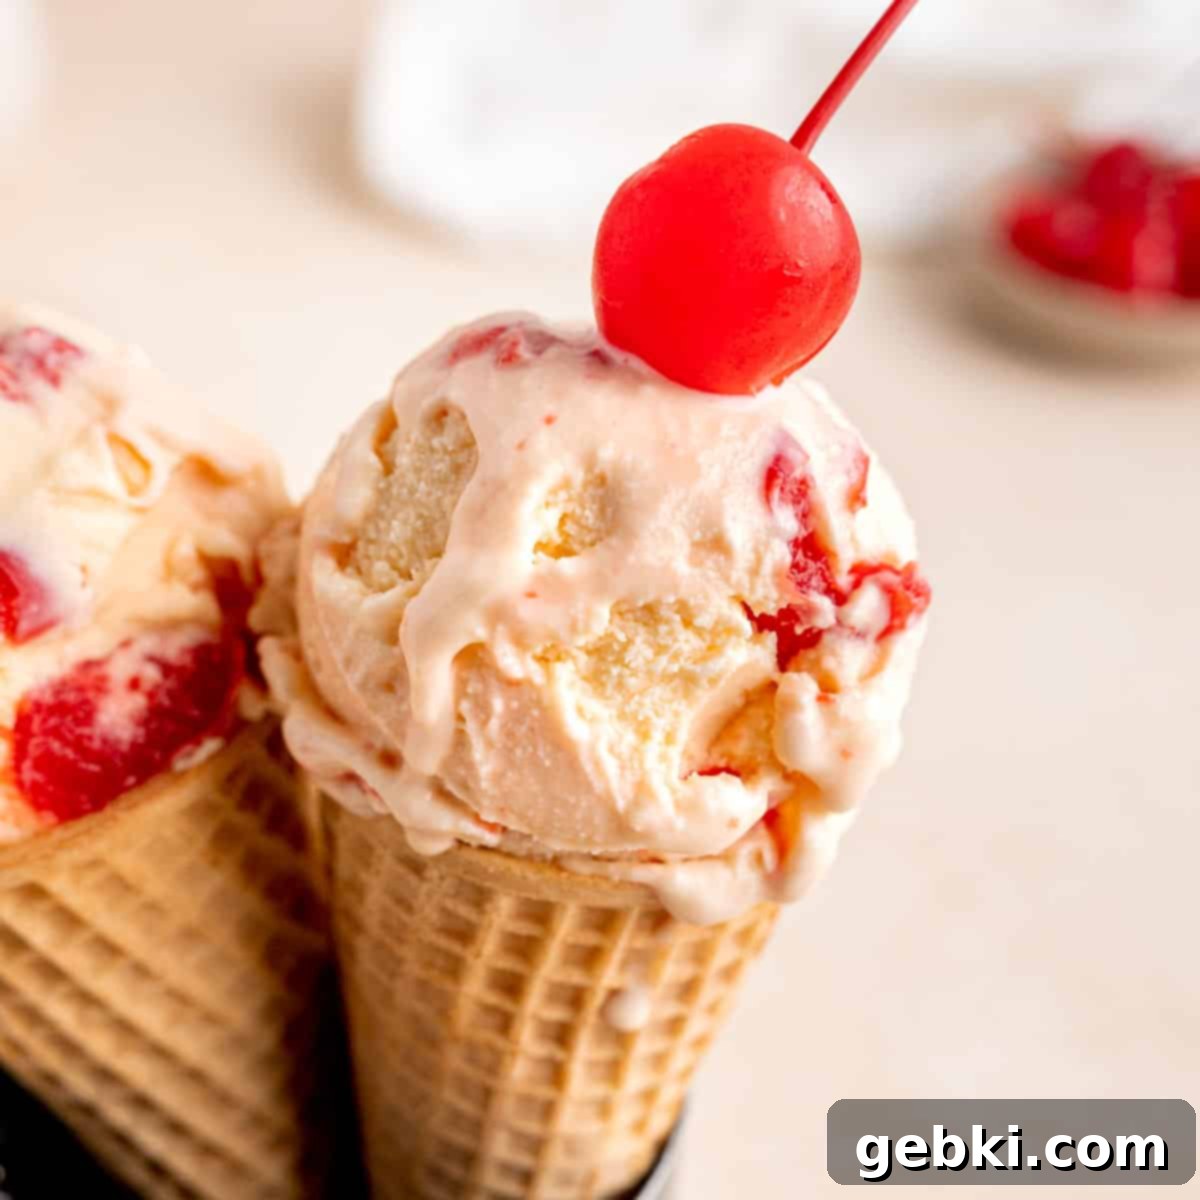
Homemade Cherry Amaretto Ice Cream: A Delicious & Creamy Dessert Recipe
This Cherry Amaretto Ice Cream takes the classic, beloved combination of almonds and cherries to an entirely new level. Imagine a wonderfully dreamy, rich amaretto-infused ice cream base, generously swirled with plump, halved cherries. Each spoonful offers a delightful surprise chew, making every bite an exquisite experience. It’s the perfect harmony of sweet, nutty, and fruity, creating a luxurious frozen dessert that tastes like it came straight from a gourmet parlor.
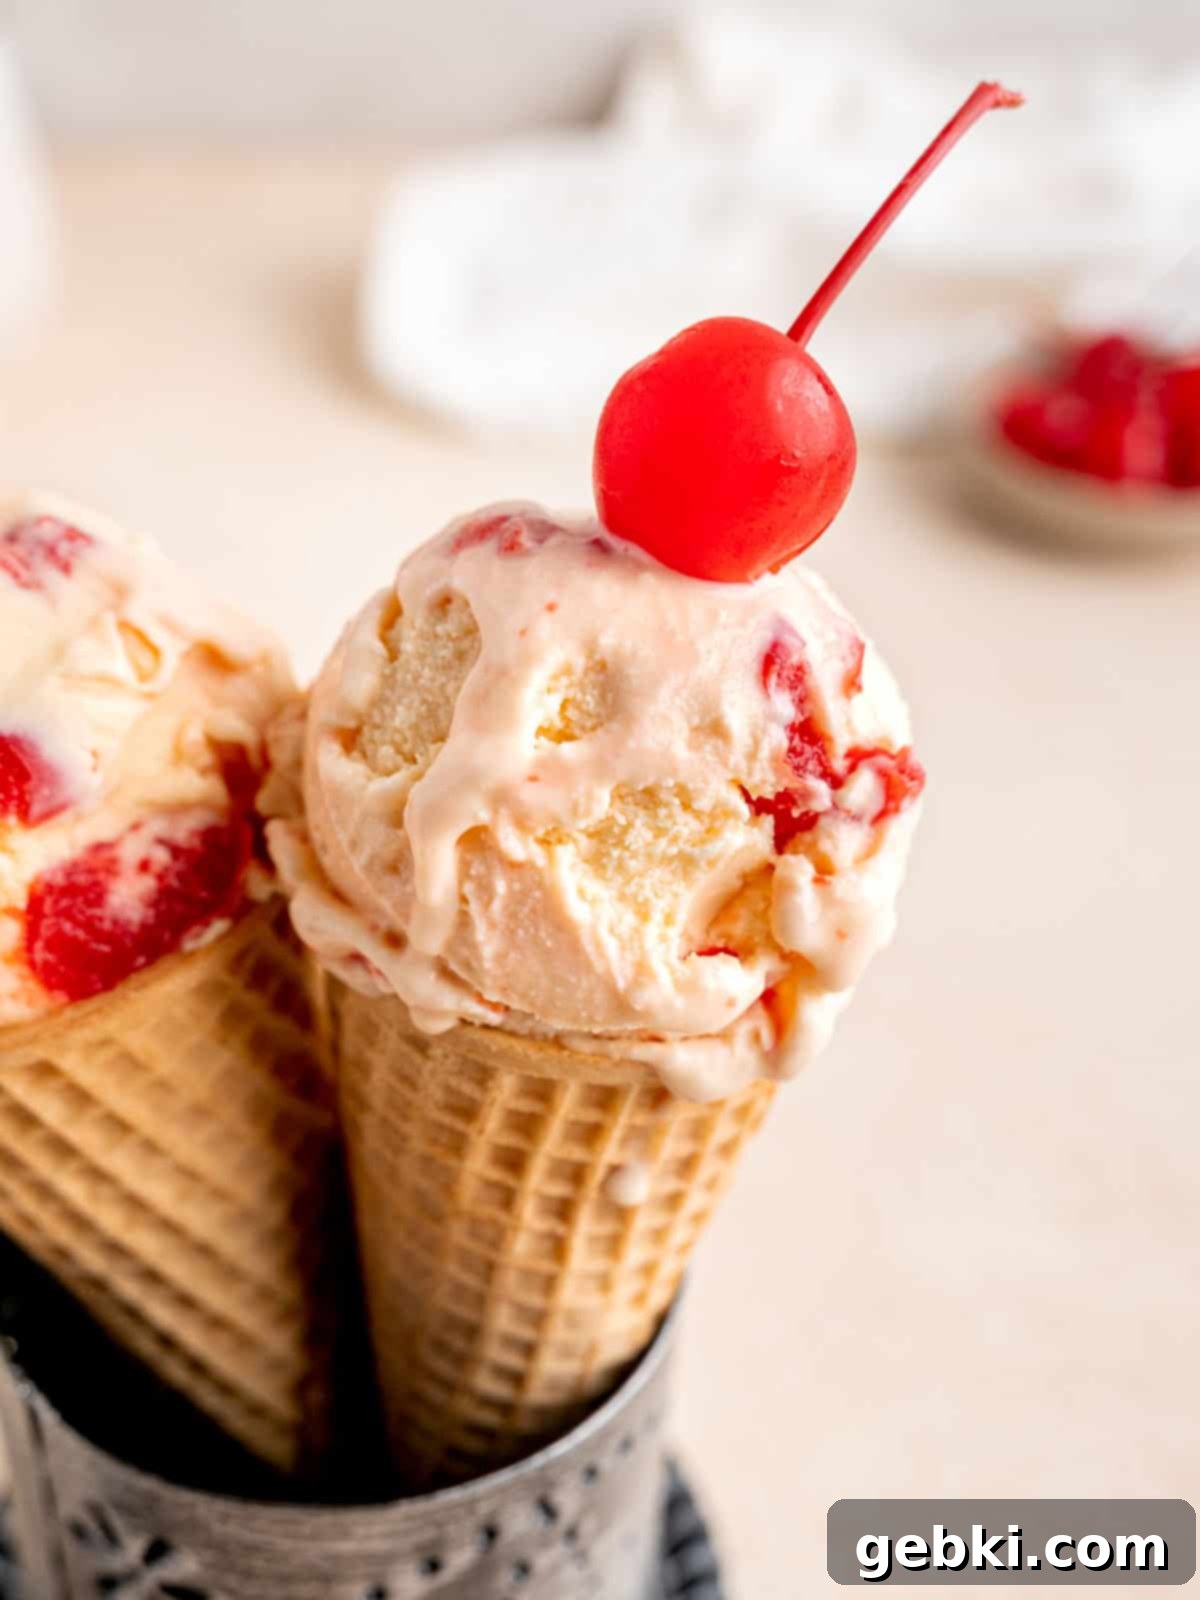
The moment these sophisticated almond and cherry flavors hit your palate, they’ll transport you straight to the sun-drenched landscapes of northern Italy, where amaretto liqueur is said to have originated centuries ago. Even if you’ve never had the pleasure of visiting the picturesque Italian countryside, this homemade amaretto ice cream recipe will bring a taste of that romantic charm to your kitchen. Its elegant and deep flavors are guaranteed to impress your guests, prompting them to exclaim “grazie mille” for sharing such a delightfully tasty and unique dessert!
Why You’ll Adore This Homemade Cherry Amaretto Ice Cream
There’s nothing quite like the satisfaction of creating a gourmet dessert from scratch, and this homemade cherry amaretto ice cream recipe offers that and so much more. Here are just a few reasons why this will quickly become one of your favorite frozen treats:
- Remarkably Simple Ingredients: You’ll be amazed that such an exquisite dessert requires only 7 basic ingredients. This simplicity means less time shopping and more time enjoying the pure, natural flavors. Using high-quality cream, half-and-half, and fresh or quality jarred cherries makes all the difference in the final product’s luscious texture and vibrant taste.
- Perfect for Any Season: While ice cream is often associated with summer, the warm, nutty notes of amaretto combined with sweet cherries make this a versatile dessert for any time of year. Imagine serving it during a cozy winter evening or as a refreshing treat on a hot summer day. The timeless appeal of cherry and almond ensures it’s always a hit, much like adding almond extract to a delightful cherry loaf cake.
- Master Your Ice Cream Base: This recipe teaches you to create a rich, silky smooth custard base – a fundamental skill for any aspiring ice cream maker. Once you master this best ice cream base, the possibilities for endless flavor variations become limitless. Think of it as your culinary canvas for future frozen masterpieces!
- Excellent Freezer Longevity: Unlike some homemade ice creams that quickly turn icy, this recipe is designed to maintain its creamy texture. Stored properly in an airtight, freezer-safe container, it can stay fresh in your freezer for up to 2 months. This makes it ideal for preparing ahead for parties, surprising guests, or simply having a gourmet dessert on hand for those unexpected cravings. (Though, let’s be honest, it probably won’t last that long!)
- A Fun Culinary Adventure: Making ice cream with an ice cream machine is a truly enjoyable and rewarding process. There’s a certain magic in watching your ingredients transform into a decadent dessert. If you love using your ice cream machine, you’ll find this recipe as delightful to create as my Chocolate Malted Crunch Ice Cream and Mint Oreo Ice Cream recipes. It’s a fantastic activity for a weekend project or a special occasion!
Key Ingredients for Your Homemade Amaretto Cherry Ice Cream
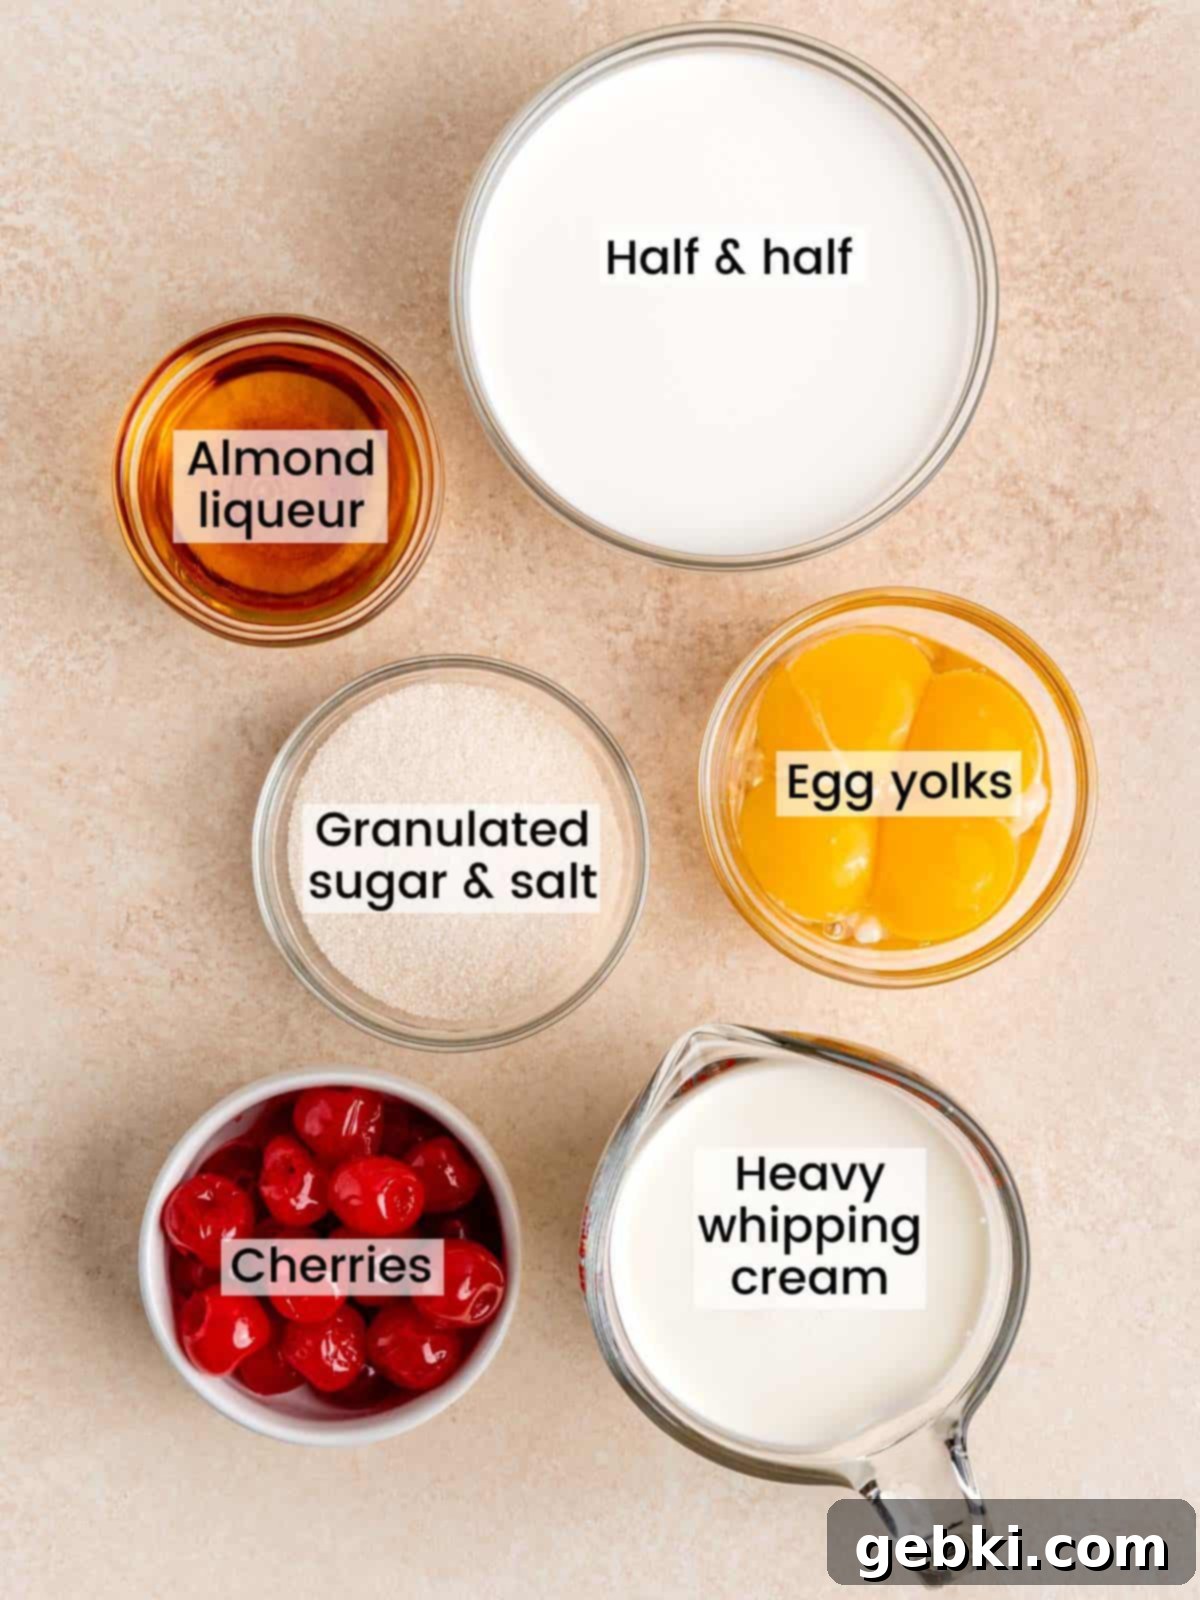
Creating extraordinary homemade ice cream starts with understanding the role each ingredient plays. Here’s a closer look at what you’ll need for this delicious cherry amaretto recipe:
- Almond Liqueur (Amaretto): This is truly the star ingredient that infuses our ice cream with its signature sophisticated almond flavor. Amaretto, meaning “a little bitter” in Italian, often gets its unique taste from apricot pits or almonds, sometimes both, resulting in a sweet, slightly bitter, and marzipan-like essence. For those who prefer a non-alcoholic option, or are serving to children, I personally love using non-alcoholic alternatives like Lyre’s Amaretti, which beautifully mimics the traditional flavor without the alcohol. However, feel free to use your preferred brand of traditional amaretto liqueur, such as Disaronno, which will also contribute a slight softening effect to the ice cream’s texture due to its alcohol content, helping to prevent it from freezing too hard.
- Cherries: The cherries provide a wonderful textural contrast and a vibrant burst of bright, fruity flavor against the rich almond base. For a nostalgic ice cream sundae taste, I opted for classic maraschino cherries, ensuring they are halved for easier chewing and distribution throughout the ice cream. For a more sophisticated and deeply flavored twist, consider using Italian amarena cherries, which are dark, rich, and slightly tart. Alternatively, fresh pitted and halved sweet cherries (when in season) or even dried cherries rehydrated in a little amaretto for an extra boozy kick, would be excellent choices.
- Heavy Whipping Cream & Half-and-Half: These dairy components are essential for creating the incredibly rich and creamy texture that defines great homemade ice cream. The high fat content in heavy cream provides lusciousness and helps prevent large ice crystals from forming, while the half-and-half lightens the base slightly, achieving a perfect balance without sacrificing decadence.
- Egg Yolks: The egg yolks are crucial for creating a traditional French-style custard base (Crème Anglaise), which gives the ice cream its luxurious, smooth, and incredibly rich consistency. They act as an emulsifier and thickener, contributing to a more stable and less icy final product.
- Granulated Sugar: Beyond sweetness, sugar plays a vital role in the texture of ice cream by lowering the freezing point, which helps keep the ice cream softer and scoopable directly from the freezer. It also balances the bitterness of the amaretto and enhances the natural sweetness of the cherries.
- Pinch of Salt: A small amount of salt is a secret weapon in many dessert recipes. It doesn’t make the ice cream salty but rather enhances all the other flavors, particularly the sweetness of the sugar and the nuanced notes of the amaretto and cherries, making them pop even more.
For a full, precise list of ingredients and their exact measurements, please refer to the detailed recipe card located below.
Creative Substitutions & Delicious Variations
One of the joys of making homemade ice cream is the freedom to customize and experiment with flavors. This cherry amaretto base is incredibly versatile, allowing for many delicious twists:
- Experiment with Cherry Types: Don’t limit yourself to maraschino cherries!
- For a more intense and complex flavor, try Italian amarena cherries. These dark, slightly tart cherries packed in syrup offer a sophisticated depth.
- Dried cherries, plumped in a splash of amaretto or hot water, will add a chewy texture and concentrated sweetness.
- When in season, fresh, pitted, and halved sweet or tart cherries will bring a bright, natural freshness.
- For an even more decadent and boozy adult treat, incorporate brandied cherries for an extra layer of flavor and aroma.
- Transform into a Decadent Cherry Almond Sundae: Elevate this amaretto ice cream recipe into an extraordinary sundae experience. Top generous scoops with crunchy toasted slivered almonds for texture, a delicate splash of extra amaretto for intensified flavor, a cloud of freshly whipped cream, and, of course, a perfectly placed cherry on top! You could also drizzle with a homemade cherry sauce or a rich chocolate fudge.
- Chocolate Cherry Fusion: For chocolate lovers, this is a match made in heaven. Swirl in dark chocolate chunks, miniature chocolate chips, or even a ribbon of rich chocolate fudge during the last few minutes of churning. The combination of cherry, almond, and chocolate is a classic for a reason – it’s irresistibly decadent.
- Boost the Almond Crunch: If you adore the nutty texture, toast some slivered almonds until golden brown and fold them into the ice cream along with the cherries. This will provide an extra layer of crunch and a deeper, more pronounced almond flavor.
- Spice it Up: A tiny pinch of cinnamon or a hint of nutmeg can complement the cherry and almond flavors beautifully, adding warmth and complexity. Add these spices to the cream mixture as it heats for a subtle aromatic touch.
While this recipe primarily focuses on the provided ingredients, we always encourage culinary exploration! If you replace or add any ingredients, we would love to hear about your creative experiments and how they turned out in the comments section below. Your feedback helps inspire others!
Essential Equipment for Perfect Homemade Ice Cream
To achieve the best results with this cherry amaretto ice cream recipe, having the right equipment is key. The star of the show, of course, is an ice cream machine, but a few other tools will ensure a smooth and enjoyable process:
- Ice Cream Machine: This is an absolute necessity for churning your custard base into creamy ice cream. I personally use and highly recommend the ice cream maker attachment for my stand mixer, which is a convenient space-saver if you already own a stand mixer. However, you can also easily find excellent stand-alone ice cream makers at most home goods stores or online retailers. Ensure that the freezer bowl component of your machine is thoroughly frozen (usually for at least 12-24 hours) before you plan to churn, as this is critical for proper ice crystal formation and a smooth texture.
- Medium Saucepan: A sturdy saucepan with a heavy bottom is ideal for gently heating your cream mixture and cooking the custard base. A heavy bottom helps distribute heat evenly, preventing scorching.
- Fine Mesh Sieve: Essential for straining the custard base after it’s cooked. This step removes any tiny bits of cooked egg yolk or other solids, ensuring your finished ice cream is perfectly smooth and silky.
- Heatproof Bowls: You’ll need at least one large heatproof bowl for cooling your strained custard base. Glass or metal bowls work well for this purpose.
- Airtight Freezer-Safe Container: Once your ice cream is churned, you’ll need a container to store it for the final freezing stage and long-term storage. A shallow, wide container helps the ice cream freeze more evenly. Look for containers specifically designed for ice cream or general freezer storage to prevent freezer burn and maintain quality.
- Whisk and Spatula: A good whisk is indispensable for incorporating ingredients and tempering the egg yolks. A heatproof spatula will be useful for stirring the custard as it cooks and scraping down the sides of bowls.
- Measuring Cups and Spoons: Accurate measurements are crucial in baking and dessert making, so have your standard measuring tools ready.
Crafting Your Cherry Amaretto Ice Cream: A Step-by-Step Guide
Making homemade ice cream is a two-day process, but the effort is minimal and the reward is truly magnificent. Follow these detailed steps to create your perfect cherry amaretto treat.
Day 1: Prepare the Rich Custard Base
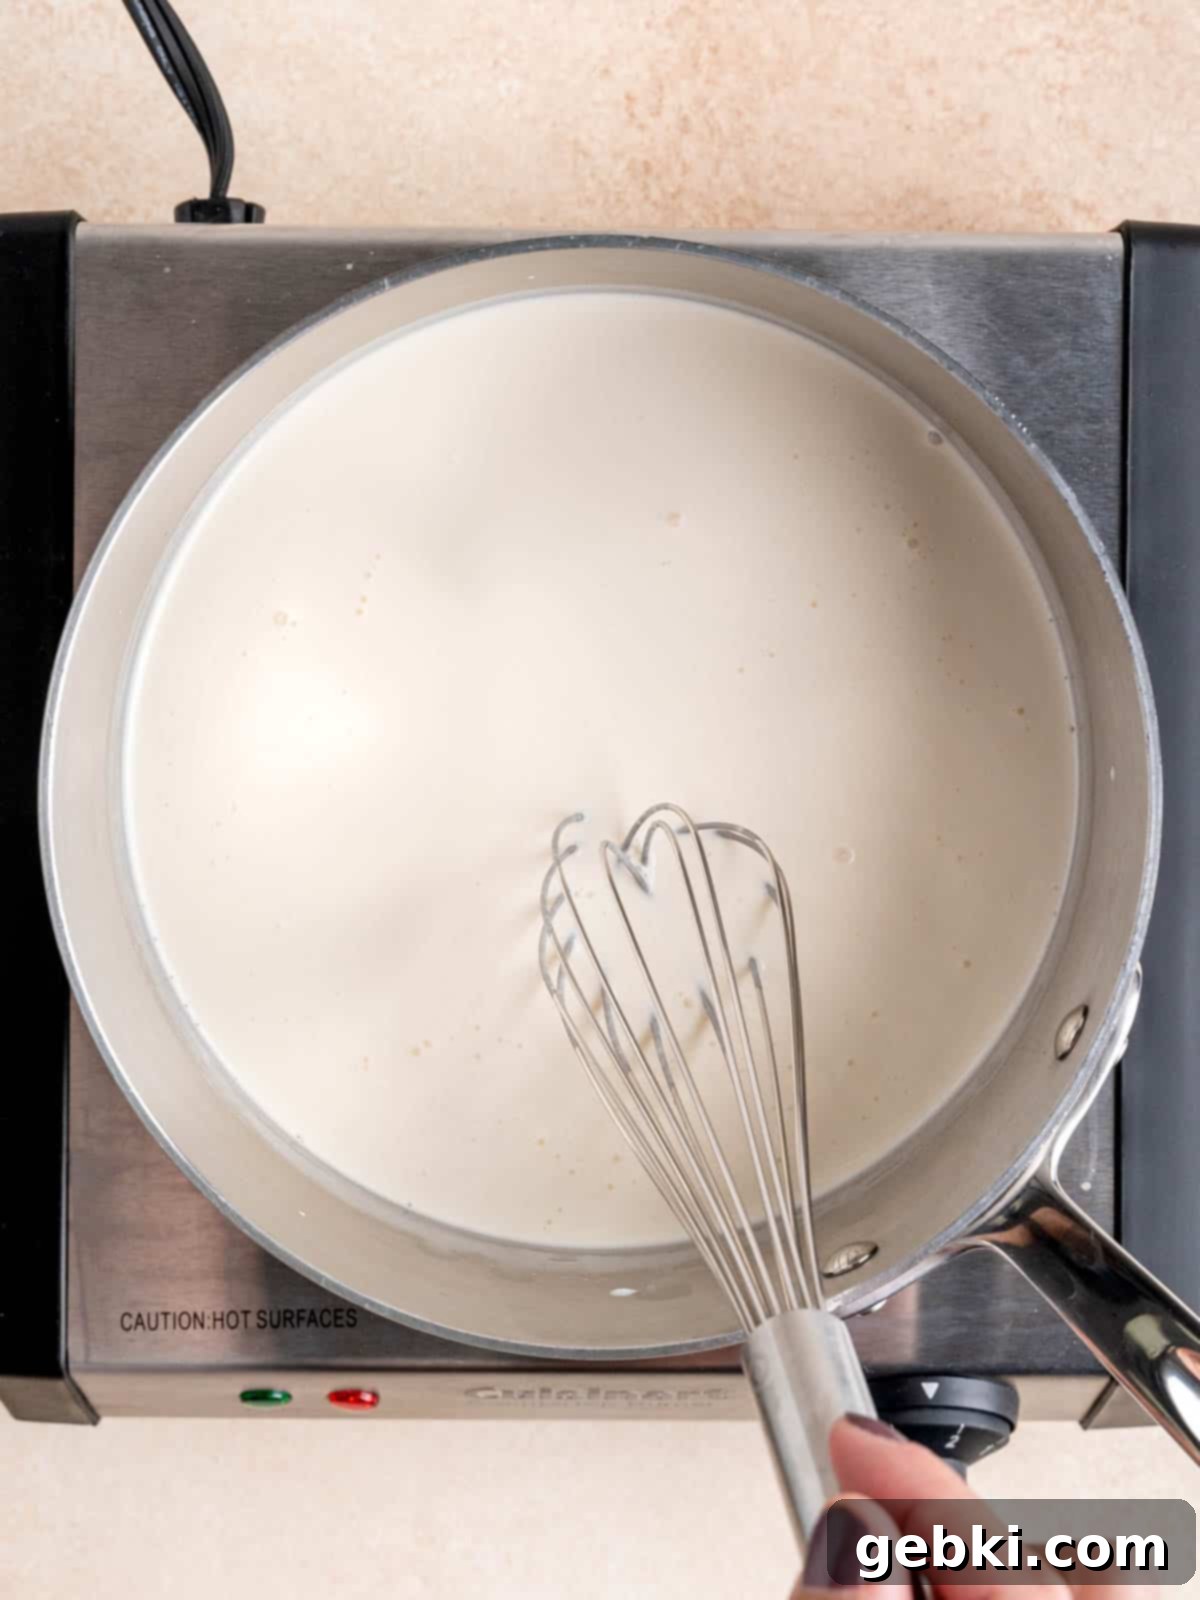
Step 1: Warm the Cream Mixture. In a medium saucepan, combine the half-and-half, heavy whipping cream, and your chosen amaretto liqueur. Place the saucepan over medium heat and cook, stirring occasionally, until the mixture is hot and steamy, but not yet boiling. Look for small bubbles just starting to form around the edges of the pan – this indicates it’s ready. This warming step helps infuse the amaretto flavor and prepares the liquid for tempering the eggs.
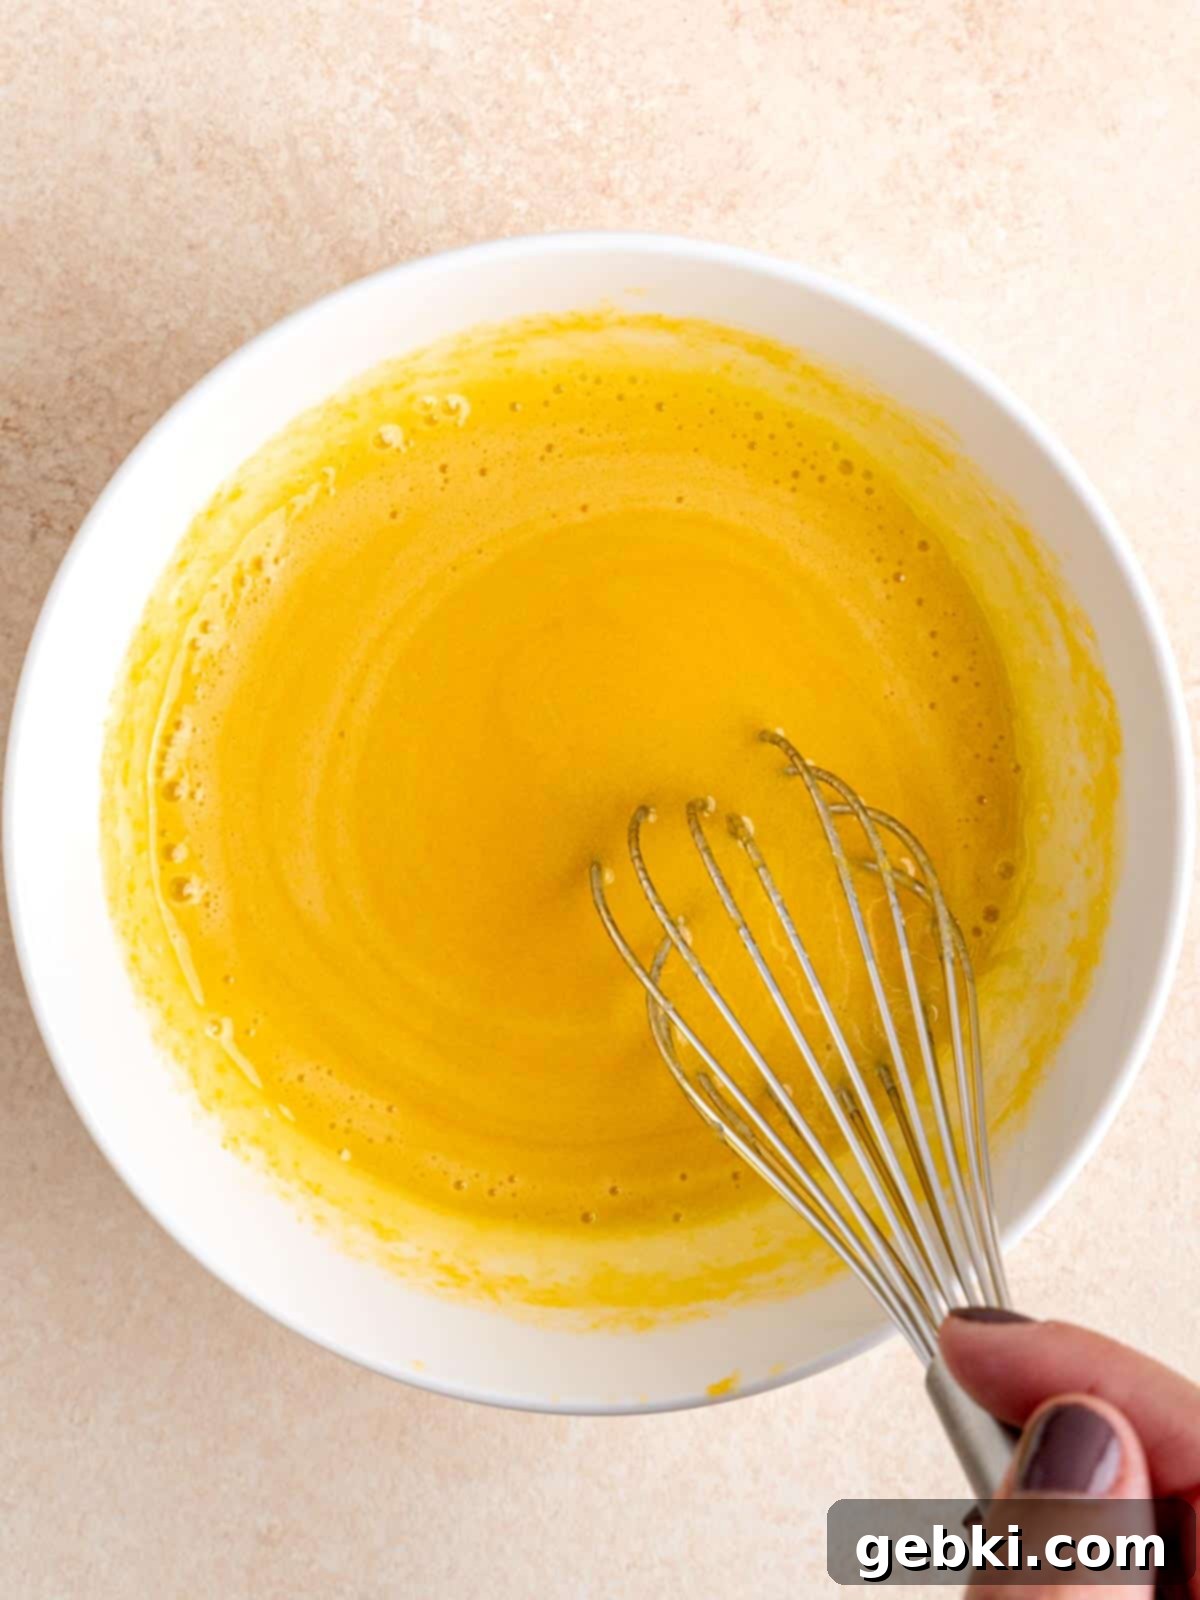
Step 2: Temper the Egg Yolks. In a separate small bowl, vigorously whisk together the egg yolks, granulated sugar, and a tiny pinch of salt until the mixture is light yellow and slightly thickened. This ensures the sugar is dissolving and the yolks are ready. To prevent the yolks from scrambling, you need to “temper” them. Slowly, and while whisking constantly and steadily, add about ½ cup of the hot cream mixture into the egg yolk mixture. Continue whisking as you pour. This gradually raises the temperature of the yolks without cooking them.
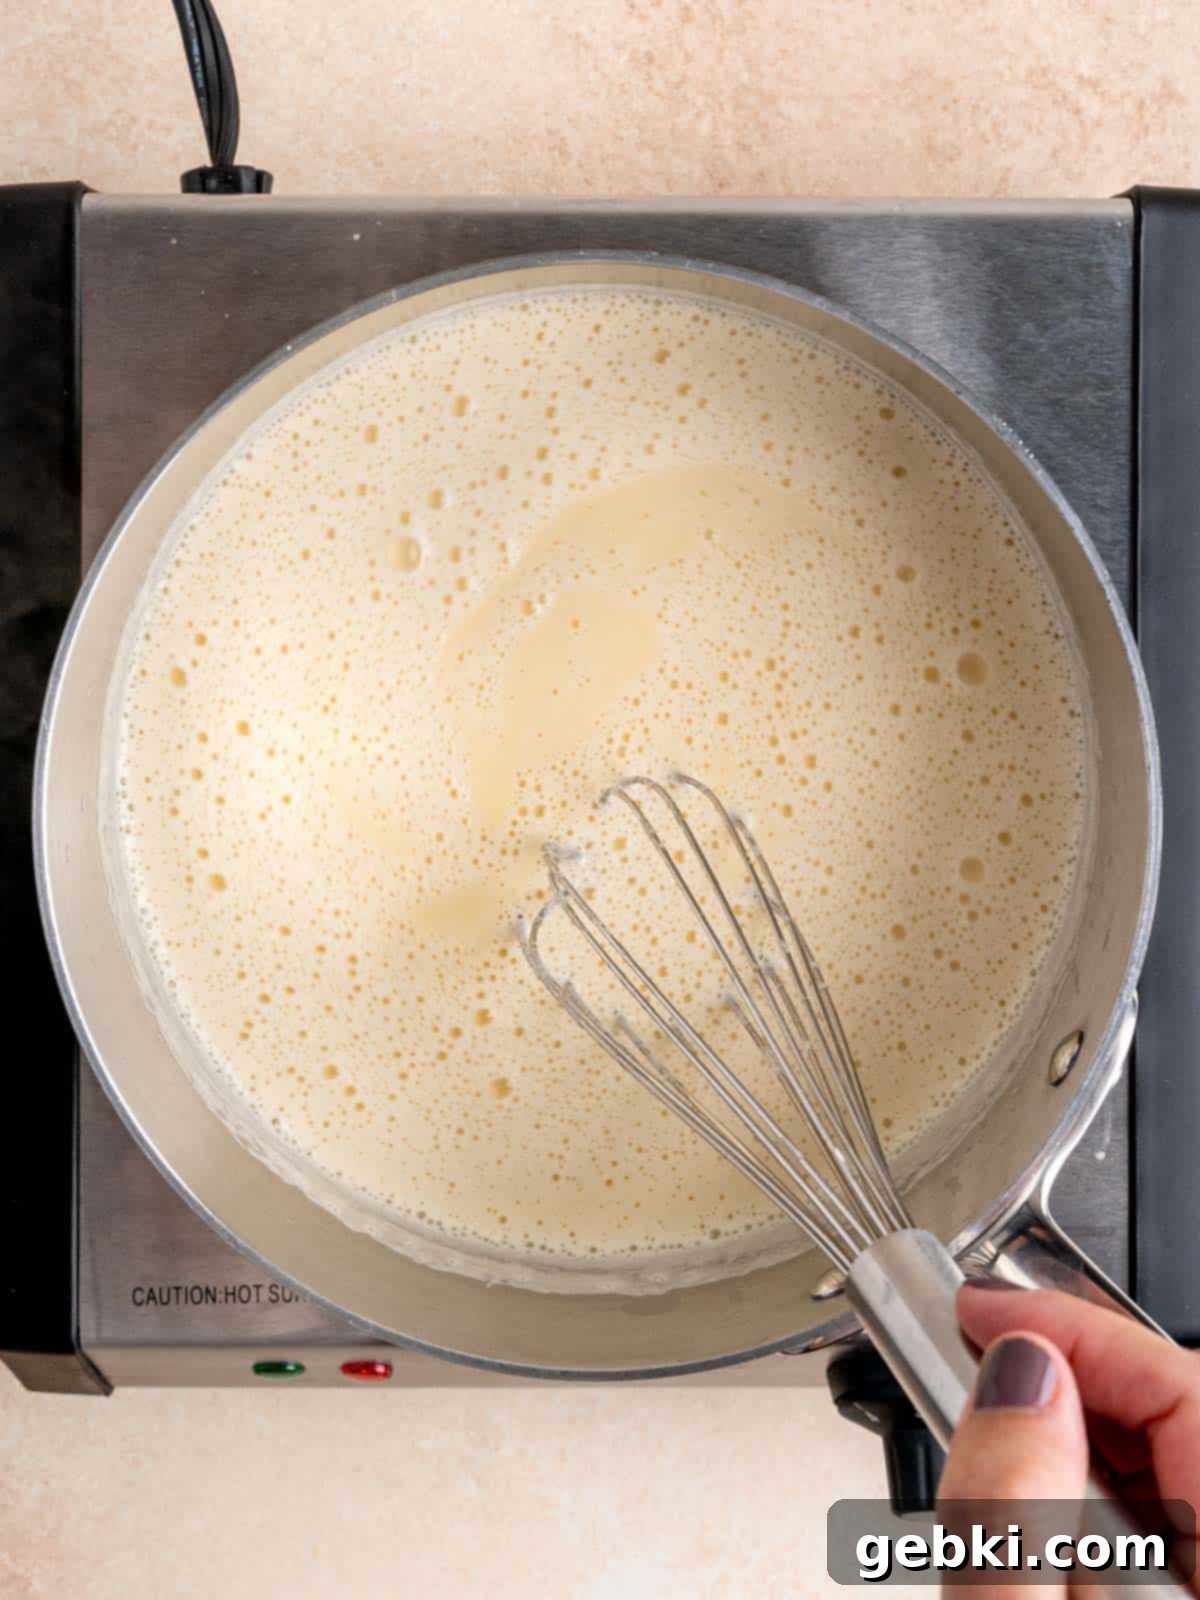
Step 3: Cook the Custard. Once tempered, carefully pour the entire egg yolk mixture back into the saucepan with the remaining hot cream. Return the pot to medium heat. Continue stirring constantly with a whisk or spatula. Cook until the mixture thickens enough to coat the back of a spoon, almost simmering but never allowing it to boil. This usually takes about 5-8 minutes. Boiling will curdle the eggs, so maintain a gentle heat.
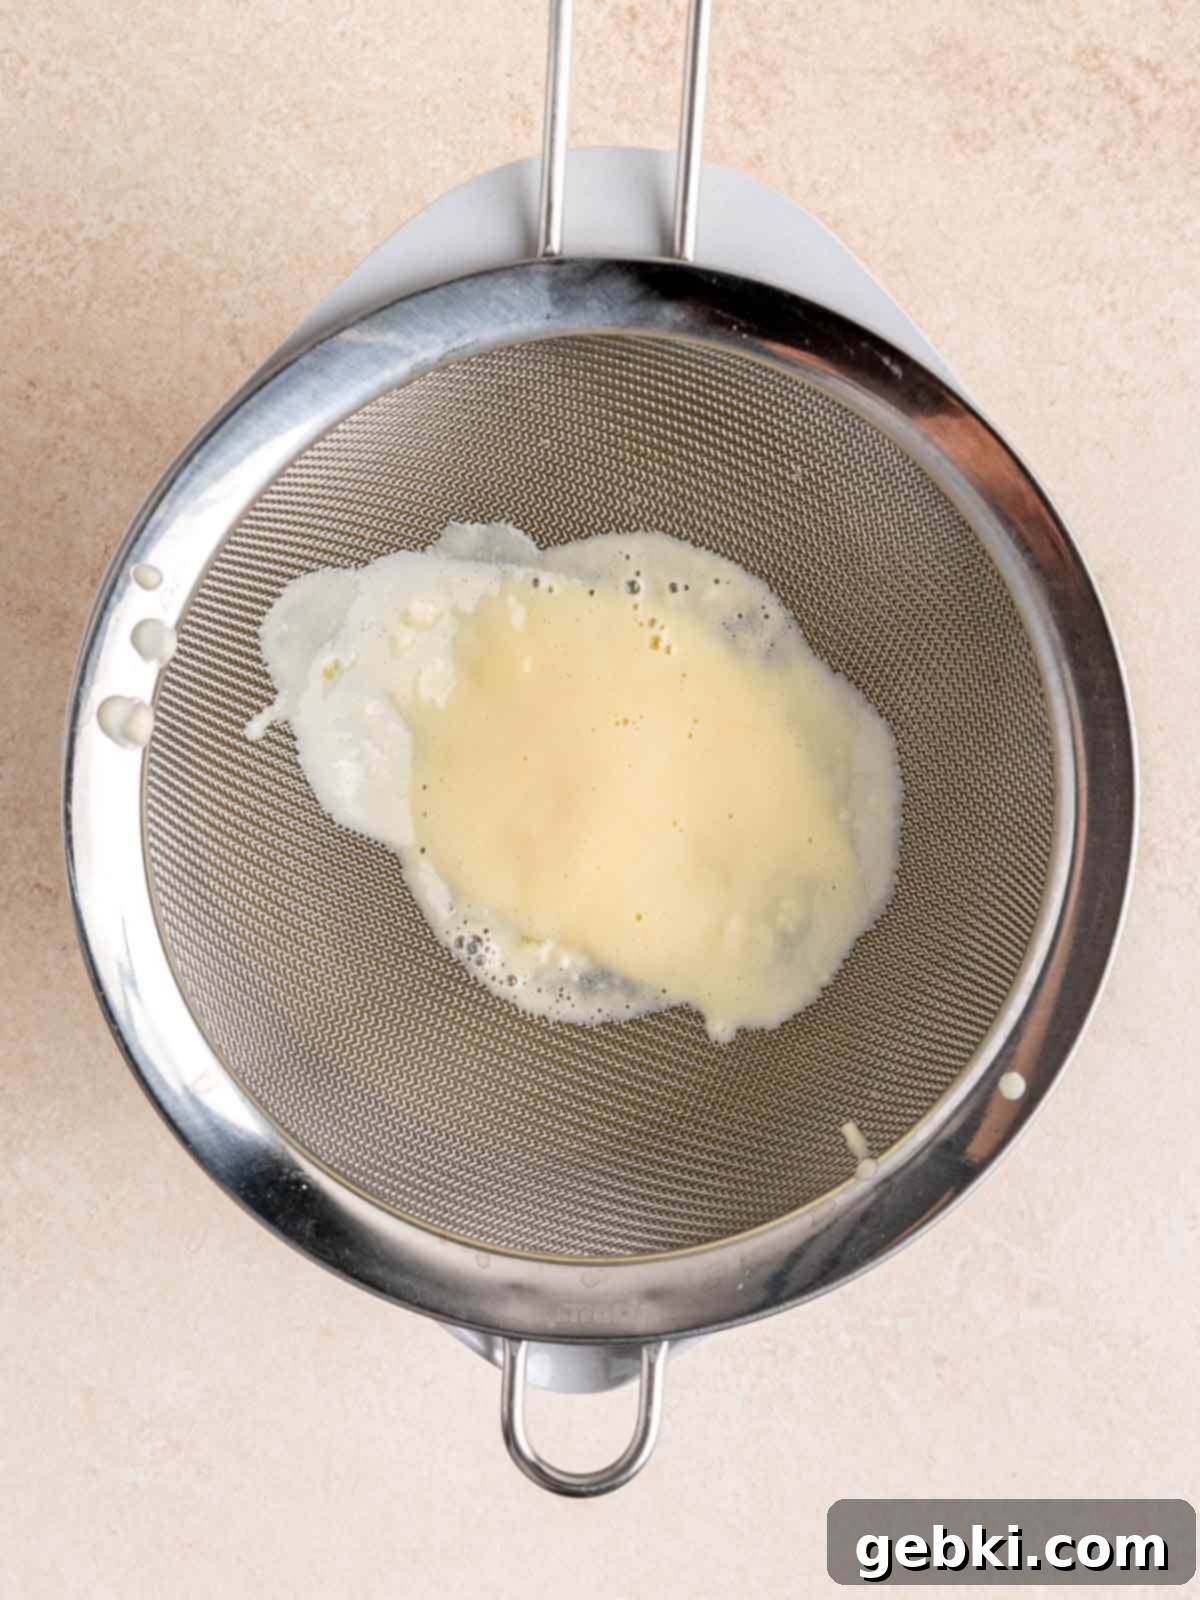
Step 4: Strain and Chill Overnight. Immediately remove the saucepan from the heat. Strain the hot custard mixture through a fine mesh sieve into a large, clean heatproof bowl. This step ensures an incredibly smooth and lump-free base. Allow the mixture to cool completely to room temperature, then cover it tightly with plastic wrap, ensuring the wrap touches the surface of the custard to prevent a skin from forming. Refrigerate the custard overnight (at least 8 hours). This chilling period is crucial as it allows the flavors to meld and the mixture to get very cold, which is vital for proper churning. Additionally, place your ice cream maker’s freezer bowl and the medium shallow pan (for storing the churned ice cream) in the freezer to chill overnight as well.
Day 2: Churn and Freeze to Perfection
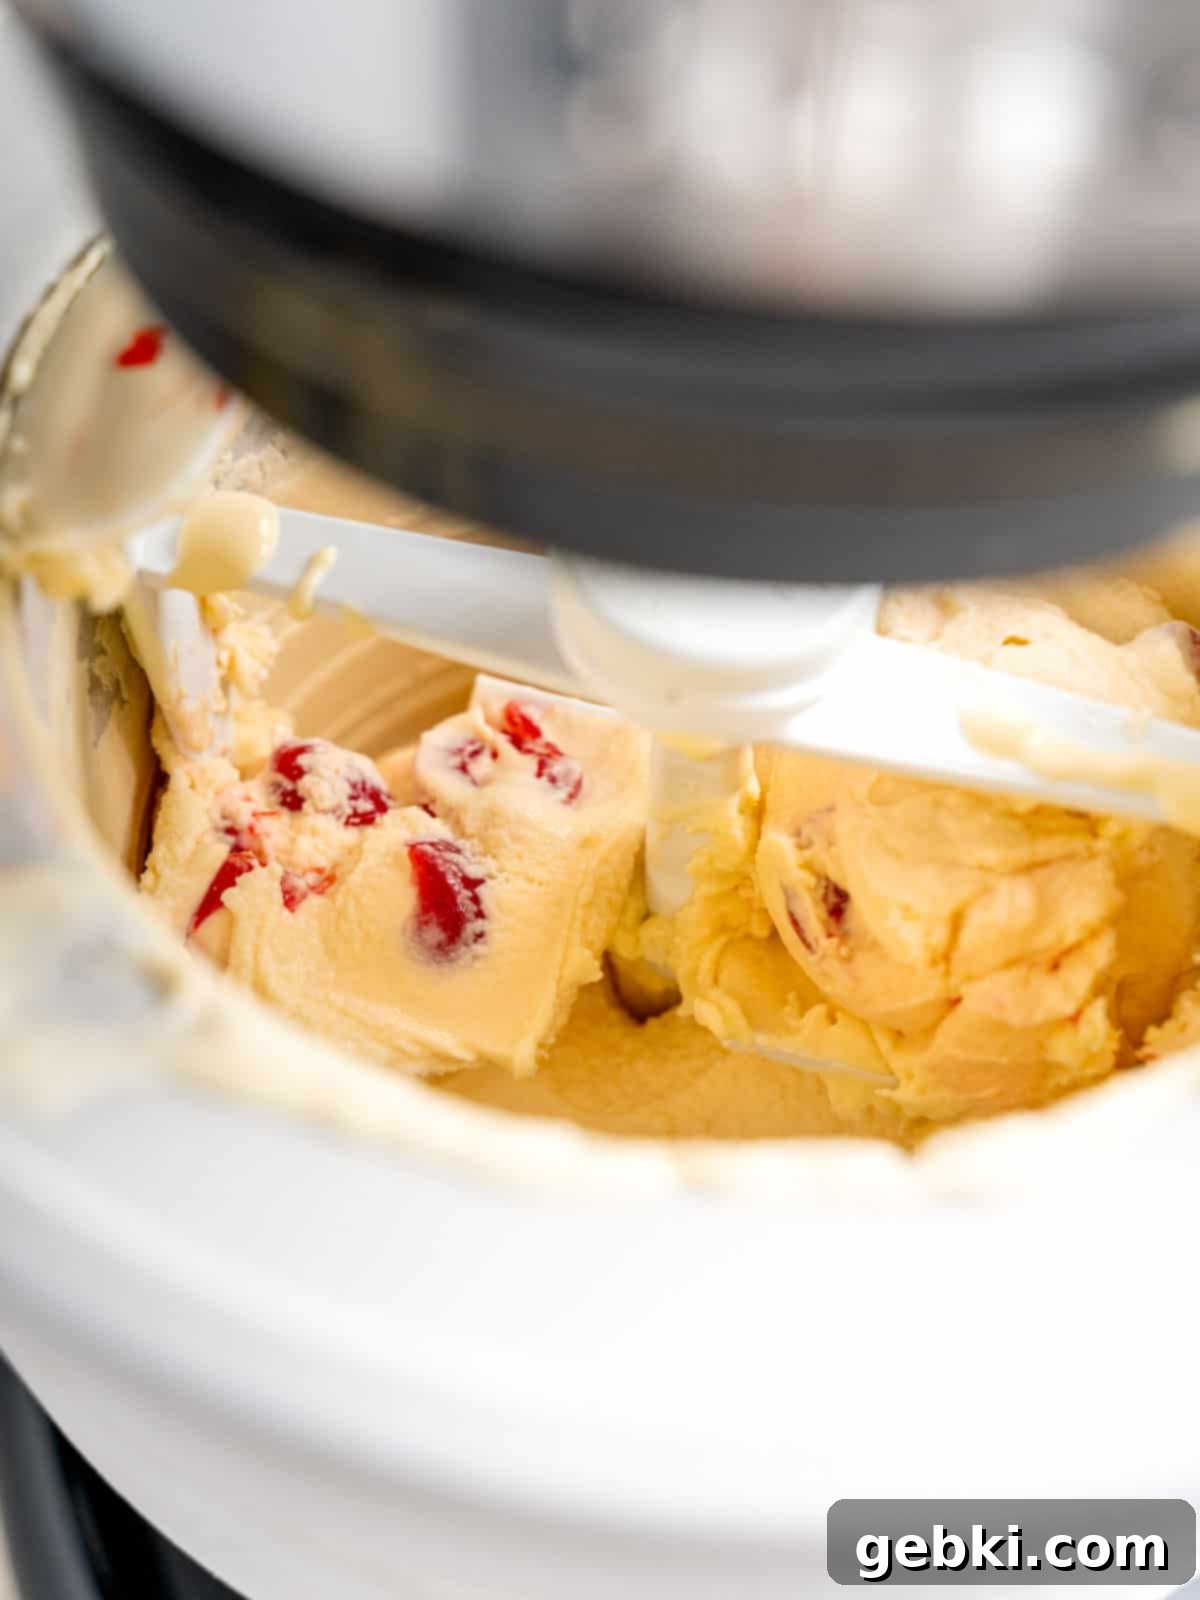
Step 5: Churn the Ice Cream. Retrieve your thoroughly chilled custard base and your frozen ice cream maker bowl. Assemble your ice cream machine according to the manufacturer’s instructions. Pour the cold custard base into the machine and begin churning. The churning time will vary depending on your machine, but typically takes 20-30 minutes. The ice cream should become thick and creamy, resembling soft-serve. During the last few minutes of churning (when the ice cream is nearly done), add your halved cherries. This ensures they are evenly distributed without being over-processed.
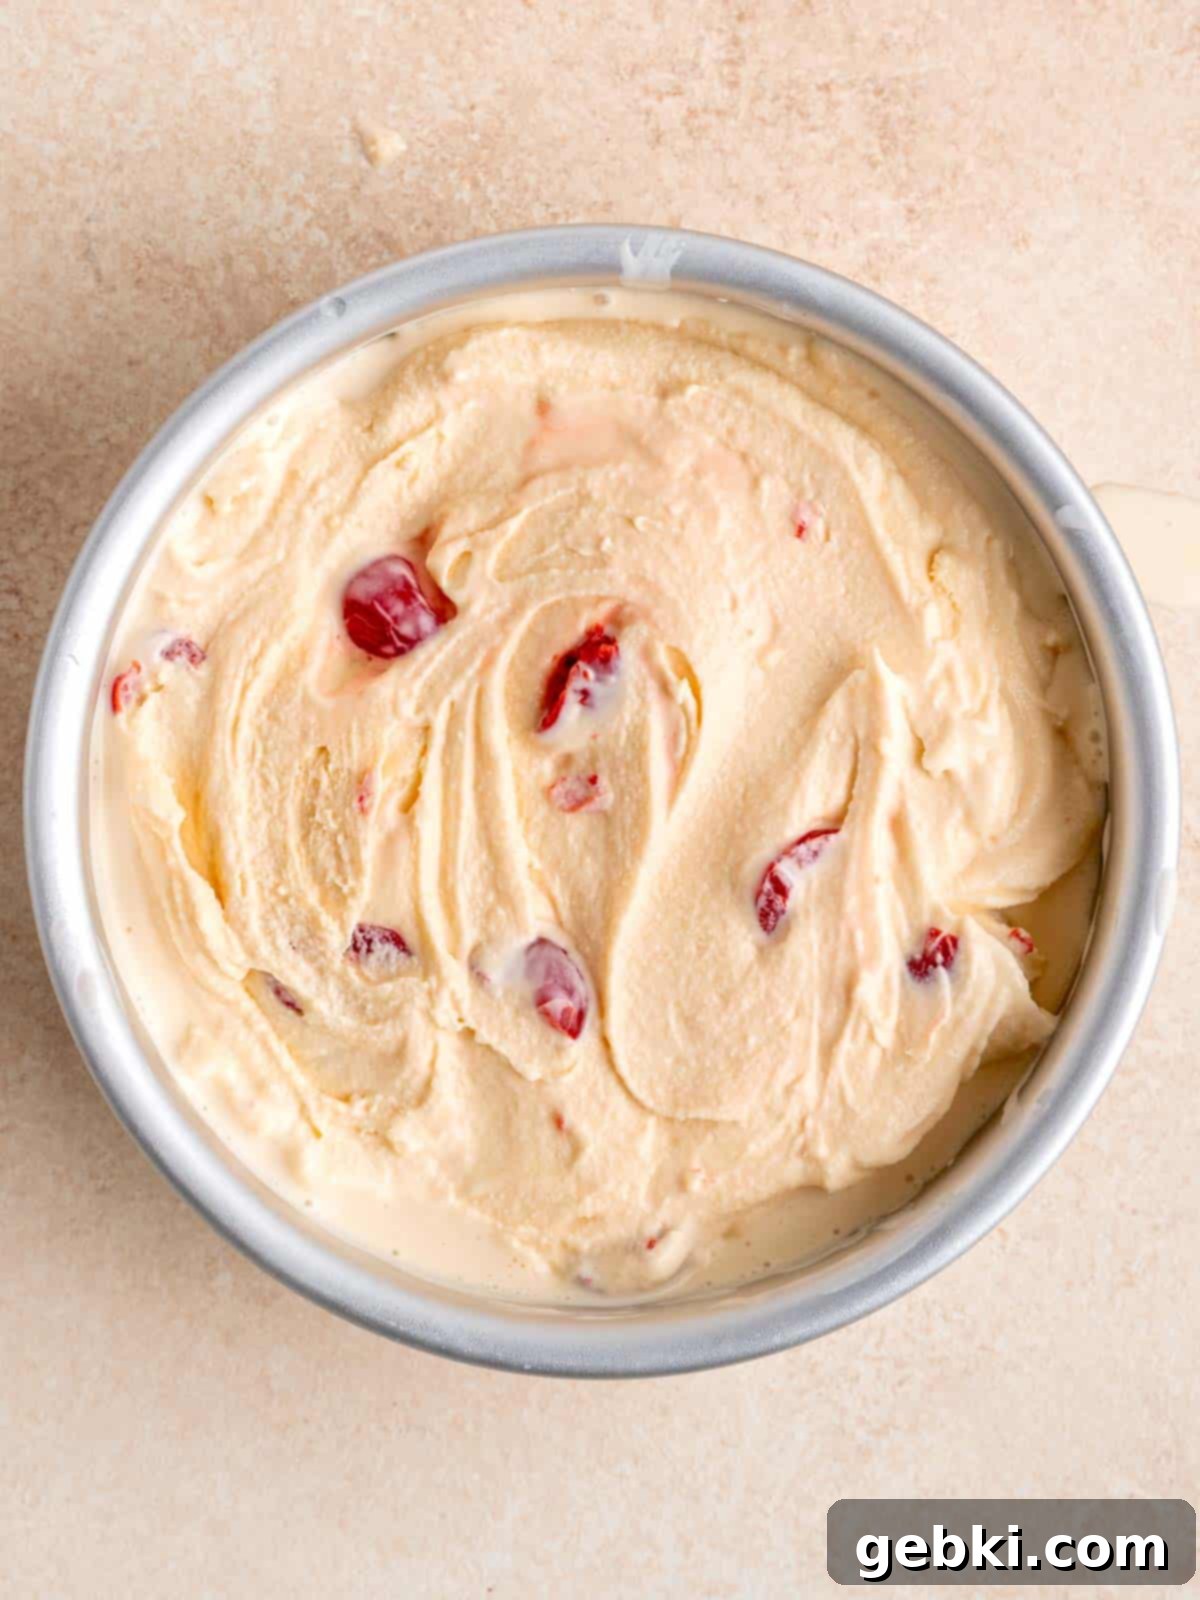
Step 6: Freeze for Firmness. Once churned to a soft-serve consistency, immediately transfer the ice cream and cherry mixture into your pre-chilled medium shallow pan or an airtight freezer-safe container. Smooth the top with a spatula. Cover the container tightly with plastic wrap (or a lid). Place it in the coldest part of your freezer for at least 4-6 hours, or preferably overnight, to allow the ice cream to harden to a scoopable consistency. This final freezing step, known as “curing,” is essential for developing the perfect texture.
Expert Tips for the Best Cherry Amaretto Ice Cream
Achieving perfectly creamy, luscious homemade ice cream is an art, but these expert tips will guide you to success with your cherry amaretto creation:
Tip #1 – Mastering the Art of Tempering Egg Yolks: Tempering your egg yolks is absolutely critical to avoid an unpleasant scrambled egg texture in your ice cream. The key is to slowly introduce heat. By gradually adding a small amount of hot cream (about ½ cup) to the whisked egg yolks while continuously whisking, you gently raise their temperature. This prevents the thermal shock that would otherwise cook the yolks instantly if they were added directly to the hot liquid. Keep whisking vigorously as you pour, and once tempered, the mixture can safely be returned to the pot.
Tip #2 – The Importance of Pre-Chilling Everything: For the creamiest results, extreme cold is your best friend. It’s not just the ice cream base that needs to be thoroughly chilled overnight; your ice cream maker’s freezer bowl and your storage container (a medium shallow pan works great) should also be frozen well in advance. A super-cold freezer bowl ensures the ice cream churns quickly, which creates smaller ice crystals and a smoother, creamier texture. A pre-chilled storage container prevents the freshly churned, soft ice cream from melting even slightly when transferred, helping it set firmly and smoothly.
Tip #3 – Achieving the Perfect Scoop: Homemade ice cream, especially with a custard base, can sometimes freeze quite solid, making it challenging to scoop right out of the freezer. To achieve that ideal, scoopable consistency, simply let your ice cream sit at room temperature for about 10-15 minutes before serving. This brief resting period allows it to soften just enough to scoop effortlessly, revealing its creamy texture.
Tip #4 – Don’t Overfill Your Ice Cream Machine: Ice cream mixture expands as it churns and incorporates air. Never fill your ice cream maker’s bowl more than two-thirds full, or according to your machine’s specific instructions. Overfilling can lead to spillage and inefficient churning, resulting in a less creamy final product.
Tip #5 – Use High-Quality Ingredients: Since this recipe uses only a few ingredients, the quality of each really shines through. Opt for good quality heavy cream, half-and-half, fresh eggs, and your favorite brand of amaretto or non-alcoholic alternative. Quality ingredients translate directly into superior flavor and texture.
Frequently Asked Questions About Cherry Amaretto Ice Cream
Traditional amaretto liqueur does contain alcohol. However, as noted in the ingredients, I often make this a delicious non-alcoholic version by using a high-quality non-alcoholic amaretto substitute, such as Lyre’s Amaretti. If you use a traditional alcoholic amaretto, the ice cream will contain a small amount of alcohol, which also helps keep the ice cream slightly softer in the freezer by lowering its freezing point.
Amaretto is an Italian liqueur typically made from almond or apricot pits (or both), which gives it a distinct, sweet almond flavor often compared to marzipan. It has a rich, nutty aroma with a subtle bitterness that perfectly balances its sweetness. In this ice cream, amaretto infuses the base with its signature warm, sophisticated almond notes, complementing the bright flavor of the cherries beautifully. It adds depth and a gourmet touch to the overall profile.
While this recipe is specifically designed for use with an ice cream machine for optimal creaminess, you might be able to adapt it into a no-churn version. For a no-churn ice cream, you would typically fold whipped heavy cream into a sweetened condensed milk base. For this recipe, you could adapt it by preparing the amaretto custard base (Steps 1-4 on Day 1), then folding it into stiffly whipped heavy cream. However, the texture will be denser and not as airy and smooth as a churned ice cream. It’s best to use an ice cream maker for the intended results.
When stored properly in an airtight, freezer-safe container, your homemade cherry amaretto ice cream will maintain its best quality for up to 2 months in the freezer. Beyond this period, it may start to develop ice crystals or experience freezer burn, which can affect its texture and flavor. To prevent this, always ensure it’s tightly covered to minimize exposure to air.
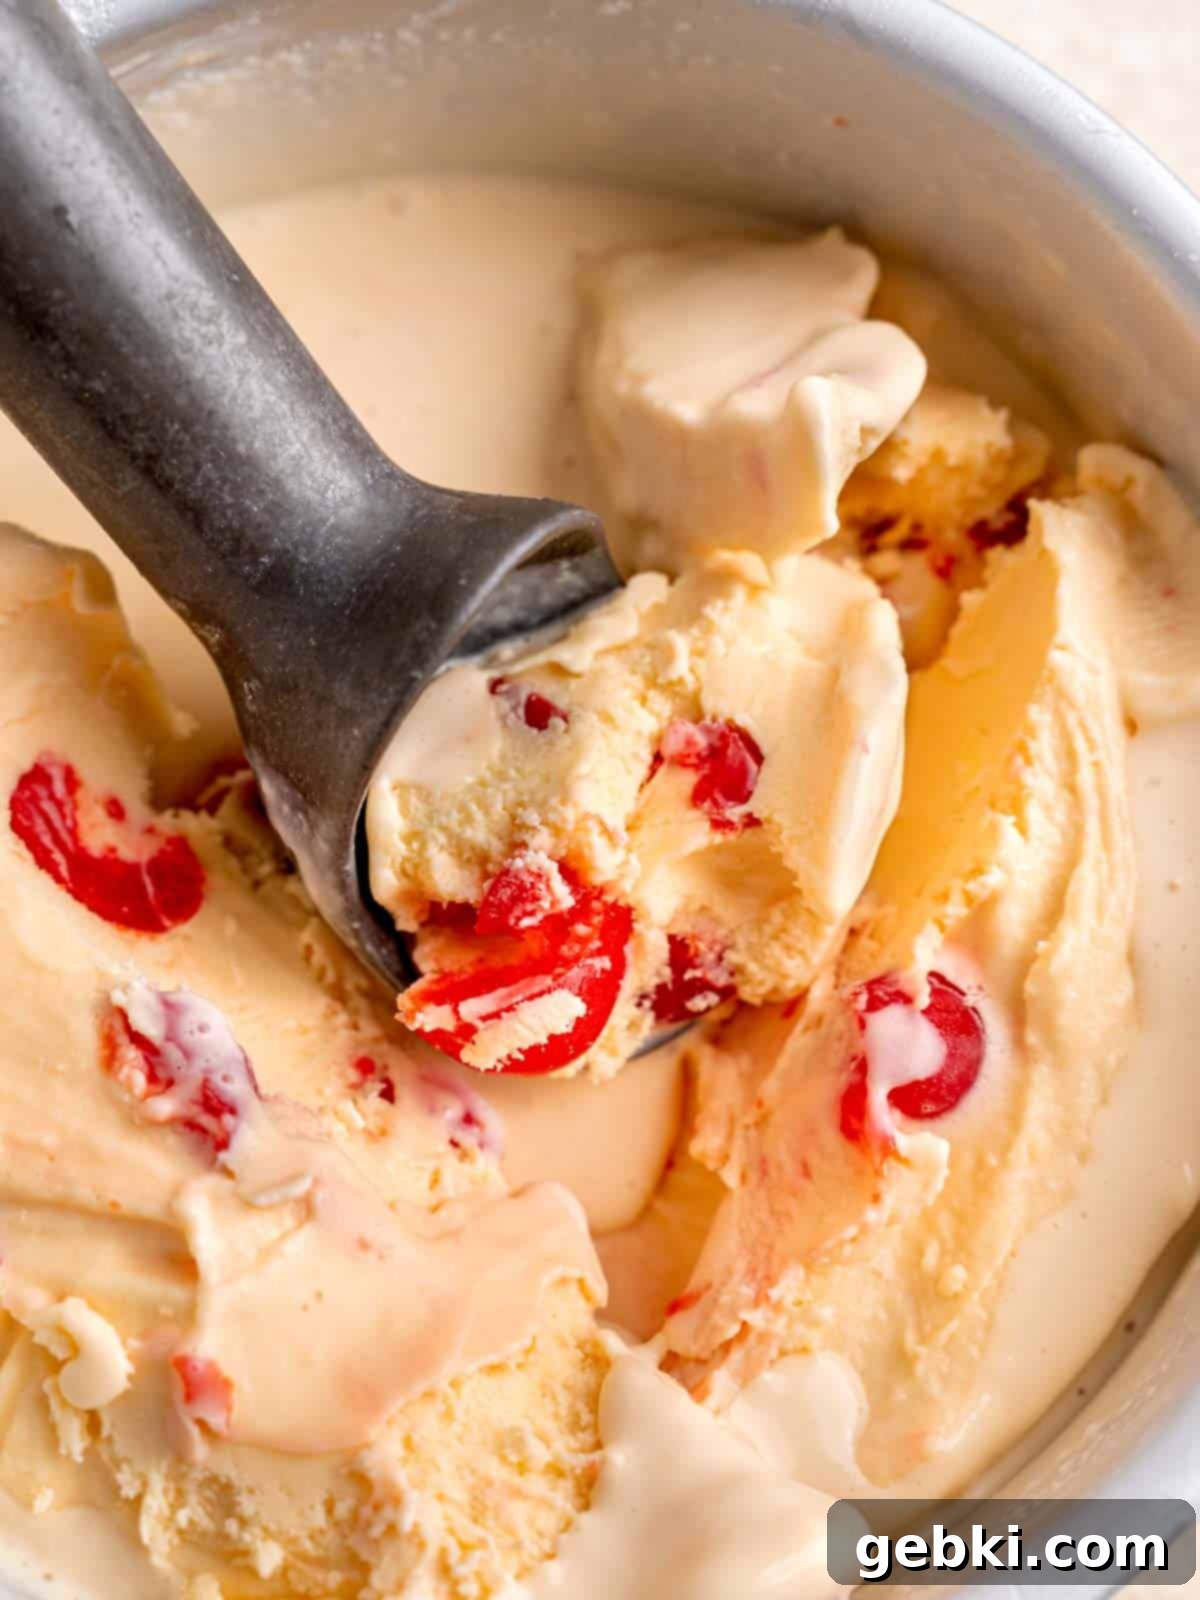
If you find yourself enchanted by this fruity, creamy delight, be sure to also try my even simpler 3-ingredient peach ice cream for another quick and refreshing treat!
Storage Instructions for Your Homemade Ice Cream
Proper storage is essential to preserve the creamy texture and delicious flavor of your homemade Cherry Amaretto Ice Cream. Follow these guidelines to keep it tasting fresh:
Freezing Instructions: After churning, transfer the soft ice cream immediately into a very clean, airtight, freezer-safe container. Press a piece of plastic wrap directly onto the surface of the ice cream before securing the lid. This creates an extra barrier against air, which is the main culprit for ice crystal formation and freezer burn. Store the container in the coldest part of your freezer (usually the back) for up to 2 months. While it can last longer, its peak quality for flavor and texture is generally within this timeframe.
Preventing Ice Crystals: Air is the enemy of creamy ice cream! Always ensure your container is airtight and minimize the time the ice cream is exposed to room temperature air. Scoop quickly and return to the freezer promptly.
More Decadent Desserts You’ll Love
If you enjoyed the luxurious flavors and satisfying process of making this Cherry Amaretto Ice Cream, you’ll surely love exploring these other delightful dessert recipes. Each offers its own unique charm and is perfect for satisfying your sweet tooth or impressing your loved ones.
- Lavender Honey Ice Cream
- Easy Homemade Peach Kefir Ice Cream (3 Ingredients)
- Chocolate Malted Crunch Ice Cream
- Chocolate Cherry Cheesecake (No Bake)
Did you try this recipe? I’d love to see it! Tag @brokenovenbaking on Instagram & Facebook and leave a ⭐️ review below!
📖 Recipe
Cherry Amaretto Ice Cream
Kayla Burton
Pin Recipe
Equipment
-
Ice cream machine
-
Medium saucepan
-
Fine mesh sieve
-
Heatproof bowls
-
Medium shallow pan
-
Measuring cups and spoons
-
Whisk
-
Spatula
Ingredients
- 1 cup (236.59 ml) heavy whipping cream
- 1 cup (236.59 ml) half and half
- ¼ cup (59.15 ml) almond liqueur
- 4 large egg yolks
- ⅓ cup (66.67 g) granulated sugar
- tiny pinch salt
- ½ cup cherries halved
Instructions
Day 1
-
Place a medium shallow pan and ice cream maker’s freezer bowl in your freezer to chill overnight.
-
Whisk the heavy whipping cream, half and half, and almond liqueur in a medium saucepan over medium heat until it’s hot and steaming, but not boiling.
-
In a small bowl, combine the egg yolks, sugar and salt. While stirring constantly with a whisk, slowly pour ½ cup of the hot cream mixture into the yolks to temper them. Then, transfer the tempered yolk mixture back into the pot with the remaining cream while continuing to stir. Whisk the mixture over medium heat until it thickens enough to coat the back of a spoon, almost simmering. Do not boil.
-
Pour the ice cream mixture into a heatproof bowl through a fine mesh sieve. Let it cool completely to room temperature, then cover with plastic wrap touching the surface and refrigerate overnight.
Day 2
-
Following your ice cream maker’s instructions, churn the cold custard mixture until it’s thick and creamy, resembling soft-serve ice cream. A few minutes before it’s completely done churning, add the halved cherries.
-
Pour the churned ice cream and cherry mixture into the frozen shallow pan or an airtight freezer-safe container. Cover tightly with plastic wrap directly on the surface, then the lid, and freeze for at least 4-6 hours, or until firm.
Save This Recipe! 💌
We’ll email this post to you, so you can come back to it later!
Notes
Cherries: While maraschino cherries offer a classic taste, feel free to use other pitted varieties like amarena, fresh sweet cherries (pitted and halved), or even dried cherries rehydrated for a different texture and flavor profile.
Storage: To ensure optimal creaminess and prevent ice crystals, store this homemade ice cream in an airtight container with plastic wrap pressed directly onto the surface, for up to 2 months in the freezer.
Nutrition: The provided nutritional information is an estimate per serving and is intended for informational purposes only. Accuracy is not guaranteed and can vary based on specific ingredients and brands used.
The provided nutritional information is an estimate per serving. Accuracy is not guaranteed.
