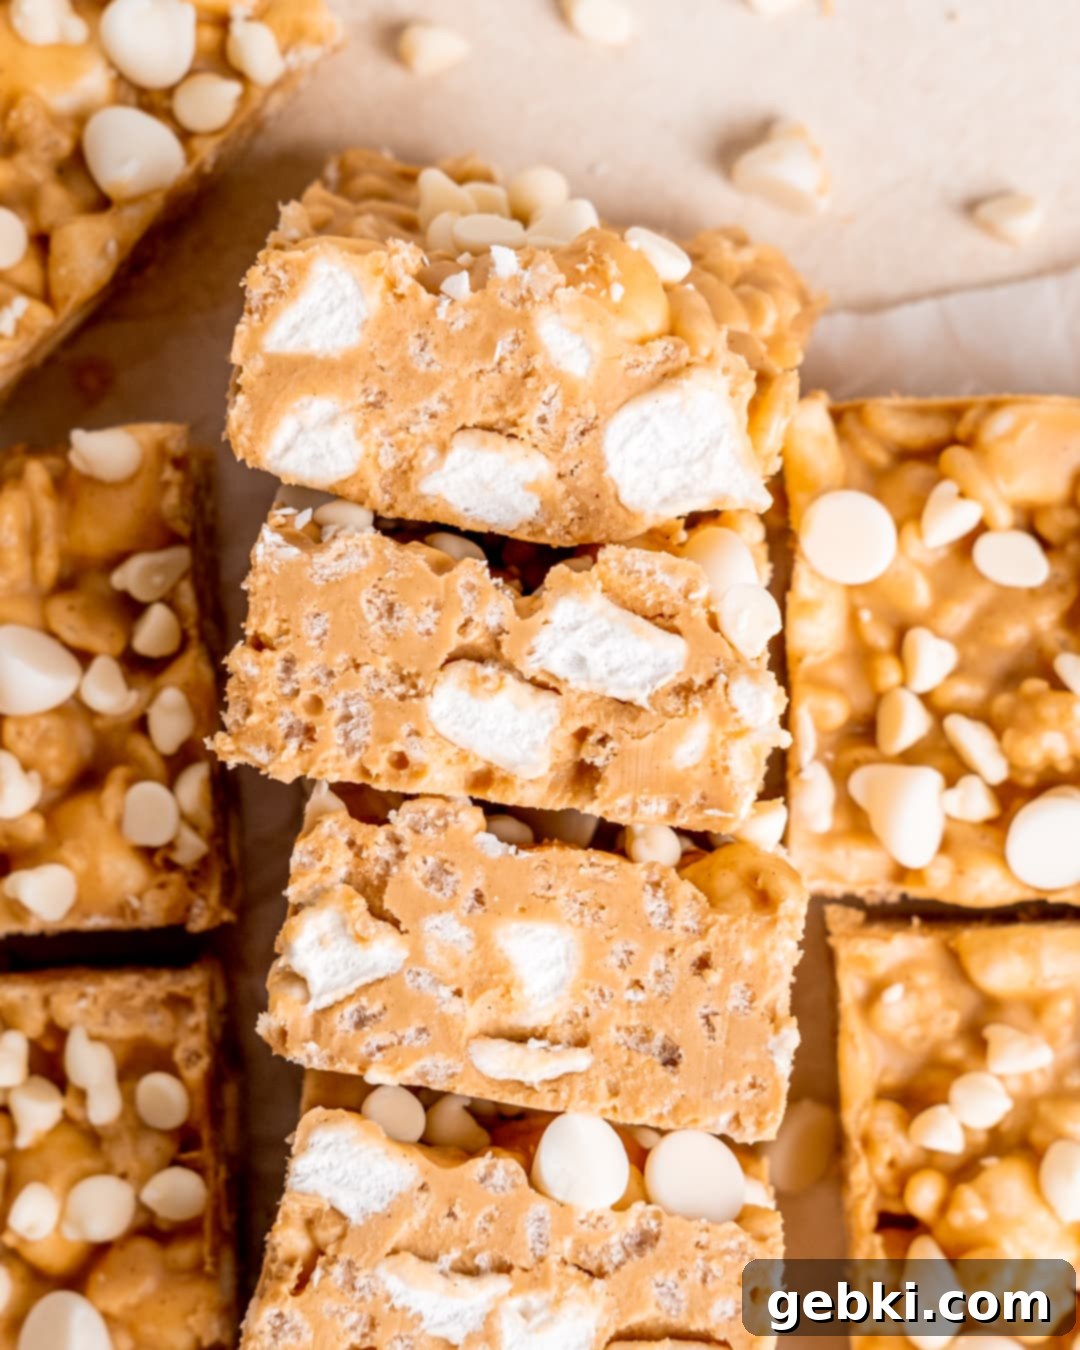
Ultimate No-Bake White Chocolate Peanut Butter Rice Krispies: Easy 4-Ingredient Treats
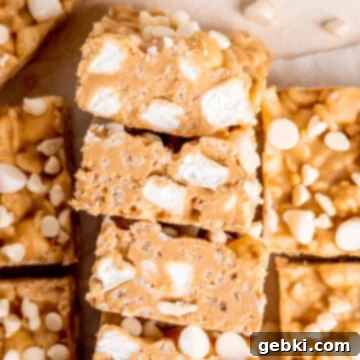
Get ready to discover your new favorite no-bake dessert! Known affectionately as “Kasper Krispies” among my friends, these unbelievably easy bars are a true game-changer. Requiring only 4 simple ingredients and less than 10 minutes of prep time, they’re the perfect solution for satisfying your sweet tooth or whipping up a quick treat for a gathering. The magical combination of creamy white chocolate and rich peanut butter creates a unique, irresistible flavor that perfectly coats crispy Rice Krispies cereal and fluffy mini marshmallows. Forget your average Rice Krispie Treat – these take deliciousness to a whole new level!
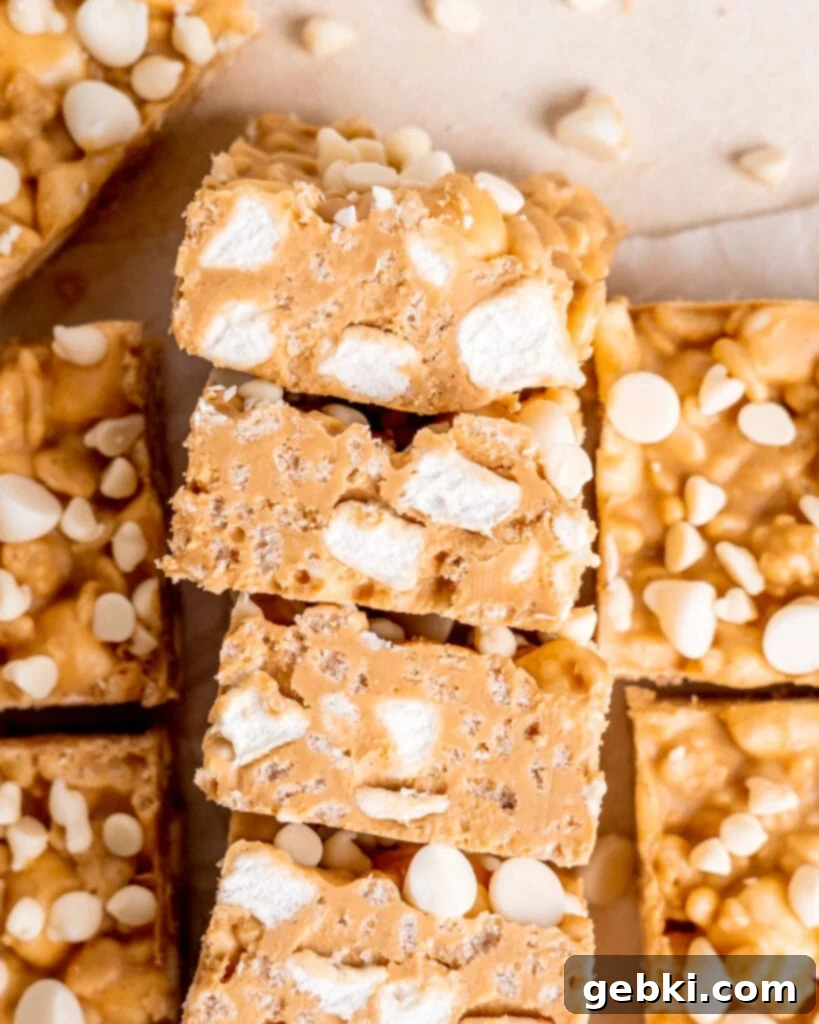
The Story Behind “Kasper Krispies”
Before these irresistible treats became widely known as Chocolate Peanut Butter Rice Krispies, they held a special place in my heart (and my stomach!) as “Kasper Krispies.” The name is a fond tribute to my high school AP Calculus teacher, Mrs. Kasper. She had a wonderful tradition of making these for our class, and they were always a highlight. While I couldn’t recall her exact recipe or what she called them, my memory guided me in recreating them as closely as possible. Naming them after her felt like the perfect way to honor the delicious nostalgia. To my closest friends and me, they’ll always be Kasper Krispies, a testament to sweet memories. However, to ensure everyone can easily discover and enjoy these fantastic dessert bars, I’ve opted for a more descriptive name that highlights their amazing flavors.
Why You’ll Love This No-Bake Treat
These Chocolate Peanut Butter Rice Krispies aren’t just easy; they’re genuinely sensational. Here’s why they’ll quickly become a staple in your dessert rotation:
- Effortlessly Simple: With no baking required, you’ll spend less time in the kitchen and more time enjoying!
- Minimal Ingredients: Just four pantry staples come together to create something extraordinary.
- Lightning-Fast Prep: From start to finish, the active preparation takes under 10 minutes. The hardest part is waiting for them to chill!
- Irresistible Flavor Combo: The unique blend of sweet white chocolate and savory peanut butter is a match made in heaven.
- Perfect Texture: They strike the ideal balance between soft, chewy marshmallows and crunchy Rice Krispies.
- Crowd-Pleaser: Kids and adults alike adore these bars, making them perfect for parties, potlucks, or an after-school snack.
- Highly Customizable: Easily adapt them to your preferences or dietary needs.
Gather Your Simple Ingredients
One of the best things about this recipe is its incredibly short ingredient list. You likely have most, if not all, of these on hand already!
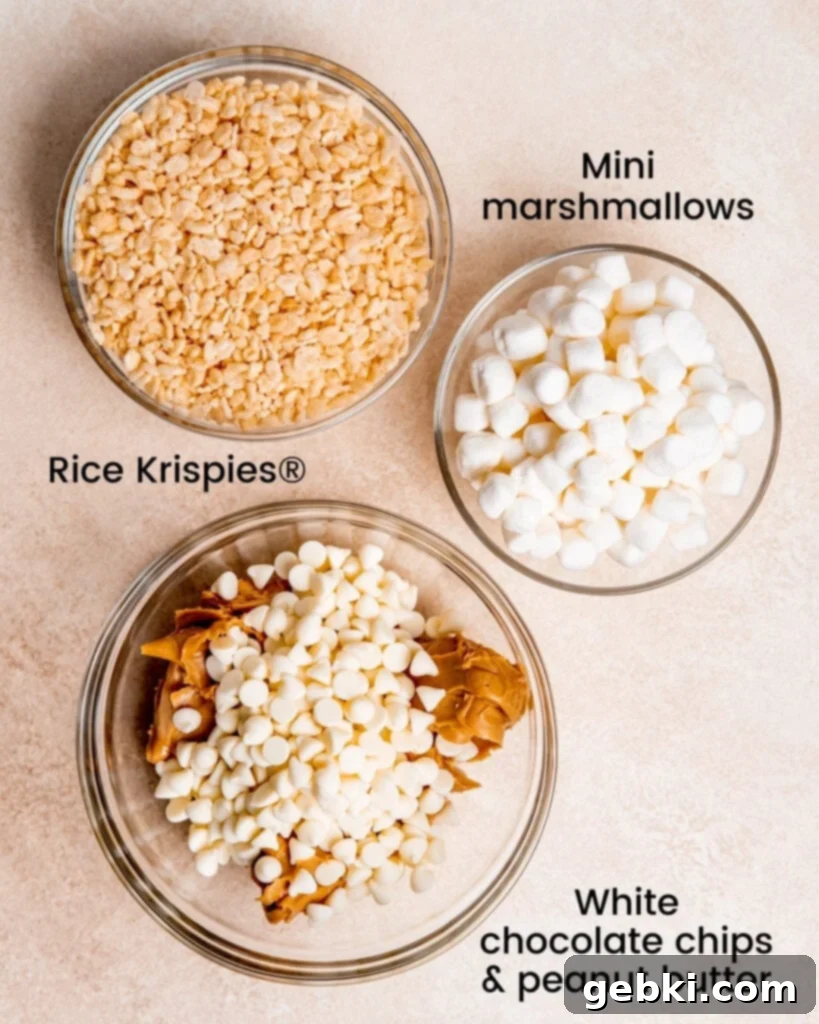
Ingredient Spotlight & Tips:
- Peanut Butter: I prefer creamy peanut butter for a smoother texture, but crunchy peanut butter would add another layer of texture. Opt for a classic processed peanut butter (like Jif or Skippy) for consistent results, as natural peanut butter can sometimes separate and affect the consistency of the melted mixture.
- White Chocolate Chips: High-quality white chocolate chips make a difference in flavor. You can also use white chocolate melting wafers or a chopped white chocolate bar. Don’t worry if white chocolate isn’t your favorite – this recipe is incredibly versatile and works wonderfully with milk, semi-sweet, or dark chocolate chips too!
- Rice Krispies Cereal: The classic crispy rice cereal is key here. Ensure your cereal is fresh for maximum crunch. For a gluten-free version, look for certified gluten-free crispy rice cereal.
- Mini Marshmallows: Mini marshmallows melt quickly and distribute evenly throughout the mixture, ensuring every bite is perfectly chewy. Make sure they are fresh and soft. If you only have large marshmallows, you can cut them into smaller pieces or melt them with the chocolate and peanut butter mixture (though this changes the texture slightly).
Easy Step-by-Step Instructions for Chocolate Peanut Butter Rice Krispies
Making these no-bake bars is incredibly straightforward. Just follow these simple steps, and you’ll have a batch of delightful treats in no time!
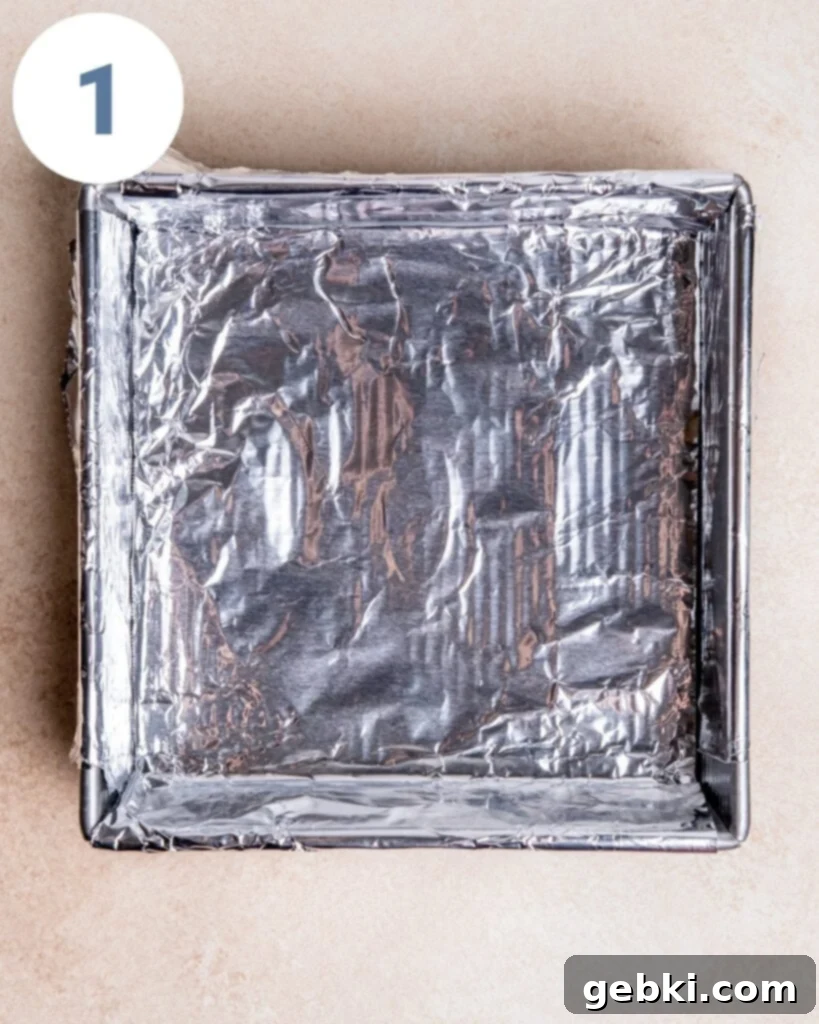
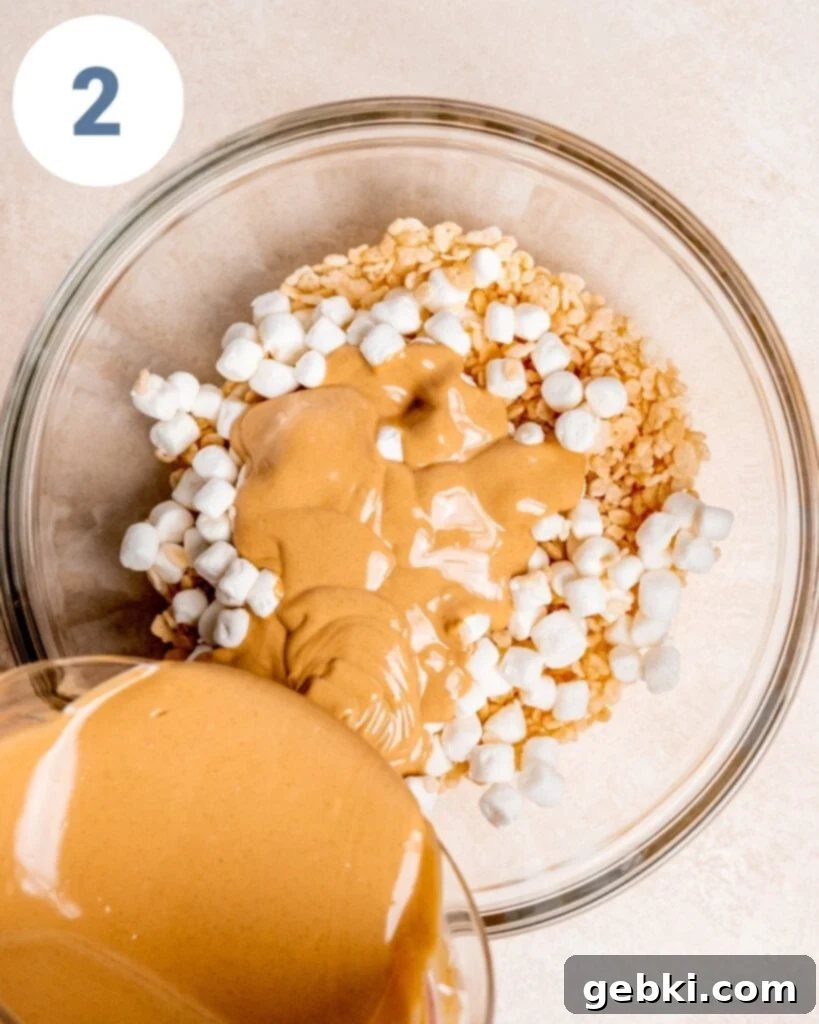
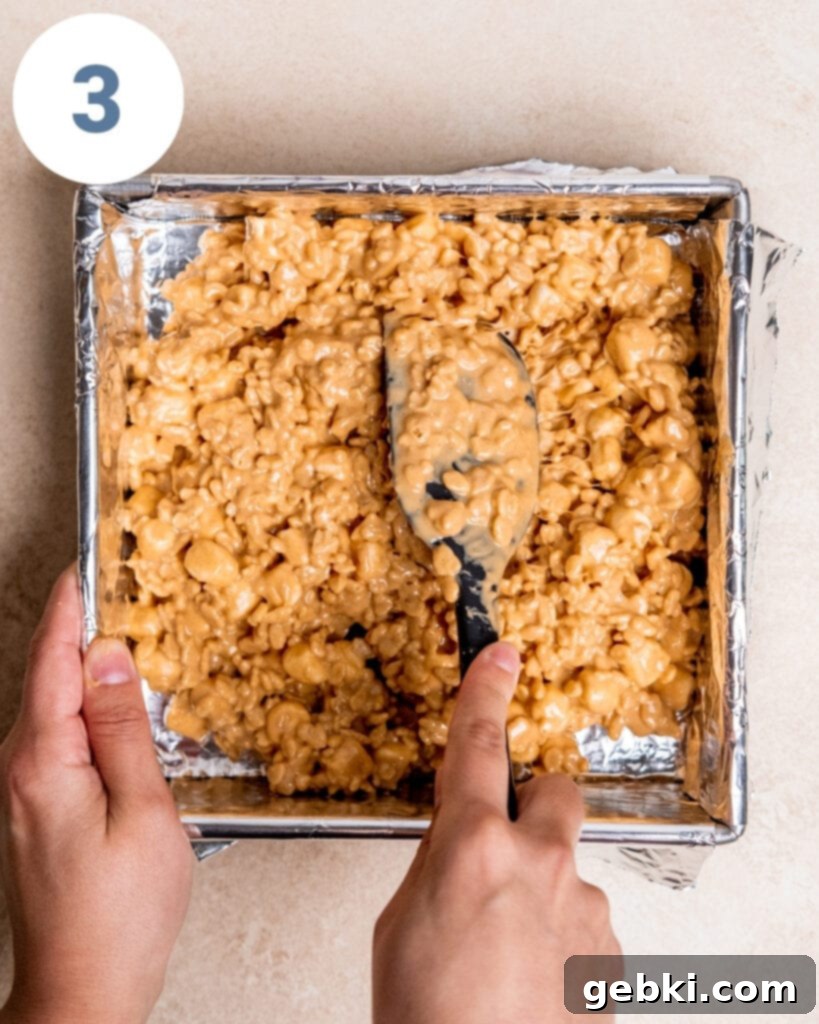
- Prepare Your Pan: First, line an 8×8 inch square baking pan with parchment paper or aluminum foil, making sure it hangs over the sides. This creates “handles” that will make it super easy to lift the finished bars out of the pan for clean cutting.
- Melt the Goodness: In a microwave-safe bowl, combine the creamy peanut butter and white chocolate chips. Microwave in 30-second intervals, stirring thoroughly after each interval, until the mixture is completely melted and smooth. Be careful not to overheat the chocolate, as it can seize. A double boiler method can also be used for a gentler melt.
- Combine Dry Ingredients: In a large mixing bowl, add your Rice Krispies cereal and mini marshmallows.
- Mix It All Together: Pour the warm, melted peanut butter and white chocolate mixture over the cereal and marshmallows. Using a spatula, gently but thoroughly fold and stir until all the Rice Krispies and marshmallows are evenly coated. Work quickly while the mixture is still warm and pliable.
- Press into Pan: Transfer the mixture into your prepared 8×8 inch pan. Using a greased spatula or the back of a spoon (or even lightly greased hands!), press the mixture down firmly and evenly into the pan. This step is crucial for ensuring your bars hold together well.
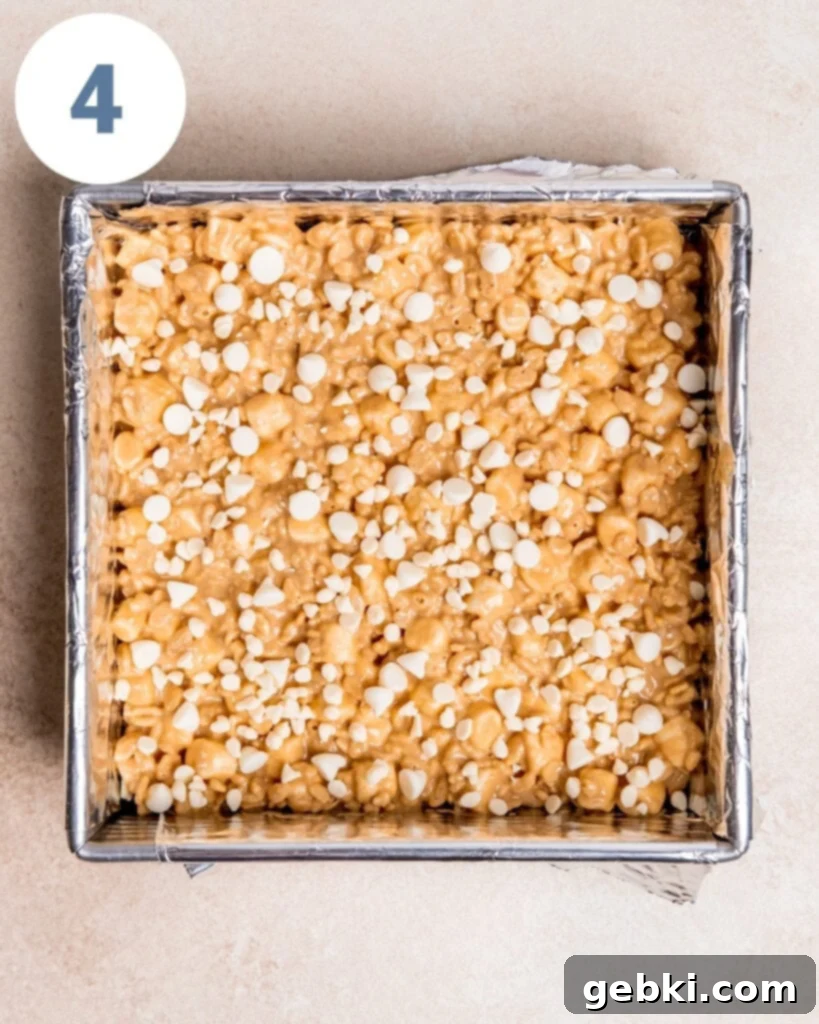
- Optional Topping: If desired, sprinkle extra white chocolate chips (or any other chocolate chips) on top of the pressed mixture for an added touch of flavor and visual appeal.
- Chill and Set: Refrigerate the pan for at least 1 hour, or until the bars are completely firm. The chilling time allows the chocolate and peanut butter to set, making the bars easy to cut.
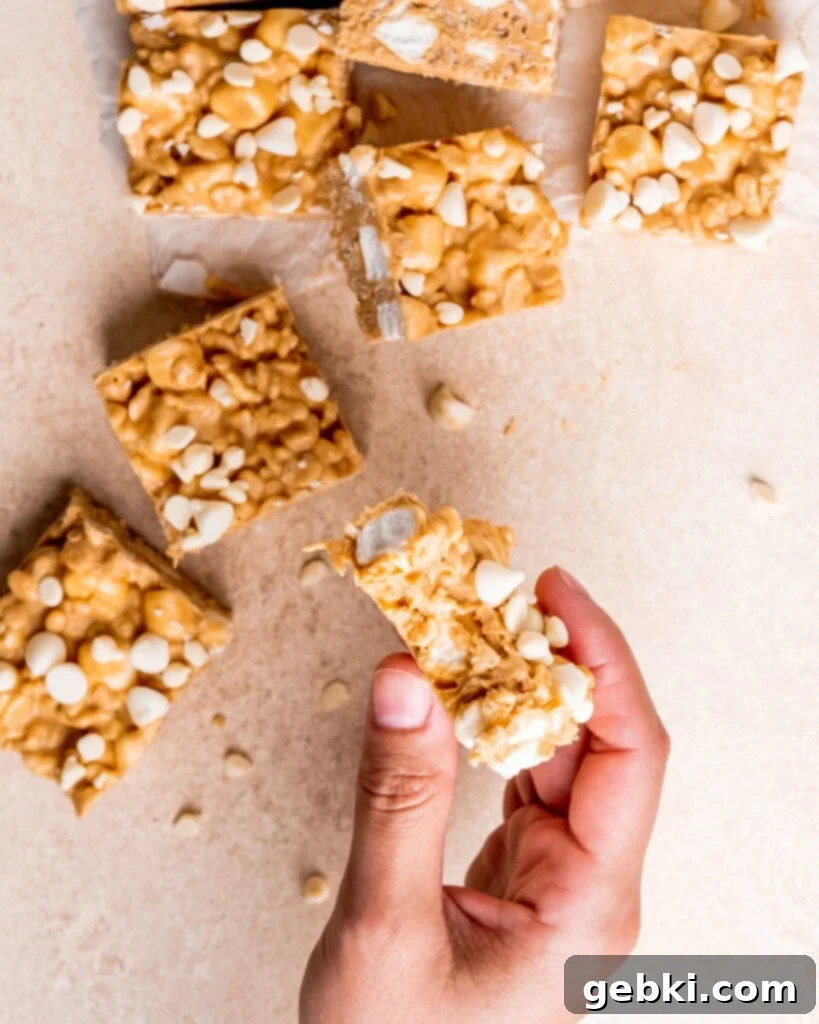
- Cut and Serve: Once firm, use the parchment paper overhang to lift the entire slab out of the pan. Place it on a cutting board and cut into 9 larger squares or 16 smaller squares, depending on your desired portion size. Enjoy!
Expert Tips & Storage Solutions:
Absolutely! This recipe is incredibly adaptable. Feel free to use milk chocolate, semi-sweet chocolate, or even dark chocolate chips instead of white chocolate. You can also mix different types of chocolate for a unique flavor profile.
Not at all! The beauty of this recipe is that both the marshmallows and Rice Krispies retain their delightful texture. The marshmallows stay soft and chewy, while the cereal remains wonderfully crunchy, creating a perfect contrast in every bite.
Yes, this recipe is very forgiving! You can easily adjust the ingredient ratios to suit your preferences. For more crunch, add a bit more cereal. If you love a richer peanut butter flavor, slightly increase the peanut butter. Experiment to find your perfect balance!
To make a larger batch, simply use a 9×13 inch baking dish. For thinner bars, you can double the ingredients. If you prefer thicker, more substantial bars, triple the recipe. Just ensure your pan is adequately lined for easy removal.
They certainly can be! To make these treats gluten-free, be sure to use a certified gluten-free crispy rice cereal and gluten-free marshmallows. Always check ingredient labels to confirm.
Due to the peanut butter and chocolate, these bars can get quite melty if left at room temperature for too long. For best results, store them in an airtight container in the refrigerator for up to 1 week. They also freeze exceptionally well for up to 2 months. Just thaw slightly before enjoying!
Customization Ideas for Your No-Bake Bars
While delicious as is, these Chocolate Peanut Butter Rice Krispies are a fantastic canvas for creativity! Here are some ideas to make them uniquely yours:
- Add Drizzles: Once chilled, melt a bit of dark chocolate or caramel and drizzle it artistically over the top for extra flair and flavor.
- Mix-Ins: Fold in some chopped nuts (peanuts, pecans, almonds), mini chocolate candies (like M&Ms), pretzel pieces for a sweet and salty crunch, or even dried fruit for a different twist. Add these when you mix in the cereal and marshmallows.
- Different Cereals: While Rice Krispies are classic, try experimenting with other crispy cereals like Corn Flakes, Cheerios, or even crushed graham crackers for a unique base.
- Extracts: A drop of vanilla extract or almond extract added to the melted peanut butter and chocolate mixture can subtly enhance the flavor profile.
- Festive Sprinkles: Add a festive touch by topping with colorful sprinkles before chilling, perfect for holidays or special occasions.
Troubleshooting Common Issues
Even with simple recipes, sometimes things don’t go exactly as planned. Here are quick solutions to common dilemmas:
- Mixture is Too Stiff to Mix: If your peanut butter and chocolate mixture hardens too quickly before you can coat everything, gently warm it again in the microwave for 10-15 seconds. Work quickly!
- Bars Aren’t Holding Together: This usually means the mixture wasn’t pressed firmly enough into the pan. Ensure you apply good pressure when flattening the mixture, and make sure it chills long enough to set completely.
- Soggy Cereal: If your cereal seems soggy, it might not have been fresh to begin with, or the melted mixture was too hot when added, causing the cereal to soften. Ensure your cereal is fresh and let the chocolate-peanut butter cool for just a minute or two (not too long!) before mixing.
More Delicious Recipes to Explore:
- Apple Pie Ice Cream (Ninja Creami Recipe)
- Strawberry Matcha Ice Cream (Ninja Creami Recipe)
- 5-Ingredient Blueberry Lemon Cheesecake Ice Cream (Ninja Creami Recipe)
- 5-Minute Banana Bread Mug Cake (No Eggs!)
Did you try this recipe? Tag @brokenovenbaking on Instagram and leave a ⭐⭐⭐⭐⭐ rating+review below!
📖 Recipe
Chocolate Peanut Butter Rice Krispies
Kayla Burton
Pin Recipe
Ingredients
- 1 cup (253 g) peanut butter I use creamy but whichever kind you prefer!
- 1 cup (170 g) white chocolate chips plus more for topping (optional)
- 2 cups (68 g) Rice Krispies cereal
- 2 cups (100 g) mini marshmallows
Instructions
-
Melt the peanut butter and white chocolate chips together in a medium-sized microwave safe bowl (30 seconds at a time, mix after each interval until they’re melted).
-
Add the Rice Krispies and marshmallows to a separate large bowl and fold in the melted peanut butter/chocolate mixture until everything is evenly coated.
-
Line an 8×8 dish* (or similar) with parchment paper or aluminum foil. Pour the mixture into the dish and flatten evenly, then sprinkle with extra white chocolate chips.
-
Let the bars set in the refrigerator for at least 1 hour before cutting into them.
Save This Recipe! 💌
We’ll email this post to you, so you can come back to it later!
Notes
*If you’d like to make enough for a 13×9″ dish, all you have to do is double or triple the recipe!
The provided nutrition information is an estimate, the calorie accuracy is not guaranteed.
The provided nutritional information is an estimate per serving. Accuracy is not guaranteed.
