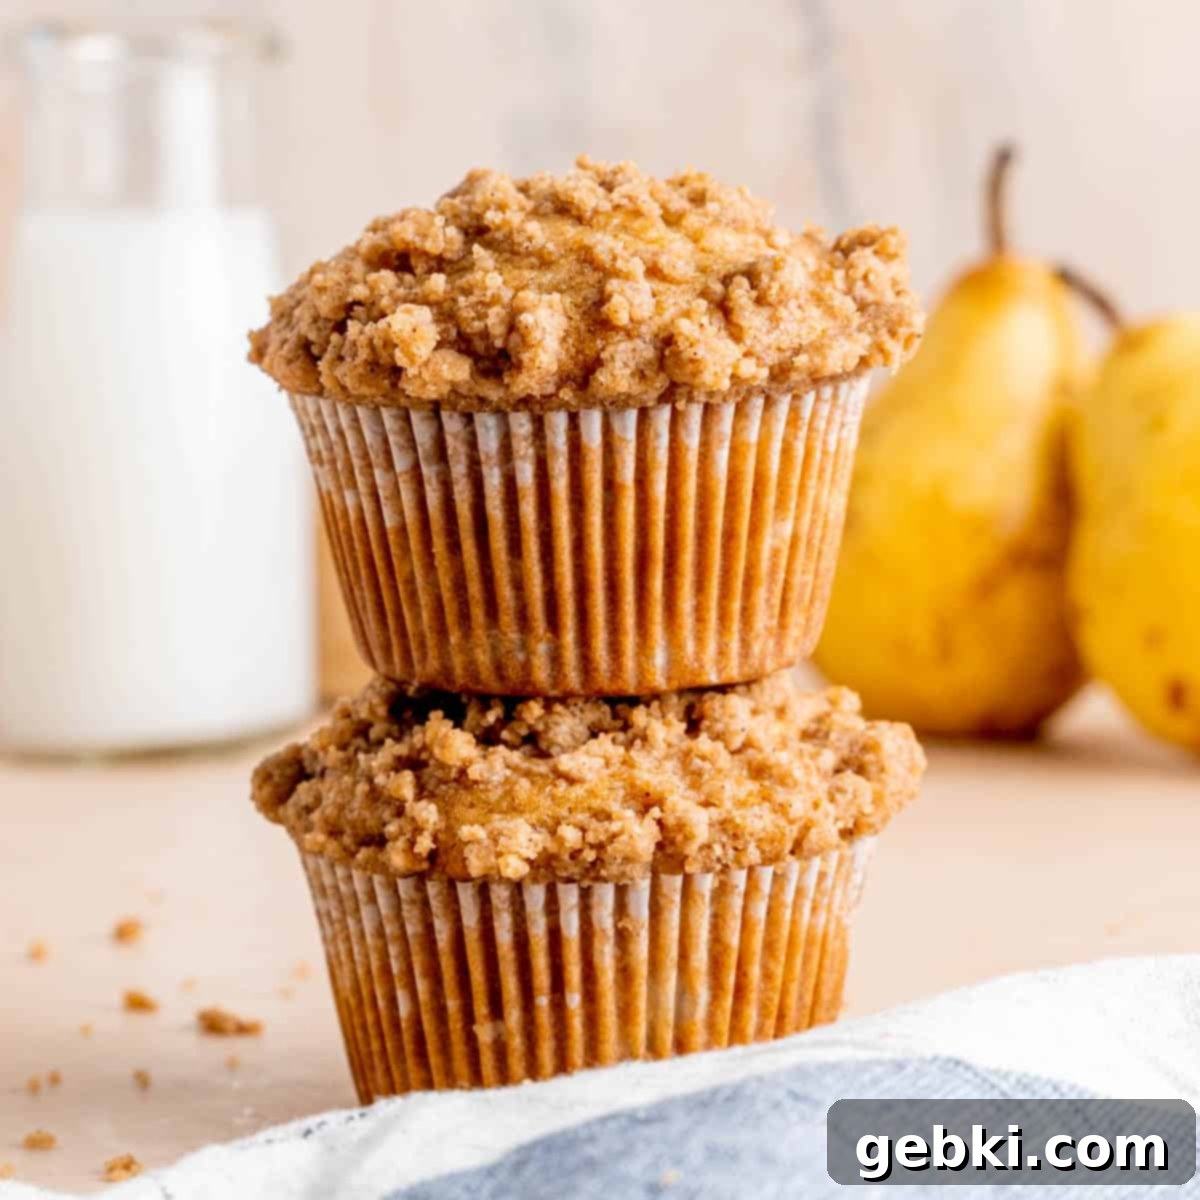
Easy Honey Pear Muffins with Cinnamon Streusel: Your Ultimate Fall Baking Guide
Welcome to the cozy world of fall baking, where warmth, spice, and sweet fruit flavors collide! These Easy Honey Pear Muffins are the epitome of autumn comfort, offering a perfect start to your day or a delightful afternoon pick-me-up. As pears become abundant in grocery stores during this beautiful season, this recipe provides an excellent opportunity to transform about three of these succulent fruits into a batch of incredibly moist, fluffy muffins. Infused with aromatic cinnamon and crowned with a sweet, irresistibly crunchy streusel topping, these muffins are truly a quintessential fall treat that will fill your home with an inviting aroma.
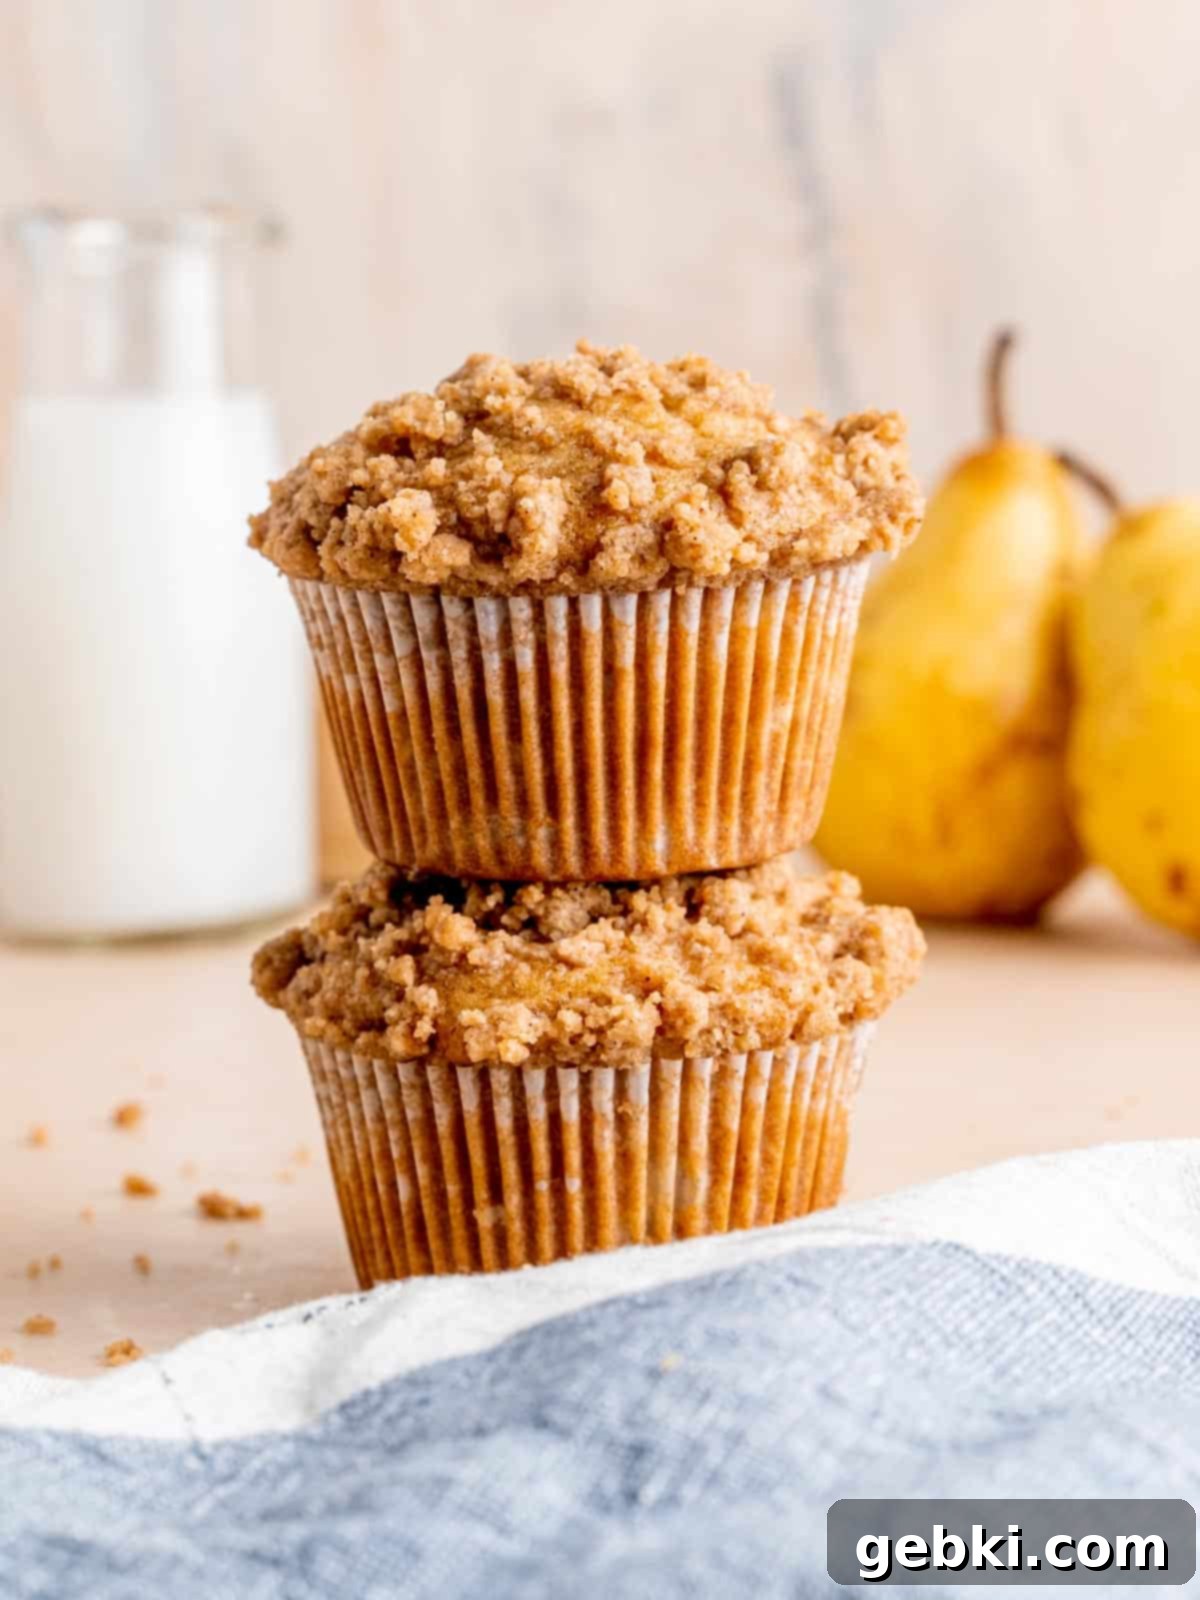
Not only are these pear and cinnamon muffins a fantastic seasonal bake, but they’re also an ingenious way to use up any overripe pears you might have accumulating on your counter. Their natural sweetness and tender texture are perfect for mashing into the muffin batter, ensuring zero waste and maximum flavor. So, grab a few extra pears on your next grocery run, bookmark this easy honey pear muffin recipe, and get ready to enjoy a quick, delightful, and wholesome treat that truly celebrates the best of fall.
This delightful recipe is proudly sponsored by my go-to honey brand, Local Hive™! They are dedicated to bottling only the finest raw and unfiltered honey from local batches across the United States. Beyond their incredible products, they generously donate a portion of their proceeds to PACE (Pollinator Awareness Through Conservation and Education), actively contributing to the vital protection of our precious bee populations. Using Local Hive™ honey not only sweetens your muffins but also supports a great cause!
[feast_advanced_jump_to]
Why You’ll Love This Honey Pear Muffin Recipe
- Perfect for Meal Prep and Busy Mornings: This pear breakfast recipe is incredibly convenient for making ahead of time. Imagine waking up to a batch of freshly baked, warm, and delicious muffins, ready to grab and go! They’re ideal for busy weekdays, a relaxing weekend brunch, or even as a thoughtful gift for friends and family.
- Naturally Sweetened with Honey: You’ll appreciate that these pear muffins are made without any granulated sugar in the muffin batter itself. Their delightful sweetness comes purely from local honey, offering a more complex flavor profile and a natural alternative to refined sugars. The only brown sugar is reserved for the irresistible, crunchy streusel topping.
- A Fall Twist on a Classic Favorite: If you’re a fan of my popular cinnamon coffee cake muffins recipe, you’re in for a treat! This recipe takes that same scrumptious concept and elevates it with the juicy, seasonal addition of fresh pears, creating a truly unique and comforting fall flavor.
- Quick & Easy Baking, Amazing Aroma: These easy pear muffins come together in approximately 30 minutes, making them a perfect last-minute baking project or a quick solution for an unexpected craving. As they bake, your entire house will be enveloped in the warm, inviting scents of cinnamon, sweet honey, and ripe pears – the true essence of autumn.
- Irresistible Brown Sugar Cinnamon Streusel: The crowning glory of these muffins is undoubtedly the rich brown sugar cinnamon streusel. It adds an incredible layer of texture and an extra burst of sweet, spiced flavor that perfectly complements the soft, fruity interior of the muffins. Every bite offers a delightful contrast between tender muffin and crunchy topping.
Key Ingredients for Delicious Pear Muffins
Crafting the perfect honey pear muffins starts with high-quality ingredients. Here’s a closer look at what makes this recipe special:
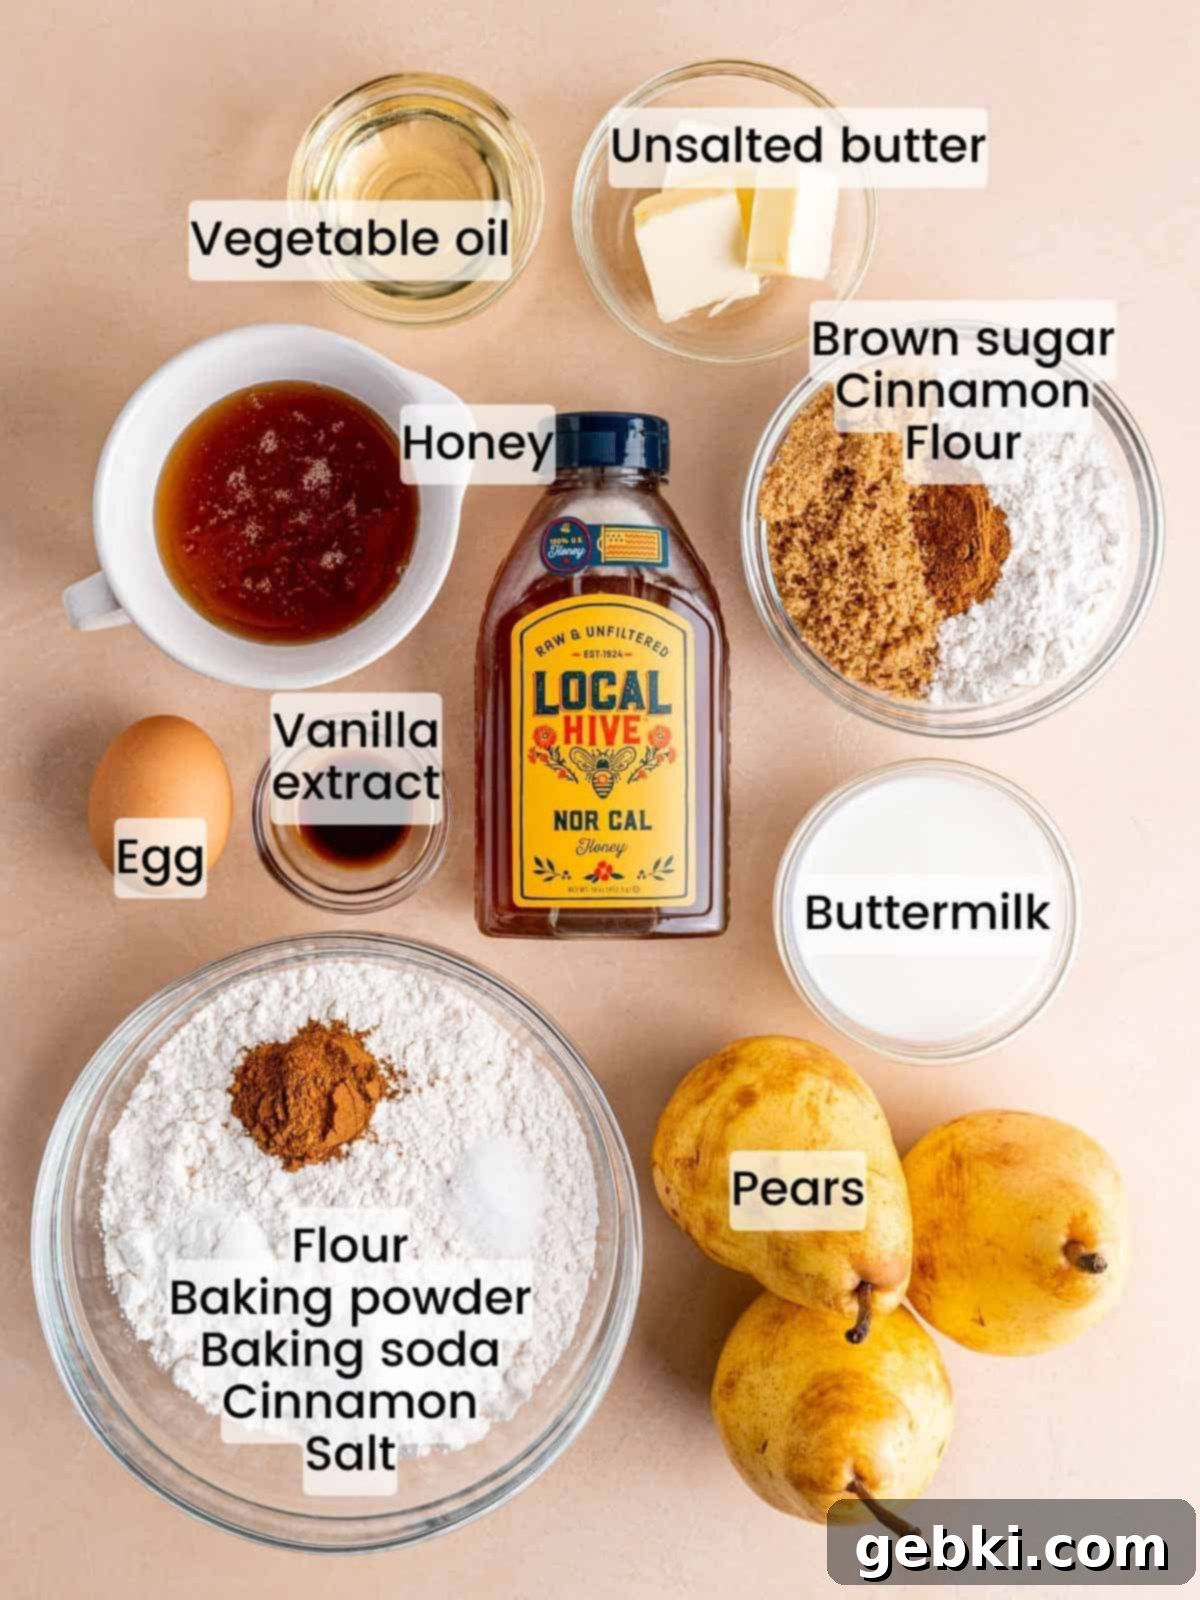
- Ripe Pears: The star of these muffins! For the best flavor and moisture, select pears that are truly ripe. You’ll know they’re ready when they’re very fragrant and yield slightly to a gentle press near the stem. Pears like Bartlett, Bosc, or Anjou work wonderfully. After washing and peeling, they’re mashed to seamlessly integrate into the batter, ensuring every bite is infused with their delicate sweetness. Remember to remove the core, stem, and seeds before mashing.
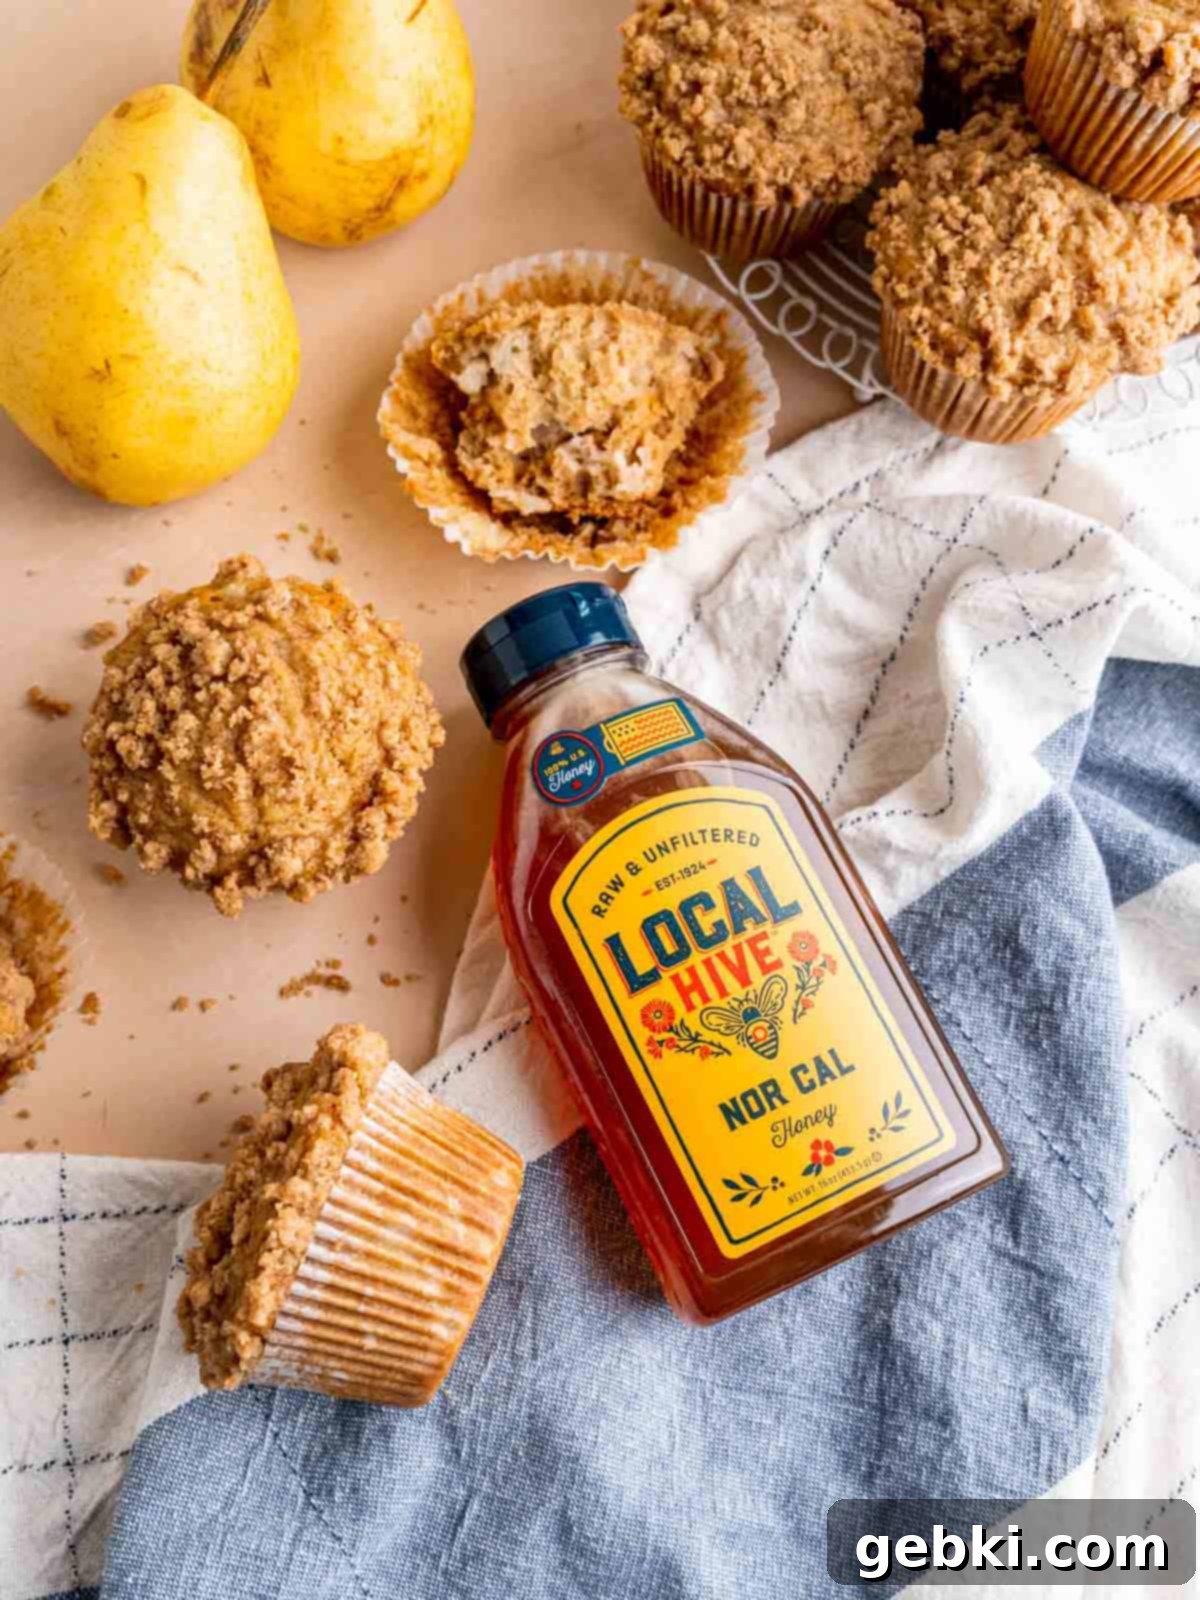
- Local Hive™ Nor Cal Raw & Unfiltered Honey: This exceptional honey is the primary sweetener for the muffin batter. Sourced and bottled from local Californian bees, it boasts a unique and robust flavor profile with smooth, fruity notes that perfectly complement the subtle taste of pears. Using raw and unfiltered honey also brings a touch of natural goodness to your baking.
- Baking Soda and Baking Powder: This powerful duo works in harmony to give these muffins their signature light and fluffy texture. Baking soda, activated by the acidity of buttermilk, provides an initial lift, while baking powder offers a sustained rise, ensuring your muffins are beautifully domed and airy.
- Buttermilk: A crucial ingredient that not only activates the baking soda for optimal leavening but also contributes a tender crumb and a subtle, delightful tang that beautifully balances the sweetness of the honey and pears. If you don’t have buttermilk on hand, you can easily make a substitute by adding a tablespoon of lemon juice or white vinegar to regular milk and letting it sit for 5-10 minutes.
- Cinnamon: The essential spice for fall baking, ground cinnamon adds a warm, inviting aroma and flavor that perfectly ties together the sweetness of the pears and honey, creating that classic autumn comfort profile.
- All-Purpose Flour: The foundation of our muffin structure. For best results and to avoid dense muffins, it’s highly recommended to weigh your flour using a food scale.
- Vegetable Oil: Adds moisture and helps achieve a tender crumb in the muffins. Any neutral-flavored oil will work.
- Vanilla Extract: Enhances all the other flavors, adding a layer of sweet, aromatic depth.
- Egg: Acts as a binder, providing structure and richness to the muffins.
- Salt: A pinch of salt is vital for balancing flavors and making the other ingredients shine.
See the full recipe card below for precise measurements and detailed instructions.
Substitutions & Creative Variations for Your Pear Muffins
While this recipe for honey pear muffins is perfect as is, feel free to get creative with these delicious substitutions and variations to tailor them to your taste or what you have on hand:
- Applesauce Instead of Pears: If pears are out of season or unavailable, you can easily swap them out for 1.5 cups of unsweetened chunkyapplesauce. This will still give you a moist, fruity muffin with a slightly different but equally delicious flavor profile.
- Add a Nutty Crunch: For an extra layer of texture and a rich, earthy flavor, mix in ½ cup of chopped, toasted walnuts or pecans to the batter in Step 4. The toasting step is key for enhancing their flavor.
- Hearty Oats in the Streusel: Incorporate ½ cup of old-fashioned oats into the streusel in Step 1 for a more wholesome texture and a subtle, oaty flavor that pairs beautifully with the cinnamon and pears.
- Ginger Pear Muffins: Elevate the spice profile by transforming these into classic ginger pear muffins. Simply add ¼ teaspoon of ground ginger to the muffin batter along with the cinnamon. The warm, zesty kick of ginger is a fantastic complement to sweet pears.
- Chocolate Chip Pear Muffins: For a decadent twist, fold in ½ cup of mini chocolate chips into the muffin batter. Dark chocolate chips would offer a lovely contrast to the sweet pears and honey.
- Different Spices: Experiment with other warm spices! A pinch of nutmeg, cardamom, or even a touch of allspice can enhance the fall flavors.
- Dried Fruit Boost: Add ¼ cup of finely chopped dried cranberries or raisins for an additional chewiness and bursts of fruity flavor.
This recipe has been thoroughly tested with the original ingredients for optimal results. If you opt to replace or add any ingredients, please share your experience in the comments below! We’d love to hear how your creations turned out.
How To Bake Irresistible Honey Pear Muffins: A Step-by-Step Guide
Follow these simple steps to create perfectly moist and flavorful honey pear muffins with a delightful cinnamon streusel topping.
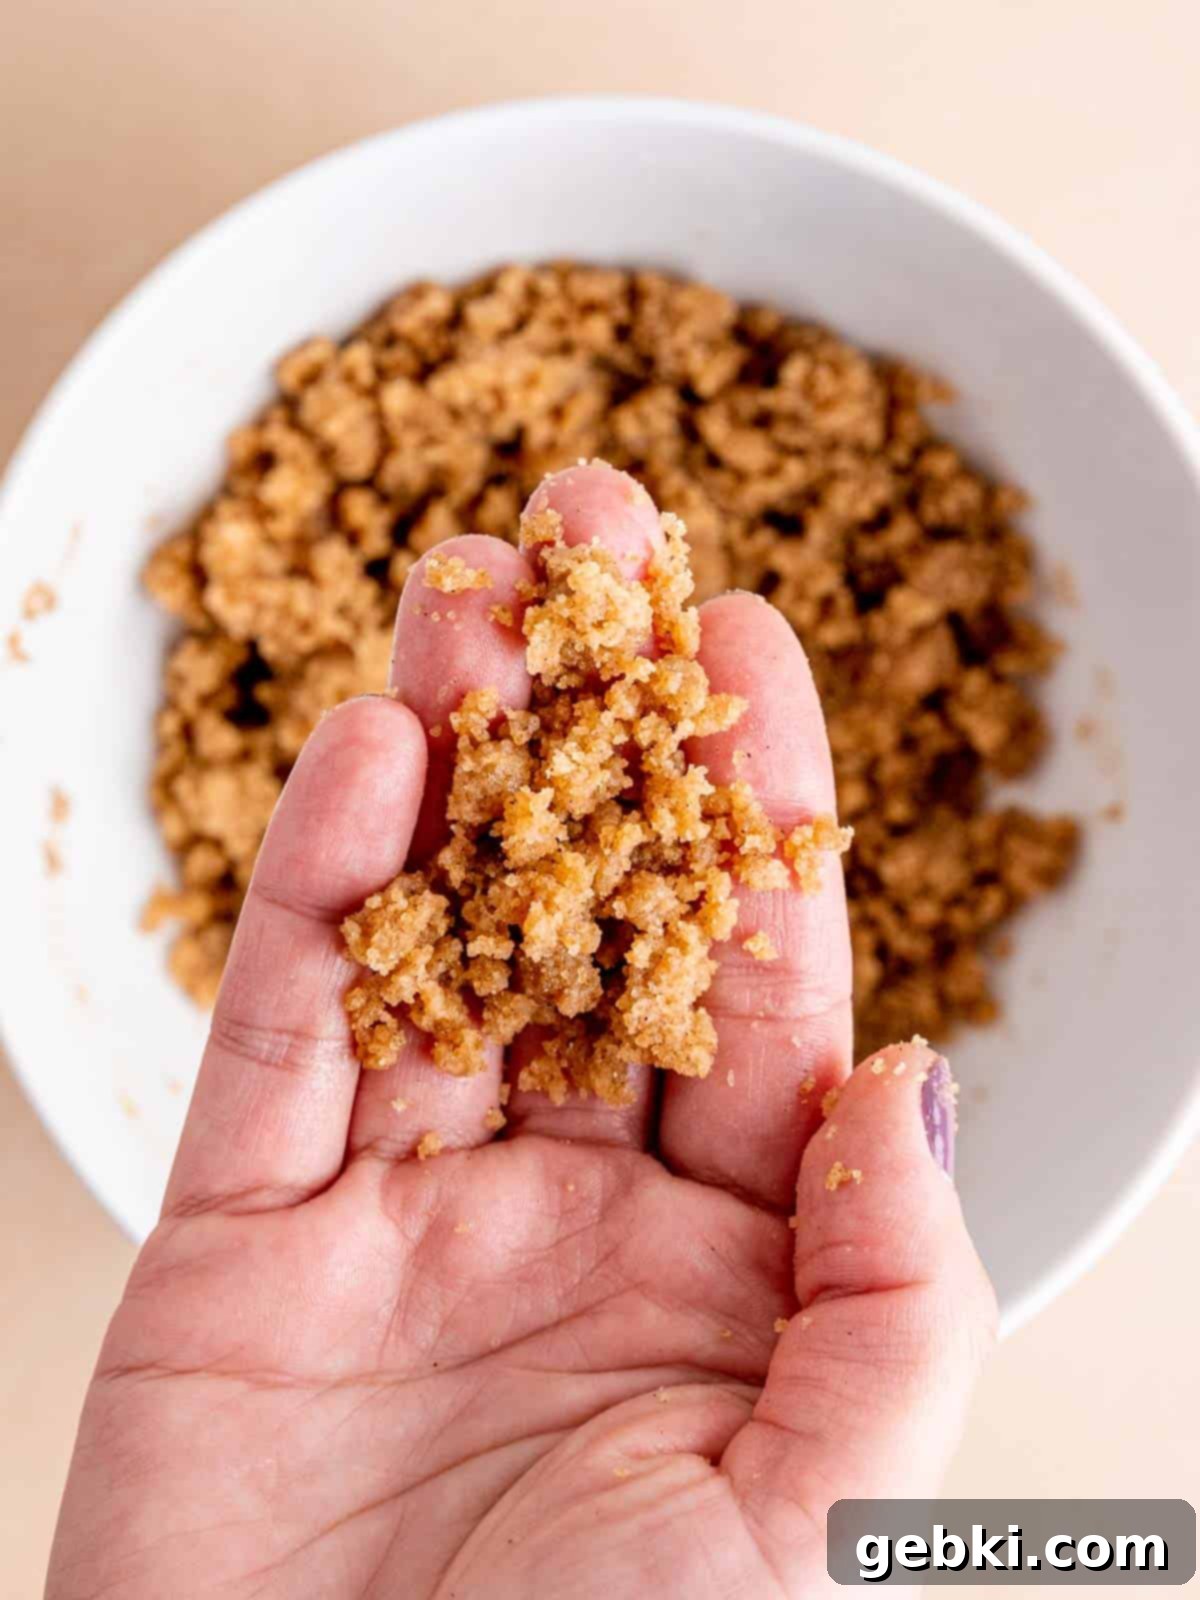
Step 1: Prepare the Cinnamon Streusel Topping. In a small mixing bowl, combine the all-purpose flour, rich brown sugar, and fragrant ground cinnamon. Gradually drizzle in the melted, unsalted butter, mixing with a fork or your fingertips until the mixture comes together and resembles coarse, wet sand. This creates the perfect crunchy texture for your muffin topping. Set this aside to allow it to slightly dry and firm up while you prepare the muffin batter.
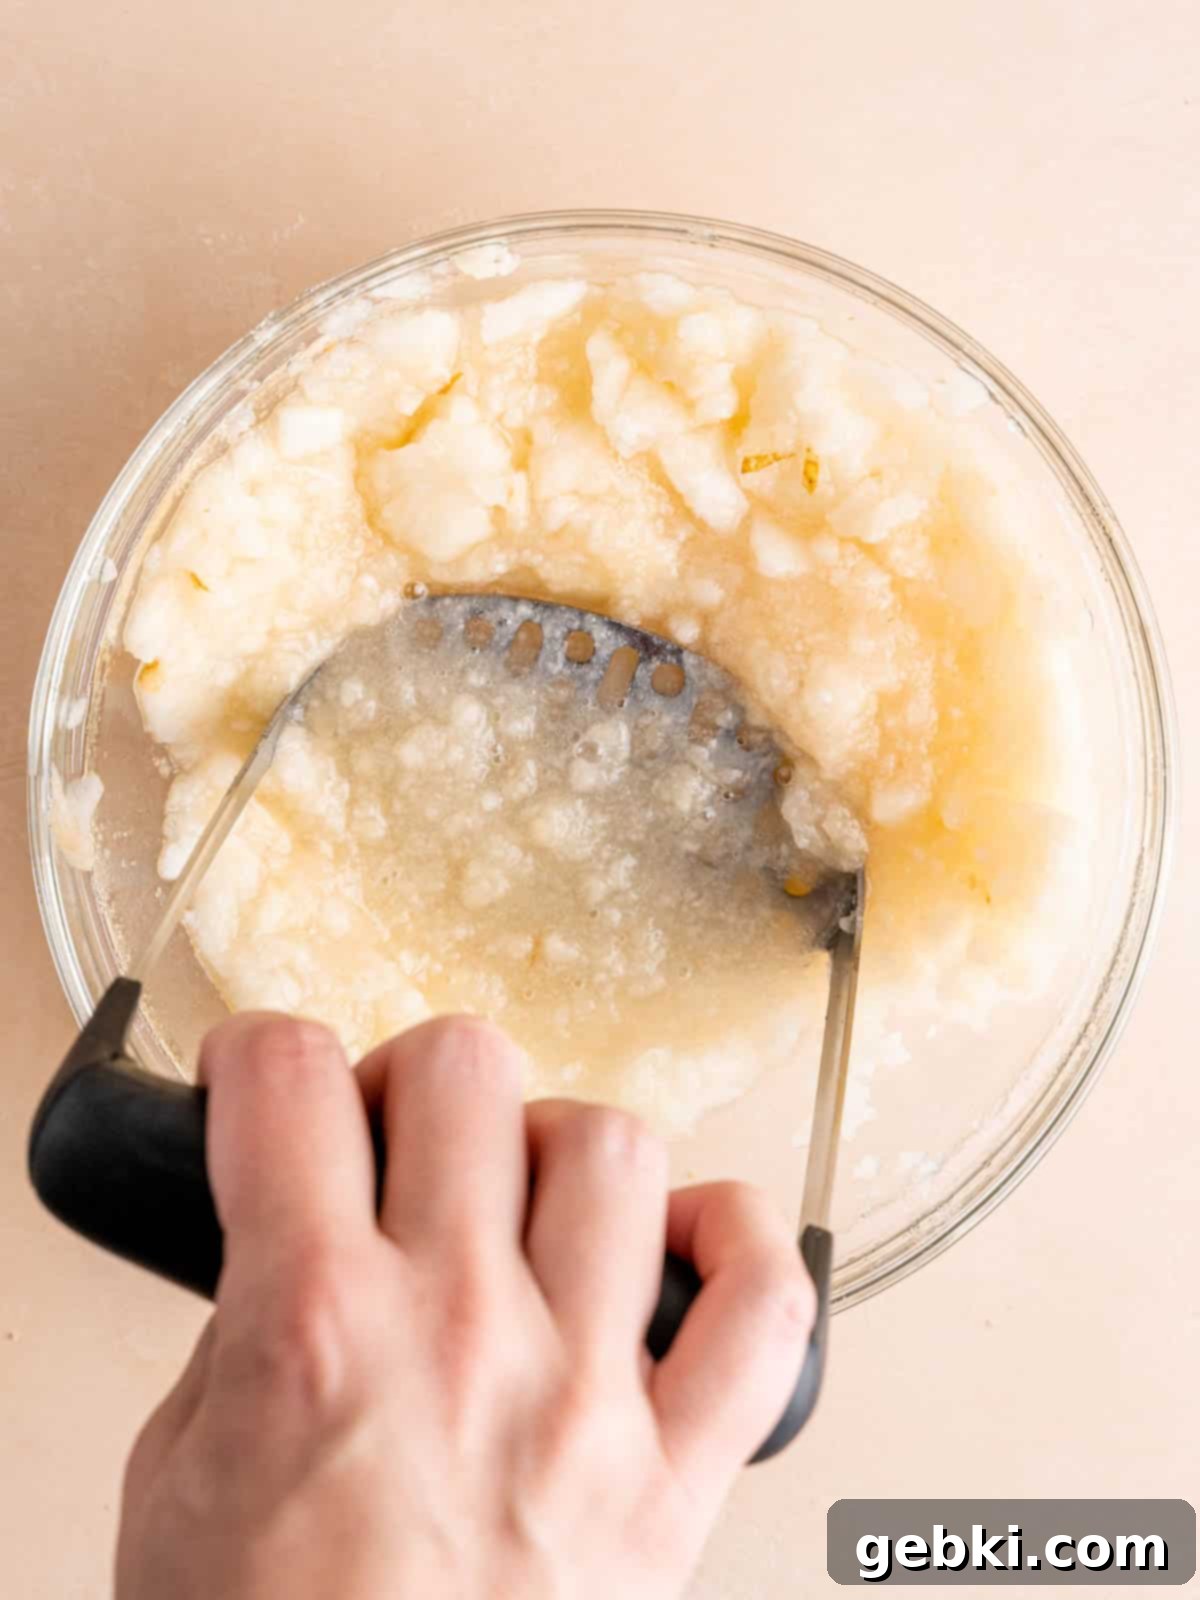
Step 2: Prepare the Pears. Begin by thoroughly washing and peeling your ripe pears. Carefully remove the core, stem, and any seeds. In a medium bowl, mash the prepared pears using a fork or a potato masher until you have a pulpy consistency. Measure out precisely 1½ cups of this mashed pear pulp, being sure to leave any excess liquid behind. Too much liquid can make your muffins dense.
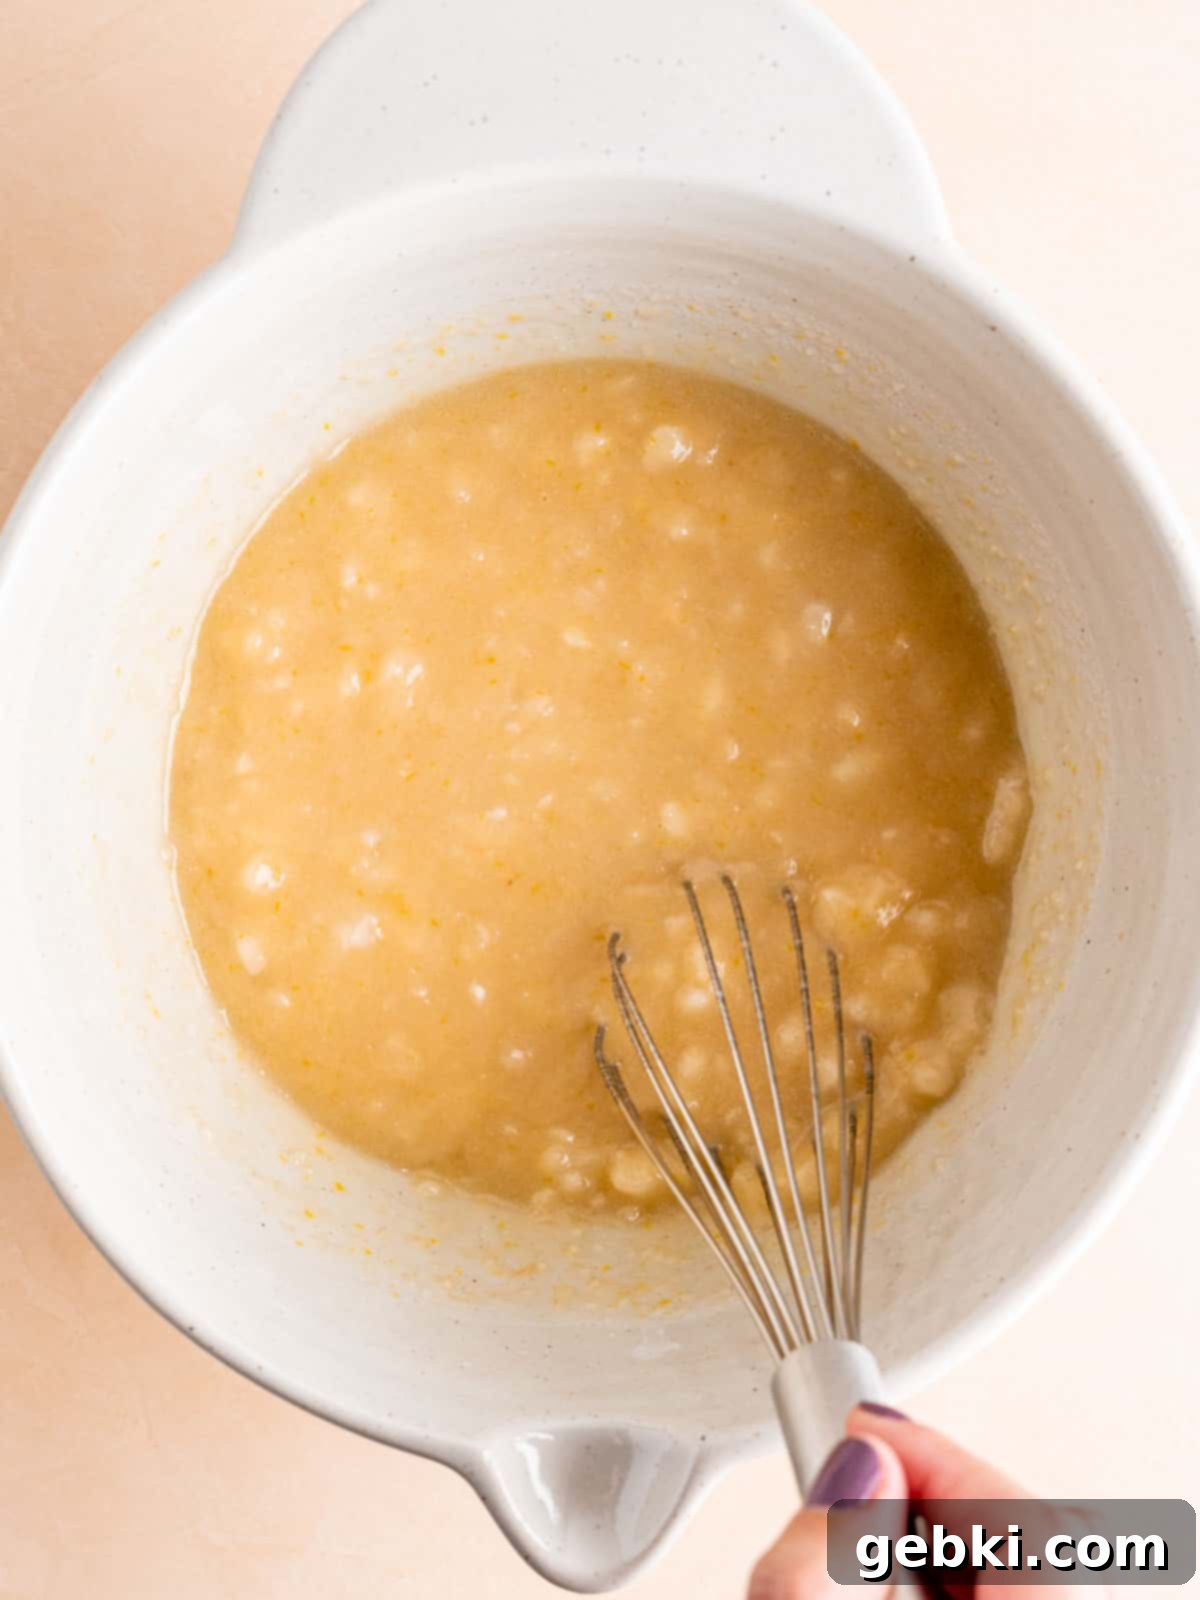
Step 3: Combine Wet Ingredients. In a large mixing bowl, gently whisk together the Local Hive™ honey, vegetable oil, room temperature buttermilk, fragrant vanilla extract, a large egg (also at room temperature for better emulsion), and your prepared mashed pears. Whisk until all these wet ingredients are well combined and smooth, ensuring even distribution of flavors.
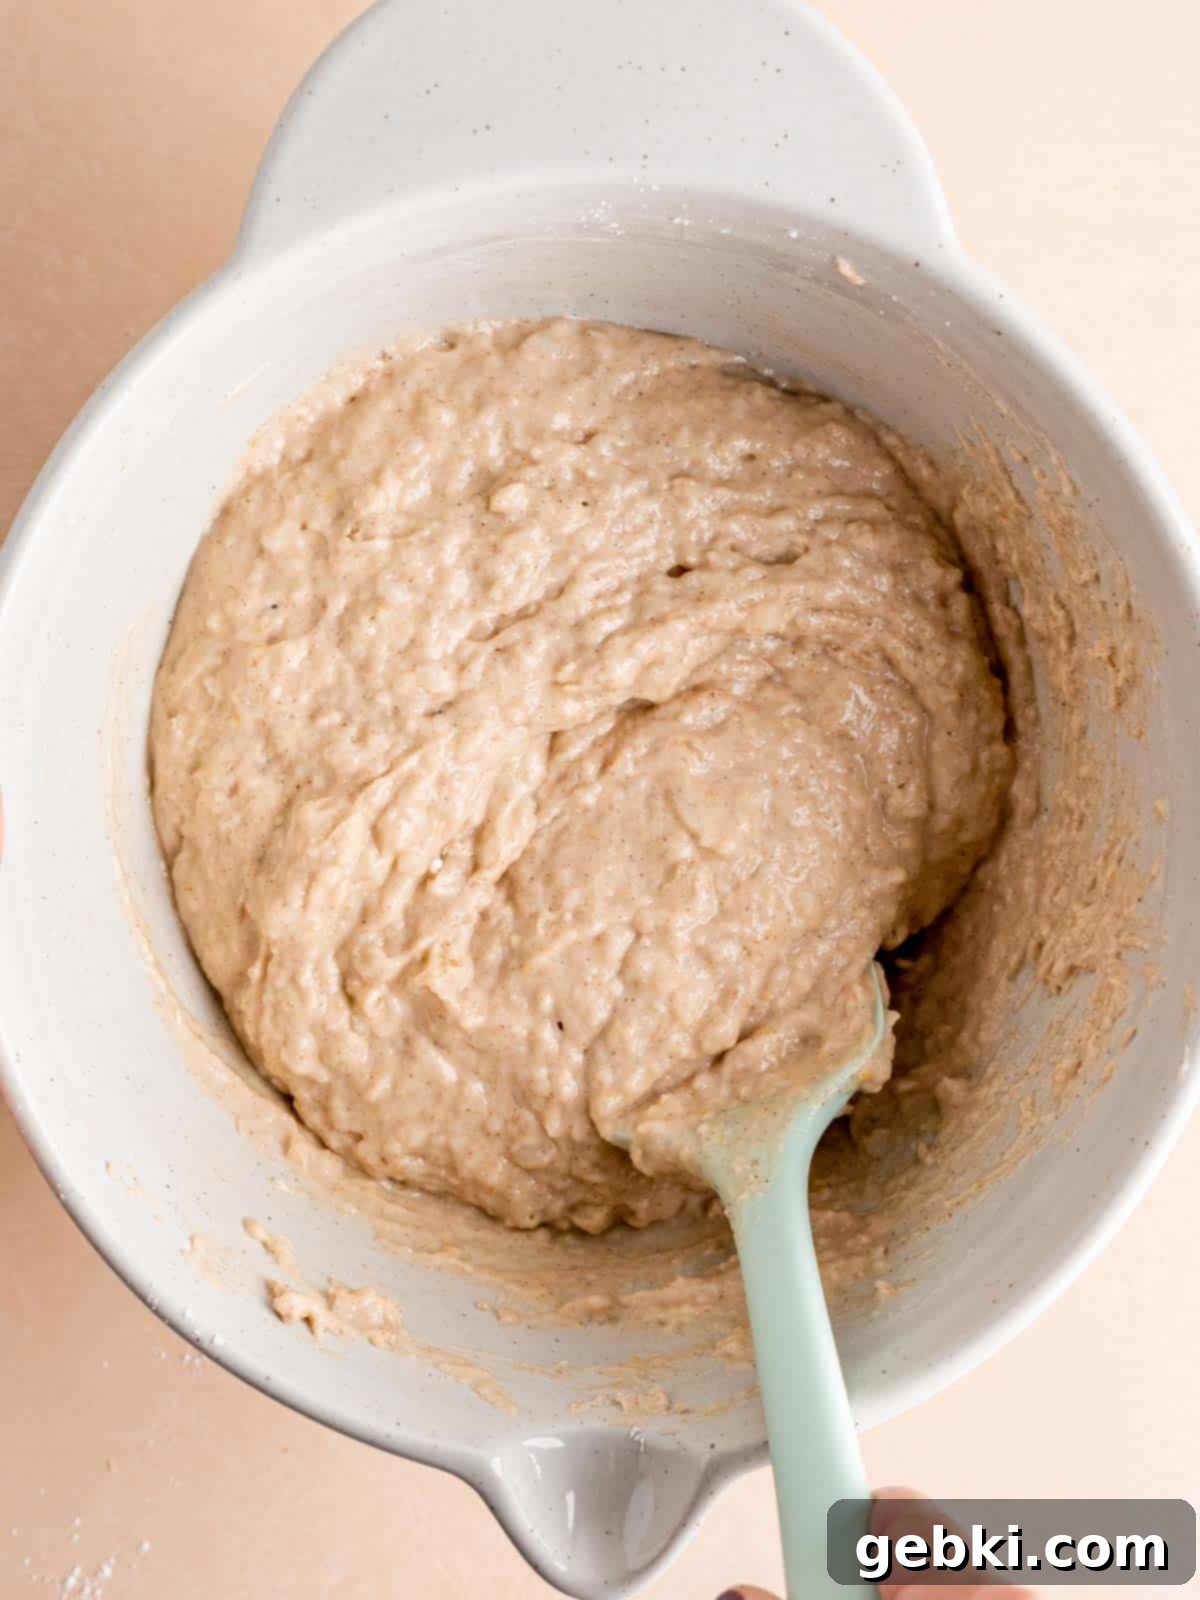
Step 4: Incorporate Dry Ingredients. In a separate bowl, whisk together the all-purpose flour, additional ground cinnamon, baking soda, baking powder, and salt. Gradually add these dry ingredients to the wet pear mixture. Using a spatula, gently fold them together just until the flour streaks disappear. Be careful not to overmix, as this can lead to tough, dry muffins. A few small lumps are perfectly fine!
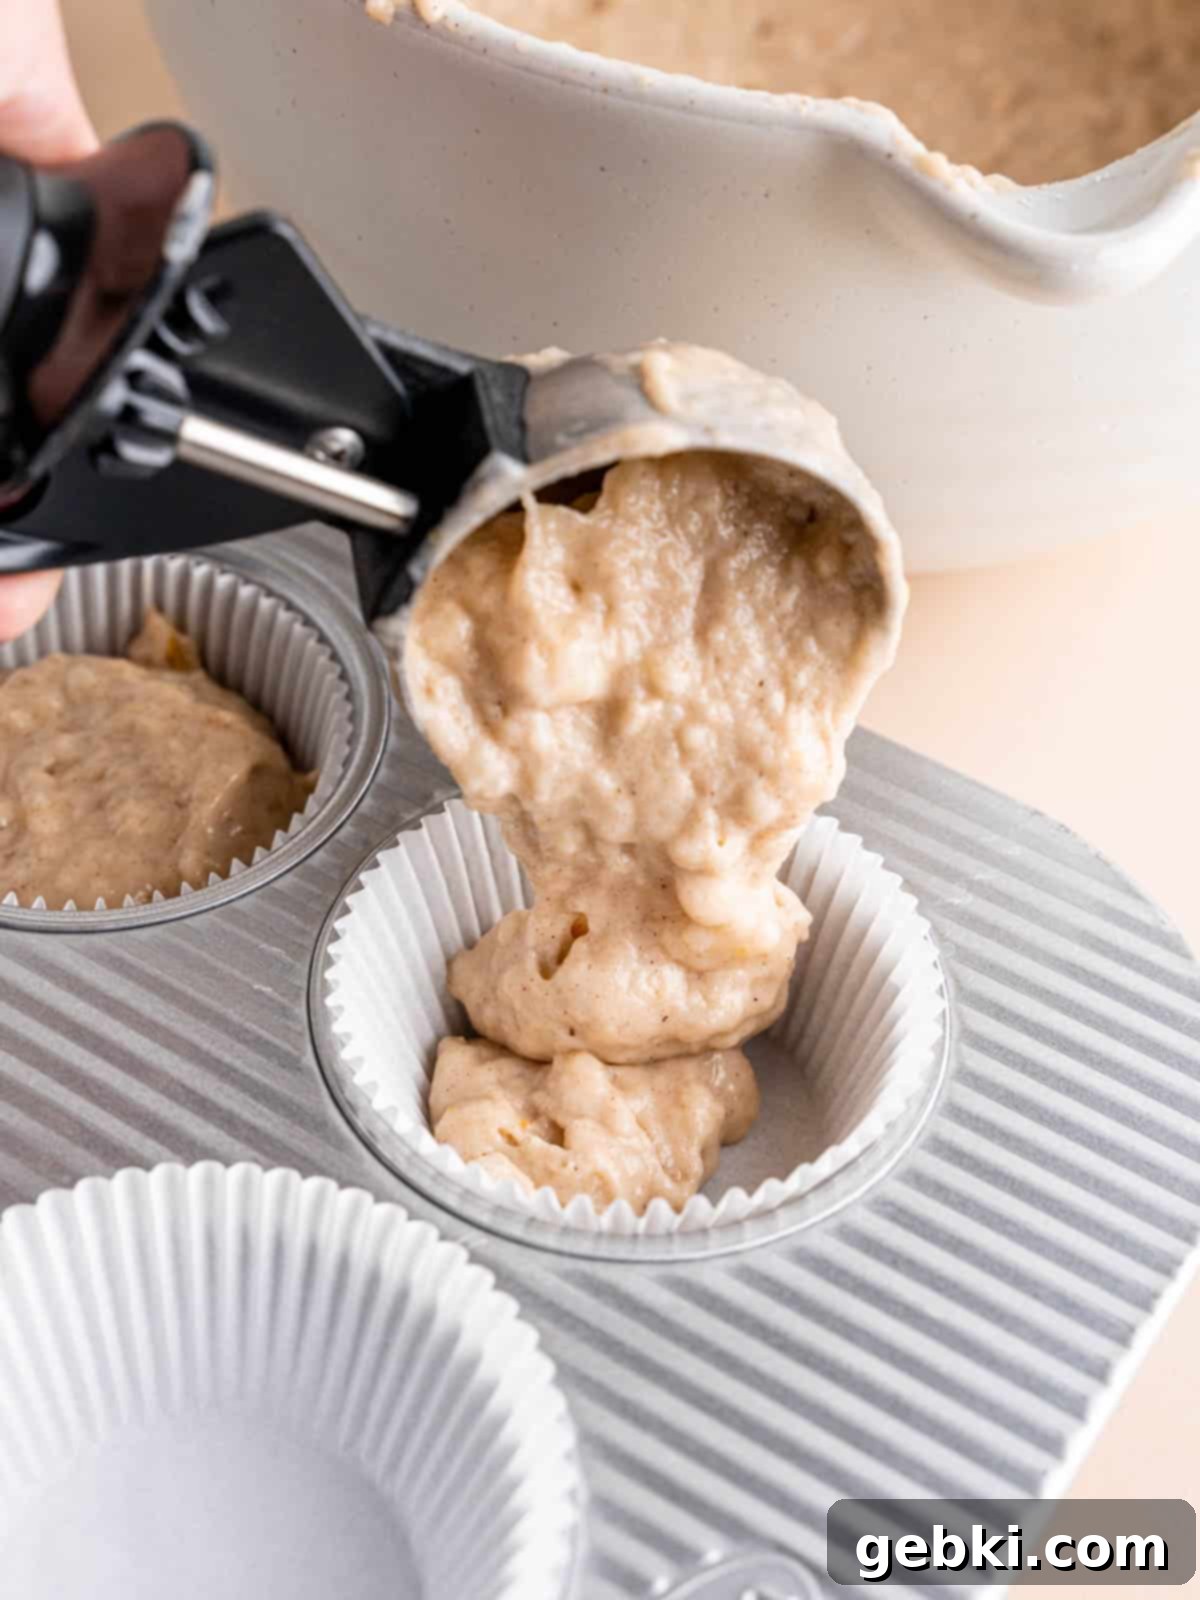
Step 5: Fill Muffin Liners. Line a standard 12-cup muffin pan with parchment paper cup liners. These help prevent sticking and make for easy cleanup. Evenly distribute the honey pear muffin batter among the 12 liners, filling each one generously to the top. This full fill helps create those coveted tall, domed muffin tops.
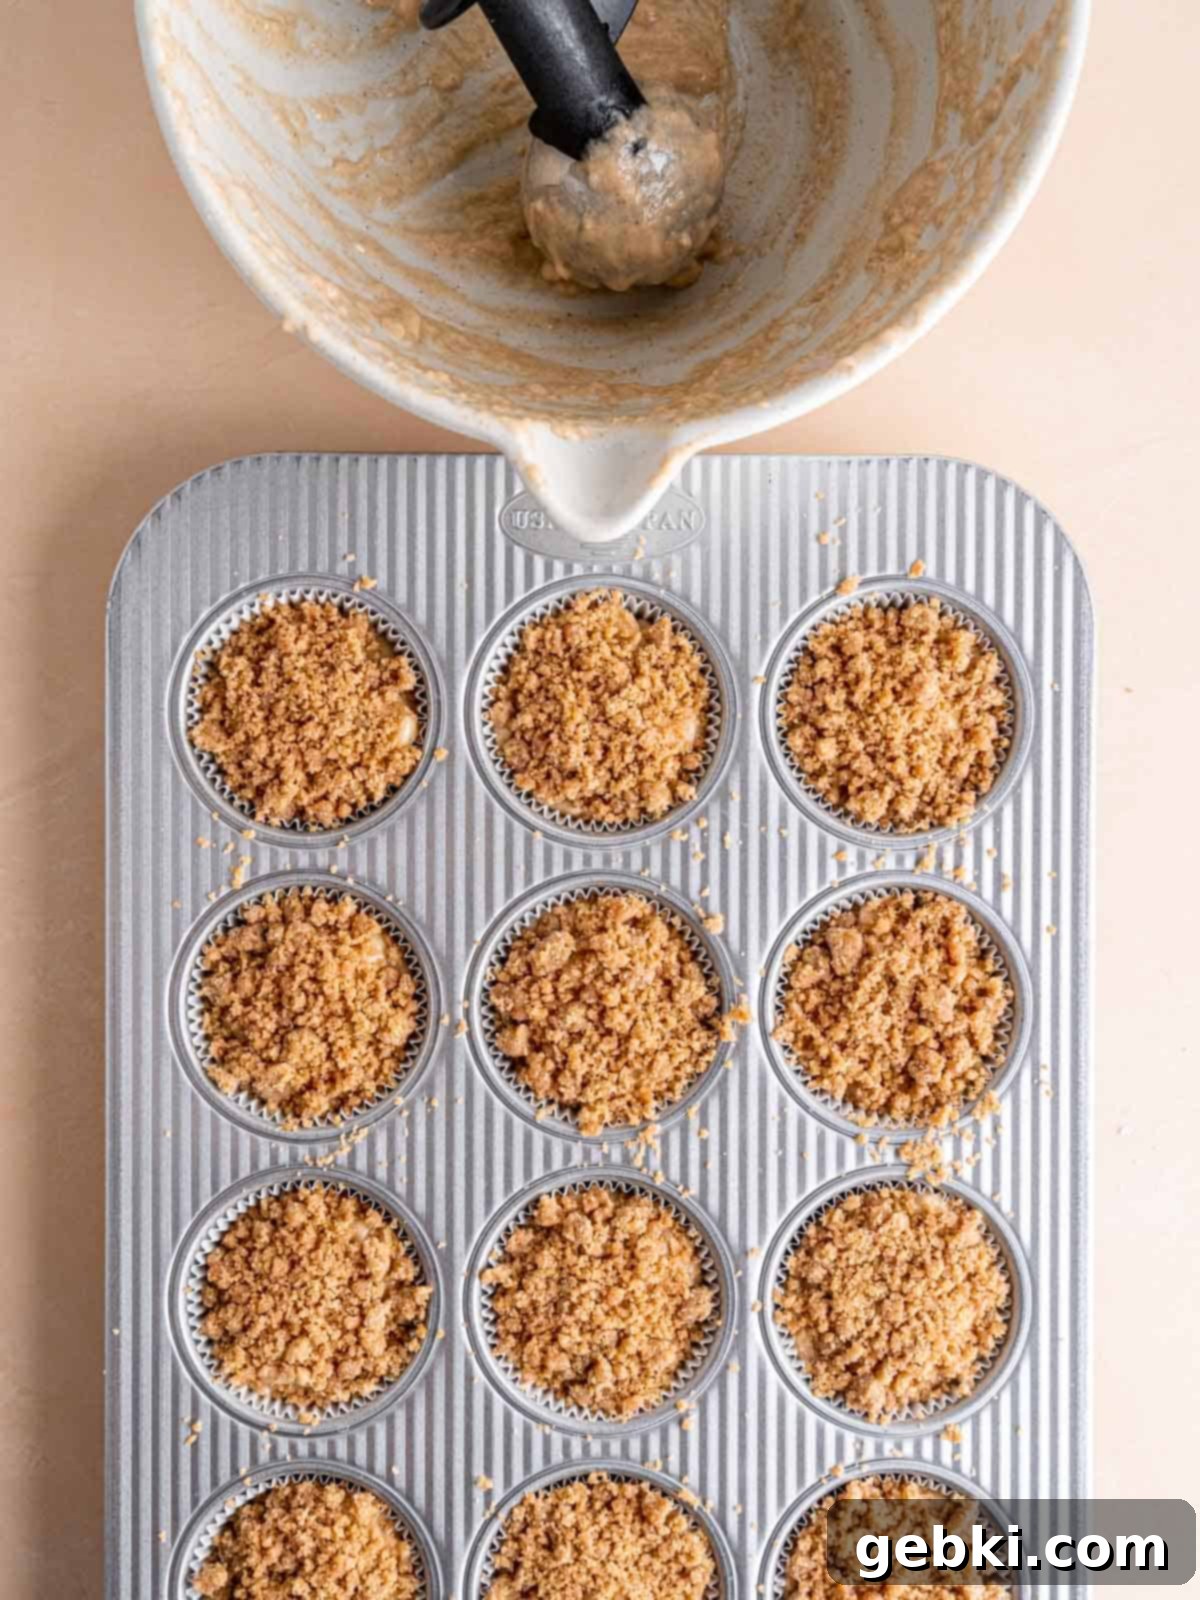
Step 6: Add Streusel Topping. Generously sprinkle the prepared cinnamon streusel mixture over the top of each muffin in the pan. Gently pat down on each streusel-topped muffin with the back of a spoon or your fingers to help secure the crumb topping in place during baking, ensuring a beautiful, golden crust.
Baking Instructions: Place the muffin pan into your preheated oven at 400°F (200°C) and bake for the first 5 minutes. This initial high heat helps create a beautiful dome on your muffins. Then, without opening the oven door, reduce the temperature to 350°F (175°C) and continue baking for another 13-15 minutes. The muffins are done when a toothpick inserted into the center comes out clean. Once baked, transfer the muffin tin to a wire cooling rack and let them cool in the pan for about 10 minutes. This allows them to set properly. After 10 minutes, carefully transfer the individual muffins directly to the wire rack to cool completely, ensuring no moisture gets trapped underneath.
Expert Baking Tips for Perfect Honey Pear Muffins
Achieving bakery-quality muffins at home is easier than you think with these expert tips:
- Choosing and Ripening Pears: Don’t shy away from pears on sale! Whether they are underripe or overripe, they can be perfect for this recipe. Overripe pears are easy to mash and burst with sweetness. If your pears are underripe, simply place them in a brown paper bag on your kitchen counter, ideally next to a banana. The ethylene gas released by the banana will speed up the ripening process significantly, making them ready to use in just a day or two.
- Preheat Your Oven Thoroughly: Always preheat your oven before you even start mixing your muffin batter. Preheating to 400°F (200°C) can take a significant amount of time, depending on your oven’s calibration. Baking the batter immediately after mixing, into a hot oven, is essential for activating the leavening agents quickly, resulting in that desirable tall, domed muffin top.
- Precision with Flour Measurement: For consistent and perfectly textured muffins, invest in a food scale and weigh your flour in grams (refer to the metric tab in the recipe card below). Flour is notoriously easy to pack into measuring cups, leading to unknowingly adding too much to your batter. Excess flour is a common culprit for dry, dense, and tough muffins. A scale ensures accurate measurements every time!
- Even Baking is Key: To ensure your honey pear muffins bake evenly and develop a beautiful golden crust, always bake them on the middle rack of your oven. If your oven tends to have hot spots, rotating the muffin pan halfway through the baking process can help prevent one side from browning too quickly. Additionally, I highly recommend keeping an oven thermometer inside your oven to verify it’s maintaining the correct temperature, as oven temperatures can often fluctuate.
- Don’t Overmix the Batter: After combining your wet and dry ingredients, mix just until the flour streaks disappear. Overmixing develops the gluten in the flour too much, which can lead to chewy, tough muffins instead of light, tender ones. A few small lumps in the batter are perfectly fine and even desirable.
- Room Temperature Ingredients: Ensure your buttermilk and egg are at room temperature. This allows them to incorporate more smoothly and evenly into the batter, leading to a more consistent and tender crumb in your final muffins.
- Choose the Right Muffin Liners: Parchment paper liners are excellent as they prevent sticking entirely and release easily, keeping your muffins looking pristine. If using standard paper liners, you might lightly spray them with non-stick cooking spray for extra insurance.
Recipe Frequently Asked Questions (FAQs)
Determining pear ripeness is all about a gentle touch and a good sniff! You’ll know a pear is perfectly ripe when it emits a lovely, sweet fragrance even before you get close. Visually, its color might change slightly depending on the variety (e.g., Bartlett pears turn yellow), but the best indicator is firmness. Gently press your thumb near the stem end of the pear. If it yields slightly to the pressure and feels soft, it’s ripe and ready for mashing into your muffins. If the body of the pear is soft, it might be overripe, but still suitable for baking.
Any type of ripe and soft pear will work beautifully for these honey pear muffins. My personal favorites for their flavor and texture in baking are Bartlett, Bosc, and Anjou pears, or simply whatever is in season and on sale at your local grocery store. Their natural sweetness and moisture content are ideal. Yes, you can absolutely use canned pears if fresh pears are unavailable. Just be sure to drain them very well and pat them dry before mashing to avoid adding too much liquid to your batter. Choose canned pears in water or light syrup to control added sweetness.
You certainly can! Incorporating whole wheat flour can add a lovely nutty flavor and a boost of fiber to your muffins. However, whole wheat flour absorbs more liquid and can result in a denser texture if used entirely. I recommend starting by swapping out ¼ to ½ of the all-purpose flour with whole wheat flour (e.g., if the recipe calls for 2¼ cups AP flour, use 1¾ cups AP flour and ½ cup whole wheat flour). This ratio will help maintain a lighter crumb while still benefiting from the whole grains.
Local Hive™ is a fantastic American honey company that is deeply committed to protecting and preserving bee populations across the nation. They partner with over 250 beekeepers throughout the United States to bottle locally sourced varietals of raw and unfiltered honey. What makes their honey so special is that each varietal has a distinct color and flavor profile, reflecting the unique local flora that the bees pollinate in specific regions. For this pear muffin recipe, I find their Nor Cal varietal to be absolutely perfect due to its smooth, delicate, and fruity notes that beautifully enhance the natural taste of pears. Beyond the taste, supporting Local Hive™ means contributing to vital pollinator conservation efforts. Learn more about their mission and products at localhivehoney.com.
Local Hive™ Honey is widely available! You can find a variety of their unique varietals in many major grocery stores across the US. To explore their full range of products and conveniently purchase all varietals, I recommend visiting their online store at shop.localhivehoney.com! As an affiliate, I’m delighted to offer you a special discount: enjoy 15% off your first online purchase with the code BOB15 (valid through December 31, 2022). Don’t miss out on trying their incredible honey!
While this recipe has not been specifically tested with gluten-free flours, you can typically substitute all-purpose flour with a 1:1 gluten-free baking blend that contains xanthan gum. Keep in mind that the texture might be slightly different, potentially a bit denser or more crumbly. Start with the suggested amount and adjust based on the batter consistency. Look for blends designed for baking.
No buttermilk? No problem! You can easily make your own. For ⅓ cup of buttermilk, simply add 1 teaspoon of white vinegar or lemon juice to a measuring cup, then fill the rest of the way with regular milk (dairy or non-dairy). Stir it gently and let it sit for about 5-10 minutes. The milk will curdle slightly, and voilà, you have a homemade buttermilk substitute ready to use!
Storage Tips for Freshness and Convenience
Properly storing your delicious honey pear muffins will ensure they stay fresh and enjoyable for longer. Here’s how:
Room Temperature Storage
Once your honey pear muffins have cooled completely to room temperature, transfer them to an airtight container. Storing them this way will keep them moist and fresh for up to 3 days. To maintain their texture, you can place a piece of paper towel at the bottom of the container and another on top before sealing. This helps absorb any excess moisture.
Freezing Instructions for Longer Enjoyment
For longer-term storage, these muffins freeze beautifully! Once completely cooled, individually wrap each muffin tightly in plastic wrap, then place the wrapped muffins into a freezer-safe bag or airtight container. They will stay fresh in the freezer for up to 2 months. When you’re ready to enjoy them, simply remove the desired number of muffins from the freezer and let them thaw at room temperature for at least an hour. For a warm, “freshly baked” experience, you can gently reheat them in the microwave for 15-30 seconds or in a preheated oven at 300°F (150°C) for about 5-10 minutes.
More Delicious Recipes You’ll Love This Fall
If you enjoyed these honey pear muffins, you’re sure to find your next favorite bake among these other delightful recipes:
-
Simple Honey Vanilla Layer Cake
-
Banana Baked Donuts
-
Pumpkin Spice Coffee Cake
-
Jumbo Cinnamon Chocolate Chip Muffins
Did you try this recipe? Leave a ⭐️ review below and tag @brokenovenbaking & @localhivehoney on Instagram!
📖 Recipe
Easy Honey Pear Muffins with Cinnamon Streusel
Kayla Burton
Pin Recipe
Equipment
-
Muffin pan and liners
-
Measuring spoons
-
Scale/measuring cups
-
Mixing bowls
-
Whisk
-
Spatula
-
Wire cooling rack
Ingredients
Cinnamon Streusel Topping
- ½ cup (62.5 g) all-purpose flour
- ⅓ cup (66 g) brown sugar light or dark, packed
- ¾ teaspoon ground cinnamon
- 3 tablespoons (42 g) unsalted butter melted
Honey Pear Muffins
- ½ cup (168 g) Local Hive™ Nor Cal Raw and Unfiltered Honey
- ¼ cup (54.5 g) vegetable oil or other neutral oil
- ⅓ cup (80 g) buttermilk room temperature
- 1 teaspoon vanilla extract
- 1 large egg room temperature
- 1½ cups (1½ cups) ripe pears (about 3 pears) washed, peeled, mashed, and then measured
- 2¼ cups (281.25 g) all-purpose flour weighed in grams or spooned and leveled
- 1 teaspoon baking powder
- ¾ teaspoon baking soda
- 1 teaspoon ground cinnamon
- ½ teaspoon salt
Instructions
-
Preheat oven to 400°F and fill a muffin pan with 12 parchment liners.
Cinnamon Streusel Topping
-
In a medium bowl, stir together the flour, brown sugar, and cinnamon. Mix in the melted butter until it resembles wet sand. Set aside.
Pear Muffins
-
In a large bowl, whisk together the honey, oil, buttermilk, vanilla extract, egg, and mashed pears.
-
Gently fold the flour, baking powder, baking soda, cinnamon, and salt into the wet ingredients just until the flour streaks disappear.
-
Distribute the pear muffin batter into the muffin liners (they should be about full). Sprinkle the streusel on top of the batter, then lightly pat down on each top to secure the crumb topping.
-
Bake on the middle oven rack at 400°F for 5 minutes, then (without opening the oven door) lower the temperature to 350°F and continue to bake until a toothpick comes out clean (about 13-15 more minutes; 18-20 minutes total).
-
Let the honey pear muffins sit in the pan until they’re cool enough to transfer to a wire rack.
Save This Recipe! 💌
We’ll email this post to you, so you can come back to it later!
Notes
Storage: Store cooled muffins in an airtight container at room temperature for 3 days or in the freezer for 2 months.
Nutrition: The provided nutrition information is an estimate, the calorie accuracy is not guaranteed.
The provided nutritional information is an estimate per serving. Accuracy is not guaranteed.
