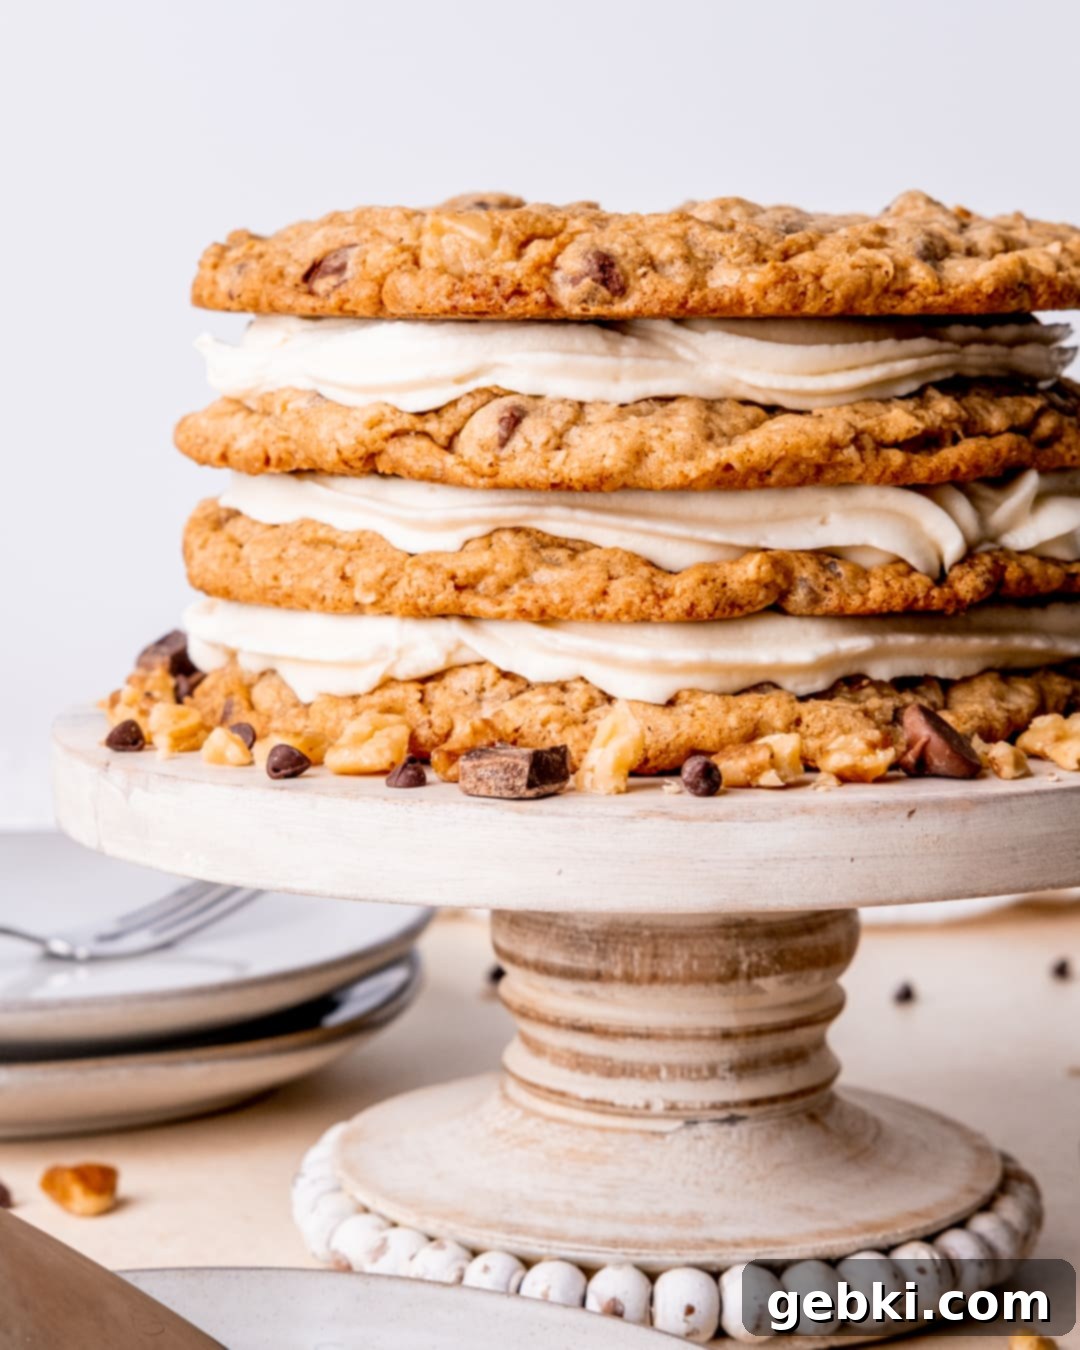
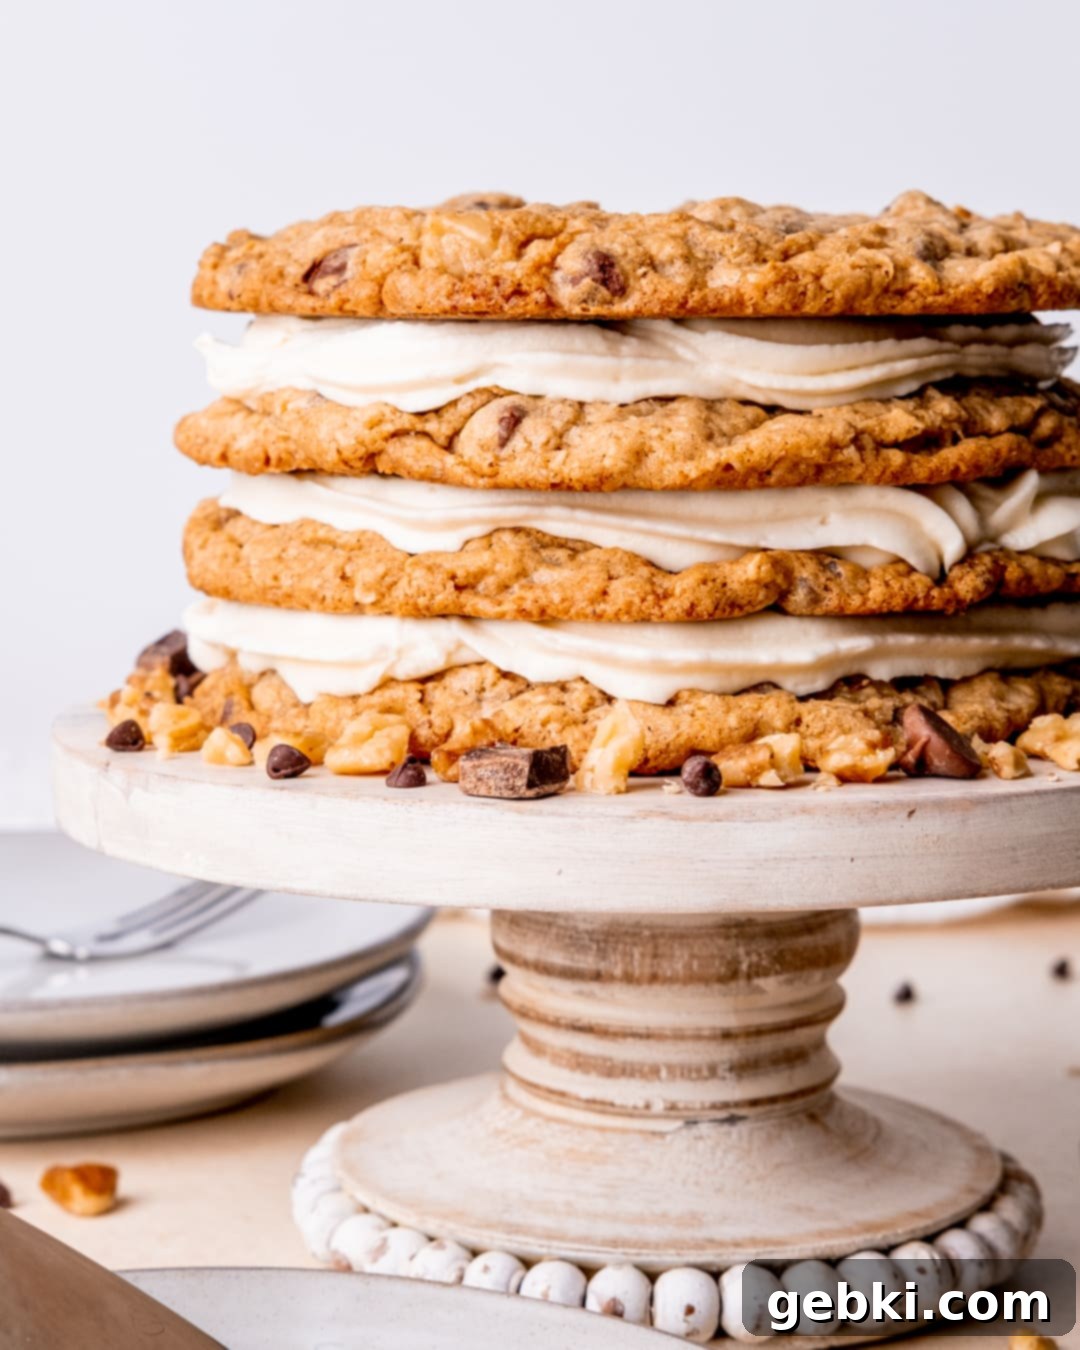
Irresistible Cowboy Cookie Cake: Your New Favorite Layered Dessert Recipe
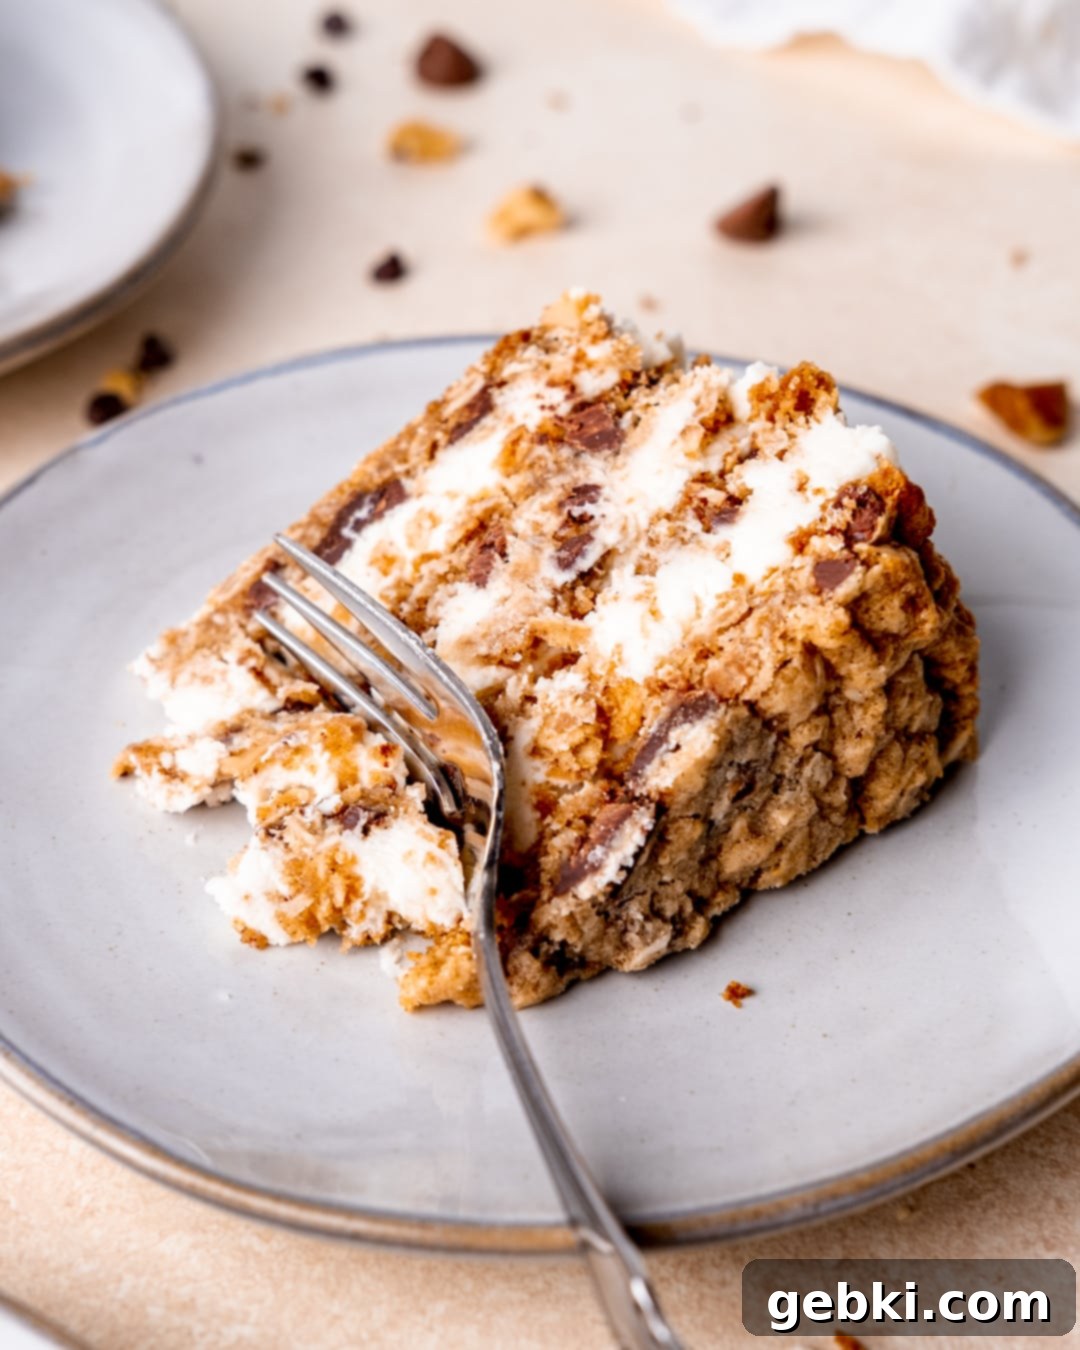
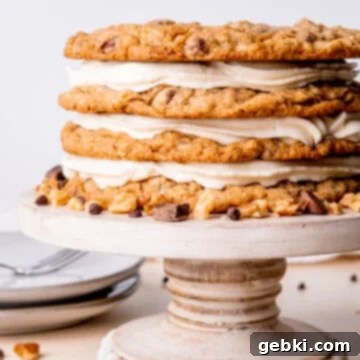
Elevate your dessert game to legendary status with this phenomenal Cowboy Cookie Cake! Forget the complexities of traditional layered cakes; this recipe offers all the grandeur and flavor with none of the fuss. It’s truly as simple as baking a few oversized, perfectly chewy cookies and generously slathering them with luscious cream cheese frosting. Each bite of these “cowboy” cookies is a delightful medley of textures and tastes, brimming with rich chocolate chips, wholesome oats, crunchy walnuts, and tropical coconut. When these robust flavors meet the silky tang of cream cheese frosting, the result is a dessert experience that is utterly unforgettable and remarkably easy to achieve.
This Cowboy Cookie Cake isn’t just a dessert; it’s a celebration in itself. Imagine the joy of cutting into a towering cake made entirely of your favorite hearty cookies, each layer a testament to simple, delicious baking. It’s perfect for birthdays, potlucks, or any occasion where you want to impress without spending hours in the kitchen. Get ready to bake a showstopper that will have everyone asking for the recipe!
Essential Ingredients and Equipment for Your Cowboy Cookie Cake
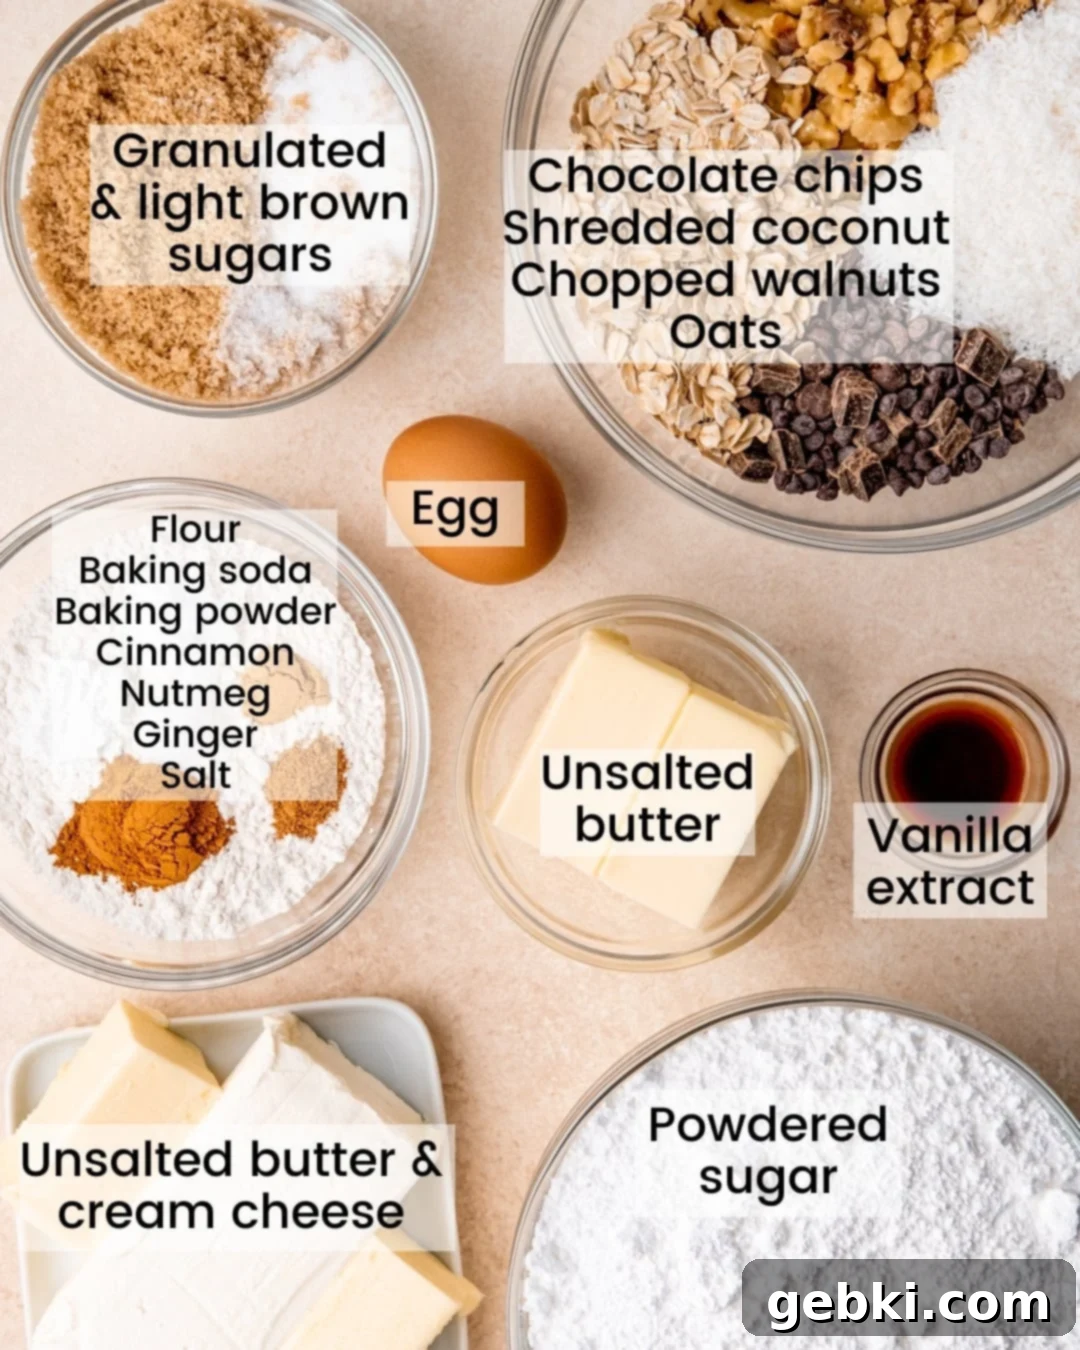
Crafting this incredible Cowboy Cookie Cake requires a handful of common baking ingredients and standard kitchen tools. We’ve laid out everything you need to ensure a smooth baking process and a delicious outcome. The quality of your ingredients makes a noticeable difference, especially when combining so many wonderful flavors into one cohesive dessert.
Ingredients:
- All-purpose flour: The foundational dry ingredient, providing structure to our giant cowboy cookies.
- Baking soda & Baking powder: Our leavening agents, working together to give the cookies their perfect rise and chewy texture.
- Cinnamon, Nutmeg, Ginger: These warm spices are key to the distinctive “cowboy” flavor profile, adding depth and a comforting aroma.
- Salt: Essential for balancing the sweetness and enhancing all the other flavors in the cookies.
- Unsalted butter (room temperature): Crucial for creaming with sugar to create a light, airy base for the cookie dough and for the smooth, rich frosting.
- Granulated sugar & Light brown sugar: A blend of sugars ensures both crisp edges and a wonderfully chewy center, with brown sugar adding moisture and a caramel note.
- Egg (large, room temperature): Binds the ingredients, adds moisture, and contributes to the rich texture of the cookies.
- Vanilla extract: A flavor enhancer that complements all the other ingredients, adding a touch of sweetness and warmth.
- Chocolate chips (semi-sweet or your favorite kinds): The classic crowd-pleaser, providing pockets of melted chocolate goodness. Feel free to mix types for more complexity!
- Old-fashioned oats: The heartiness of oats gives cowboy cookies their characteristic chew and texture, making them substantial and satisfying.
- Unsweetened shredded coconut: Adds a subtle tropical sweetness and a lovely texture that makes these cookies unique.
- Chopped walnuts: Provides a delightful crunch and earthy flavor, balancing the sweetness of the other ingredients.
- Cream cheese (room temperature): The star of our frosting, delivering its signature tangy, smooth, and decadent character.
- Powdered sugar: Creates the necessary structure and sweetness for the cream cheese frosting, ensuring a smooth, pipeable consistency.
Equipment:
- Baking sheet(s): You’ll need at least two large sheets to bake the giant cookie layers evenly.
- Mixing bowls: Both medium and large bowls are essential for separating dry and wet ingredients, and for mixing the frosting.
- Stand mixer with paddle attachment, wooden spoon, or hand mixer: For efficiently creaming butter and sugar, and for whipping up that silky frosting. A wooden spoon works, but mixers save time and effort.
- Measuring spoons: For precise measurement of leavening agents and spices.
- Whisk: To thoroughly combine dry ingredients, preventing lumps and ensuring even distribution.
- Kitchen scale (recommended) or measuring cups: For the most accurate ingredient measurements, especially flour and sugars. A scale ensures consistent results every time.
- Parchment paper (optional, but highly recommended): Prevents sticking and makes transferring the large cookies much easier.
- Cooling rack (optional): Allows air to circulate around the cookies, ensuring even cooling and preventing sogginess.
- Spatula: For scraping down bowls and gently folding in mix-ins.
- Piping bag & tip (optional): For a decorative and professional frosting finish, though a simple knife or offset spatula works perfectly too.
Baking the Perfect Cowboy Cookie Cake: Tips and Inspiration
The inspiration for these cowboy cookies holds a special place in my heart! Growing up, my family and I would often visit Milwaukee, and a stop at Colectivo for their legendary cowboy cookies was a non-negotiable tradition. Their unique blend of hearty oats, sweet coconut, crunchy walnuts, and melty chocolate, all infused with warm spices, created a flavor profile unlike any other. After years of enjoying them, I finally perfected my own copycat cowboy cookies recipe.
For my birthday, I wanted something truly special, a dessert that felt celebratory yet comforting. That’s when the idea struck: why not transform these beloved cowboy cookies into an impressive layered cake? The rich, chewy texture and complex flavors of the cookies proved to be the absolute perfect match for a creamy, tangy cream cheese frosting. It’s not just a cake; it’s a delightful fusion of two classic treats, elevated into a truly magnificent party dessert that’s easier to make than you might think.
What makes this Cowboy Cookie Cake so special is its delightful contrast. The robustness of the cookie layers, with their varied textures and spiced warmth, is beautifully complemented by the smooth, cool, and slightly tart cream cheese frosting. It creates a harmonious balance that is incredibly satisfying and surprisingly sophisticated. Plus, skipping the traditional cake batter and simply baking giant cookies makes the process less intimidating for many home bakers, allowing you to achieve a show-stopping result with less stress.
Want to see every step in action? Watch exactly how I bring this cake to life in my recipe video on YouTube!
Expert Tips & Storage Solutions for Your Cookie Cake
Achieving a perfect Cowboy Cookie Cake is simple when you know a few tricks. From shaping your cookies to ensuring your frosting is just right, these tips will guide you to baking success. Plus, learn the best ways to store your delicious creation to enjoy it for days!
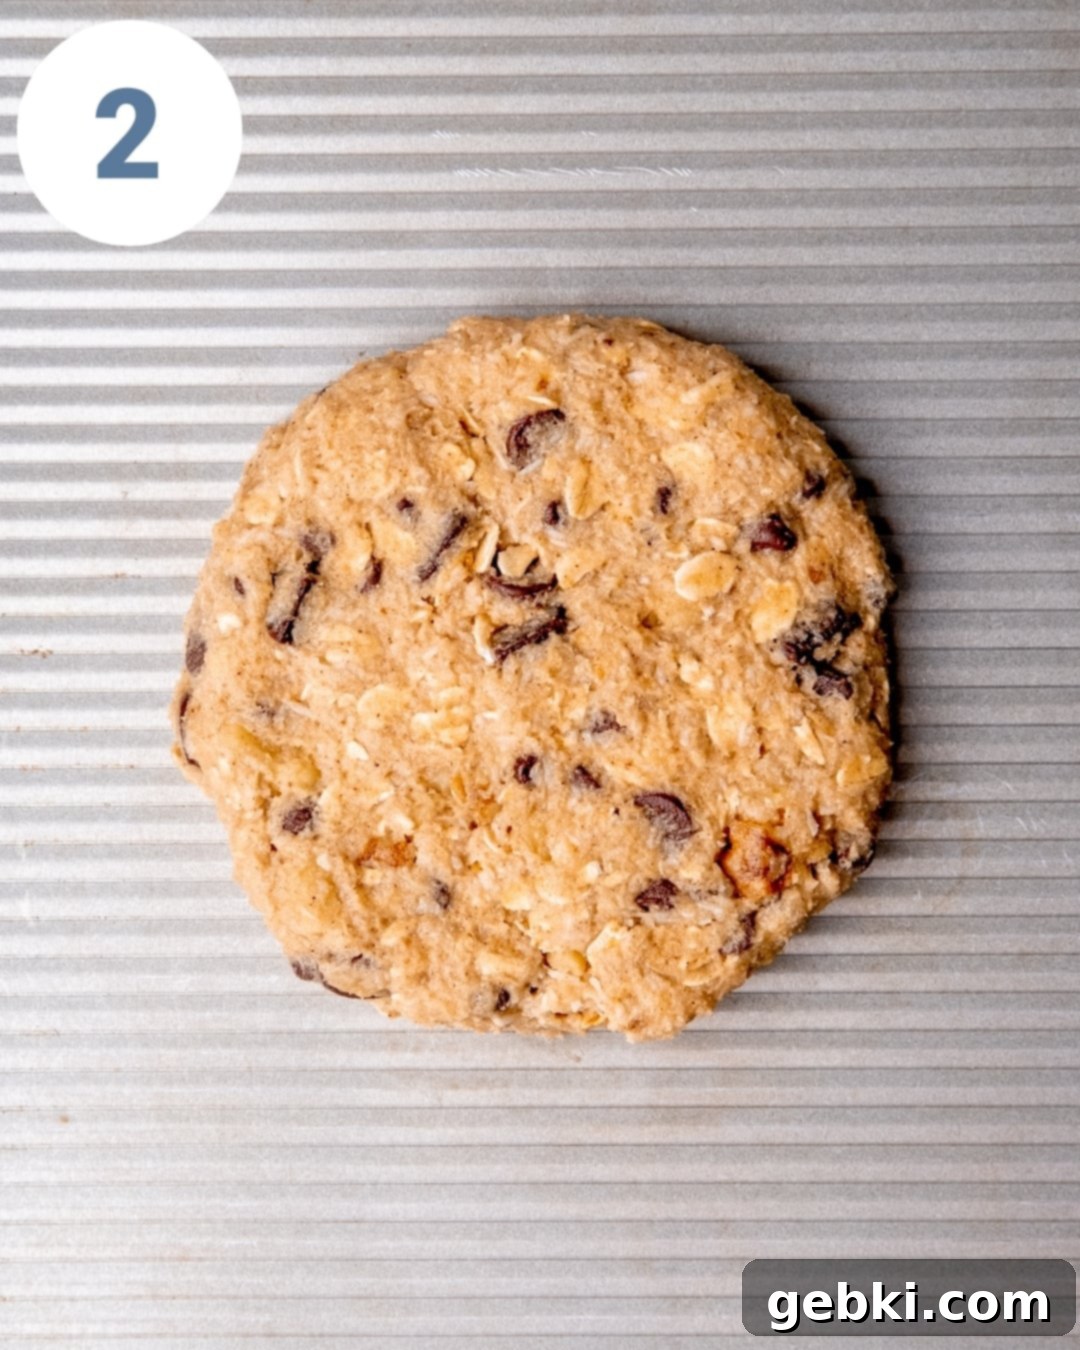
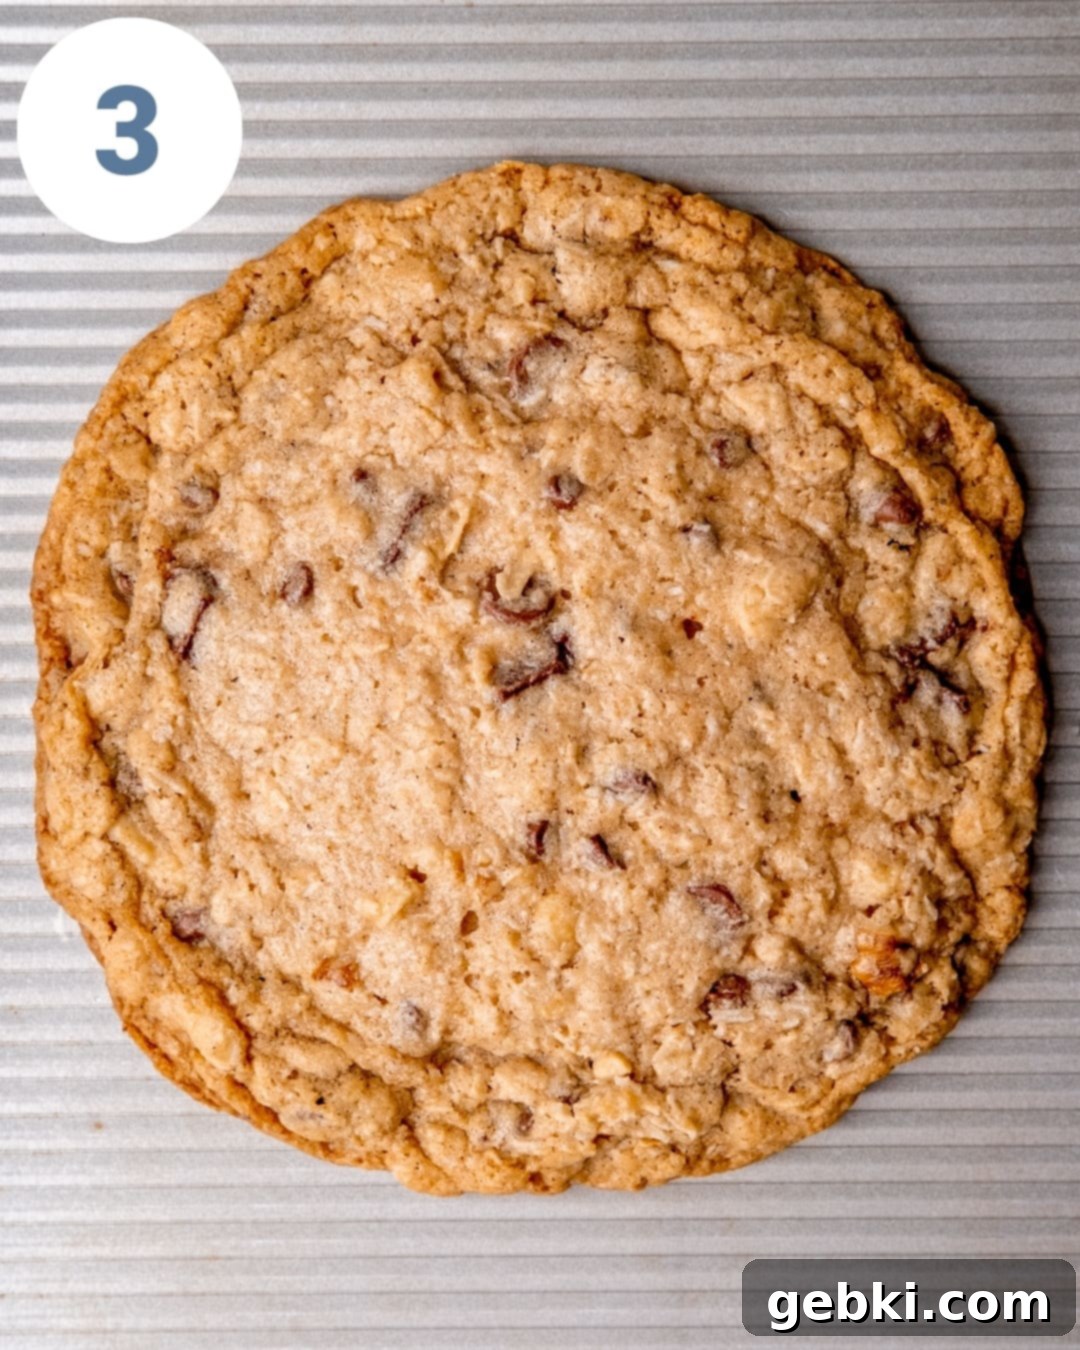
For our Cowboy Cookie Cake, the raw dough balls should be flattened to approximately 4-5 inches in diameter before baking. This initial shaping helps them spread into the ideal size. Once baked, each cookie layer will expand to about 6-7 inches in diameter, creating substantial layers perfect for stacking. To ensure consistency and a beautifully even cake, I highly recommend weighing your dough balls to make sure they are all the same size before flattening.
Achieving perfectly round cookies is easier than you think! Before baking, once you’ve formed your dough balls, gently flatten them with your hands to about ½ inch in height, shaping them as round as possible. The real secret, however, comes right after baking. Immediately upon removing the hot cookies from the oven, use a flat edge – like the back of a spoon, an offset spatula, or even a round cookie cutter slightly larger than your cookie – and gently run it around the edges. This simple trick pushes the warm, pliable dough back into a beautiful, neat circle, giving your cake layers a professional finish.
For the visually appealing frosting swirls you see in the photos, I used a large closed star piping tip, which is commonly found in this piping set. This type of tip creates a lovely, ridged design that adds an elegant touch to the cake. However, don’t feel limited if you don’t have a piping bag and tips! You can achieve a equally delicious (and charmingly rustic) look by simply spreading the cream cheese frosting evenly over each cookie layer and the top with a butter knife or an offset spatula. The cake will taste just as amazing!
For optimal serving and to ensure clean, beautiful slices, I highly recommend refrigerating the cake for at least 60 minutes (or even longer, up to 2-3 hours) before cutting into it. This chilling period allows the cream cheese frosting to firm up and the cookie layers to settle, making it much easier to slice without crumbling or smudging the frosting. A firm cake also provides a better texture contrast between the chewy cookies and the chilled frosting. Garnish with extra chocolate chips or chopped walnuts just before serving for an appealing finish.
Due to the cream cheese frosting, this Cowboy Cookie Cake should not be stored at room temperature. For best results, keep any leftovers in an airtight container in the refrigerator for up to 1 week. If you’d like to enjoy your cake for longer, it freezes beautifully! Wrap individual slices or the entire remaining cake tightly in plastic wrap and then aluminum foil, and store it in the freezer for up to 1 month. Thaw in the refrigerator overnight before serving.
Absolutely! This recipe is wonderfully adaptable for make-ahead convenience. You have a few options: you can prepare the cookie dough balls and freeze them (well-wrapped) for up to 1 month, baking them fresh when you’re ready. Alternatively, you can bake the cookie layers entirely, let them cool, and then freeze them for up to 1 month. The cream cheese frosting can also be made a few days in advance and stored in the refrigerator. Just bring the frosting to room temperature for about 30 minutes before assembling your cake. This flexibility makes it perfect for planning ahead for parties or events, ensuring fresh flavor with minimal last-minute effort. See the detailed notes in the recipe card below for more specific make-ahead instructions.
Discover More Irresistible Recipes!
If you’re a fan of comforting, flavorful, and easy-to-make desserts like this Cowboy Cookie Cake, then you’re in for a treat! We’ve curated a selection of other beloved recipes that share the same spirit of deliciousness and simplicity. Whether you’re craving more cookies, a quick cake, or delightful bites, you’ll find something new to love in our collection.
- Maple Pecan Cookies
- Easy Banana Snack Cake with Frosting
- Mini Brownie Bites
- Oatmeal Craisin White Chocolate Chip Cookies
Did you try this recipe?
Tag @brokenovenbaking on Instagram and leave a star review below!
📖 Recipe
Cowboy Cookie Cake
Kayla Burton
Pin Recipe
25 minutes
15 minutes
20 minutes
1 hour
Dessert
American
1 cake
7415 kcal
Equipment
-
Baking sheet(s)
-
Parchment paper (optional)
-
Mixing bowls
-
Whisk
-
Spatula
-
Measuring Cups or Scale
-
Measuring spoons
-
Piping bag & tip (optional)
Ingredients
Cookie Layers
- 1 cup (125 g) all-purpose flour
- ½ teaspoon (½ teaspoon) baking soda
- ½ teaspoon (½ teaspoon) baking powder
- 1½ teaspoons (1½ teaspoons) ground cinnamon
- ¼ teaspoon (¼ teaspoon) ground nutmeg
- ¼ teaspoon (¼ teaspoon) ground ginger
- ¼ teaspoon (¼ teaspoon) salt
- ½ cup (1 stick) (113.5 g) unsalted butter room temperature
- ½ cup (100 g) granulated sugar
- ½ cup (100 g) light brown sugar packed
- 1 large (1 large) egg room temperature
- ½ tablespoon (½ tablespoon) vanilla extract
- ¾ cup (135 g) semi-sweet chocolate chips*
- ¾ cup (72 g) old-fashioned oats
- ½ cup (50 g) unsweetened shredded coconut
- ½ cup (60 g) chopped walnuts
Cream Cheese Frosting
- 8 ounces (1 package) (226 g) cream cheese room temperature
- ½ cup (1 stick) (113.5 g) unsalted butter room temperature
- 4 cups (480 g) powdered sugar
- 1 teaspoon (1 teaspoon) vanilla extract
Instructions
Cookie Layers
-
Preheat your oven to 350°F (175°C). Prepare your baking sheet(s) by lining them with parchment paper. This prevents sticking and makes transferring the large cookies much easier.
-
In a medium-sized mixing bowl, whisk together the all-purpose flour, baking soda, baking powder, ground cinnamon, ground nutmeg, ground ginger, and salt. Whisking ensures these dry ingredients are thoroughly combined and evenly distributed, which is key for a consistent cookie texture and flavor.
-
In a large mixing bowl, using a stand mixer with a paddle attachment or a hand mixer, cream together the softened unsalted butter, granulated sugar, and packed light brown sugar until the mixture is light, fluffy, and pale in color. This process incorporates air, contributing to the cookies’ texture. Next, add the large egg and vanilla extract one at a time, mixing well after each addition until fully incorporated and the mixture is smooth.
-
Gradually add the dry ingredients mixture to the wet ingredients, mixing on low speed (or by hand with a spatula or wooden spoon) just until combined. Be careful not to overmix, as this can lead to tough cookies. Scrape down the sides and bottom of the bowl as needed to ensure all ingredients are evenly incorporated.
-
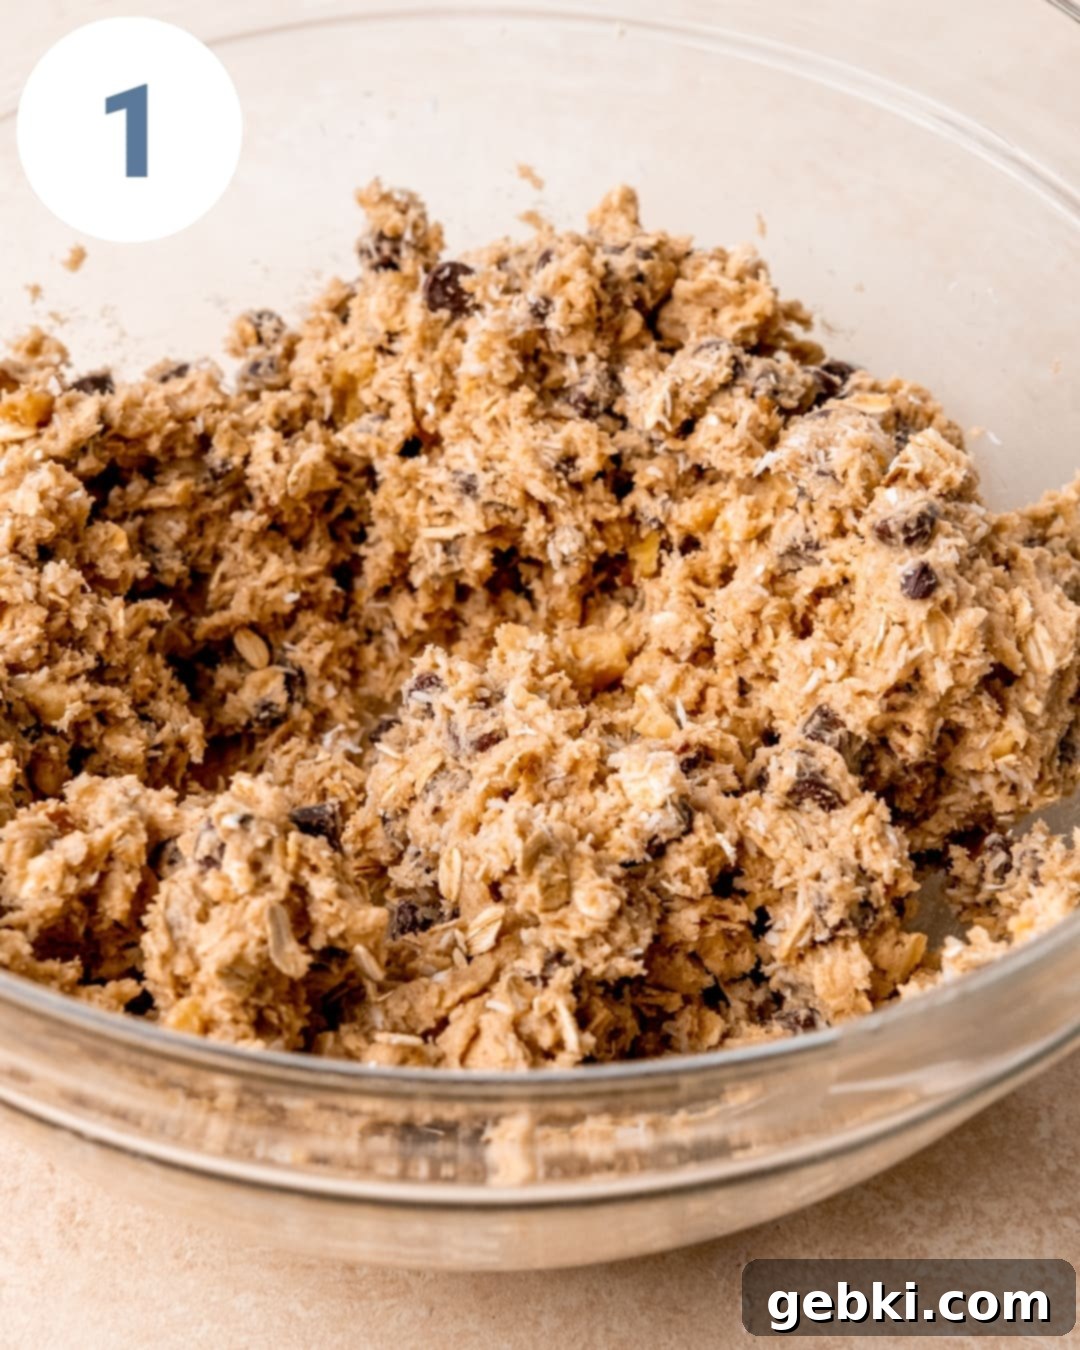
Gently stir in the chocolate chips (your preferred variety!), old-fashioned oats, unsweetened shredded coconut, and chopped walnuts. Again, mix just until these delightful additions are evenly distributed throughout the dough. Overmixing here can also affect the texture.
-
Divide the cookie dough into 4 equal portions. If you have a kitchen scale, weigh them for precision to ensure your cookie layers are uniform. Place these dough balls onto your prepared baking sheets, ensuring at least 3 inches of space between each (I typically bake 2 cookies per sheet). Gently press down on each dough ball to flatten them slightly, aiming for about ½ inch in height and 4-5 inches in diameter. This helps them spread into large, round layers.
-
Bake for approximately 13-17 minutes, or until the edges are lightly golden brown. The centers of the cookies may still appear slightly soft or underbaked, but that’s perfectly normal and desired for a chewy texture; they will continue to set as they cool on the hot pan.
Once baked, each cookie should be roughly 6-7 inches in diameter.
Pro Tip for Roundness: If your cookies aren’t perfectly round immediately after coming out of the oven, use the back of a large spoon or an offset spatula to gently push and shape the warm edges back into neat circles. This quick trick is a baker’s secret for flawless cookie layers!
-
Allow the baked cookies to cool on the baking sheet for at least 5-10 minutes, or until they are firm enough to handle without breaking. Then, carefully transfer them to a wire cooling rack to cool completely. Ensure they are entirely cooled before frosting to prevent the frosting from melting.
Cream Cheese Frosting
-
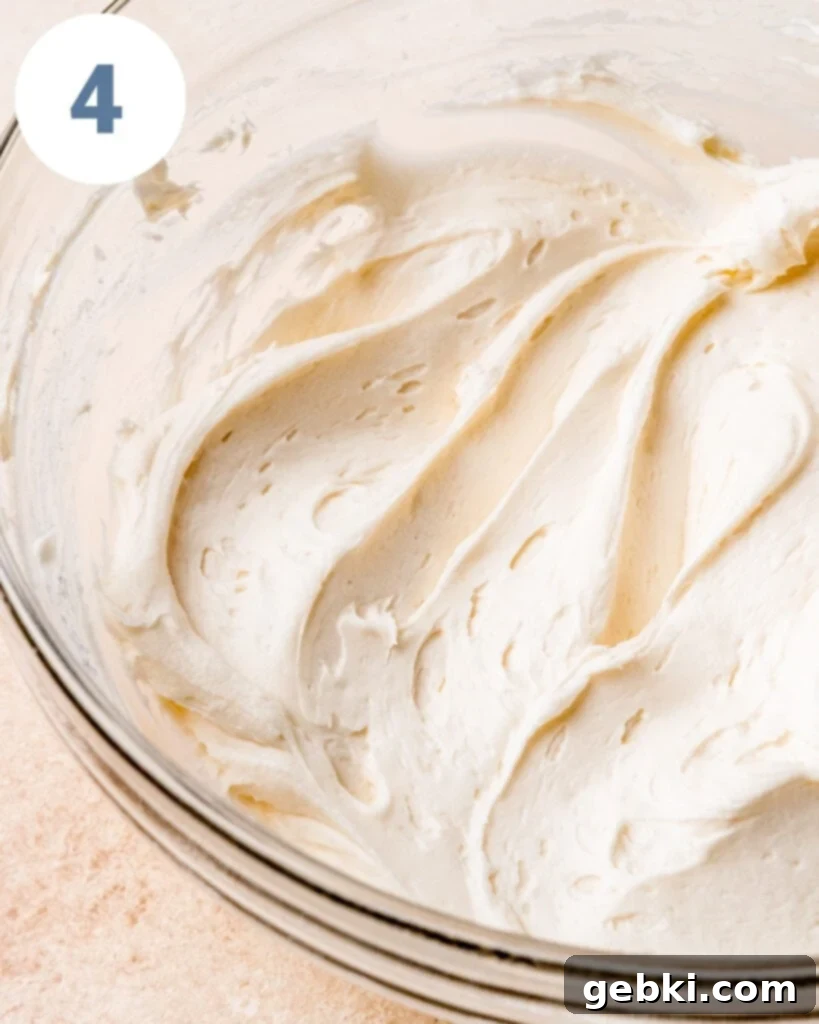
In a large bowl with your stand or hand mixer, combine the softened cream cheese, room temperature unsalted butter, powdered sugar, and vanilla extract. Beat on medium-high speed until the frosting is perfectly smooth, light, and fluffy. Make sure there are no lumps of cream cheese or butter, which indicates you’ve mixed it sufficiently.
-
Once your cookies are completely cool, it’s time to assemble! Place one cookie layer on your serving plate or cake stand. Spread an even layer of cream cheese frosting over the top. Repeat this process, stacking the remaining cookie layers and frosting them until all four cookies are beautifully layered with frosting in between. For a decorative touch, use a piping bag and a large star tip to create swirls on top, or simply spread the frosting with a knife or offset spatula for a rustic look.
For the cleanest slices and best serving experience, I highly recommend chilling the assembled cookie cake in the refrigerator for at least an hour before slicing. This allows the frosting to set and makes cutting much easier. Enjoy your magnificent Cowboy Cookie Cake!
Save This Recipe! 💌
We’ll email this post to you, so you can come back to it later!
Video
Notes
Store any leftover Cowboy Cookie Cake in an airtight container in the refrigerator for up to 1 week. For longer storage, slices can be individually wrapped and frozen for up to 1 month. Always store this cake in the refrigerator due to the cream cheese frosting.
To Make Ahead:
Cookie Layers: You can prepare the cookie dough up to 2-3 days in advance and keep it refrigerated. Alternatively, form the dough into balls, flatten them slightly, and freeze them on a baking sheet until solid. Once frozen, transfer to an airtight container or freezer bag and store for up to 1 month. When ready to bake, place frozen dough on baking sheets while the oven preheats, and add a few extra minutes to the baking time.
A slightly less fresh but still delicious option is to bake the giant cookies completely, let them cool, and then freeze them (well-wrapped) for up to 1 month. Thaw at room temperature or in the refrigerator before assembling.
Cream Cheese Frosting: The frosting can be made up to 3-4 days ahead of time. Store it in an airtight container in the refrigerator. Before assembling the cake, let it soften at room temperature for about 30 minutes, then give it a quick whip with your mixer to restore its creamy texture.
The provided nutrition information is an estimate for the entire cake. The accuracy of calorie and other nutritional values is not guaranteed and may vary based on specific ingredients and preparation methods.
The provided nutritional information is an estimate per serving. Accuracy is not guaranteed.
