Homemade Caramel Apple Pie Cheesecake Ice Cream (Ninja Creami Recipe)
Are you dreaming of the warm, comforting flavors of classic apple pie blended with the creamy richness of cheesecake, all swirled into a delightful frozen treat? Look no further! This homemade apple pie ice cream, crafted effortlessly in your Ninja Creami machine, is the perfect solution to satisfy your autumn cravings. Say goodbye to complicated custard bases and oversized batches, and welcome a small-batch, intensely flavorful dessert that truly captures the essence of caramel apple pie cheesecake in ice cream form. With its luxurious cream cheese and tangy kefir base, perfectly spiced cooked apples, and a decadent caramel drizzle, this recipe delivers an extraordinary dessert experience that’s both surprisingly easy to make and incredibly satisfying.
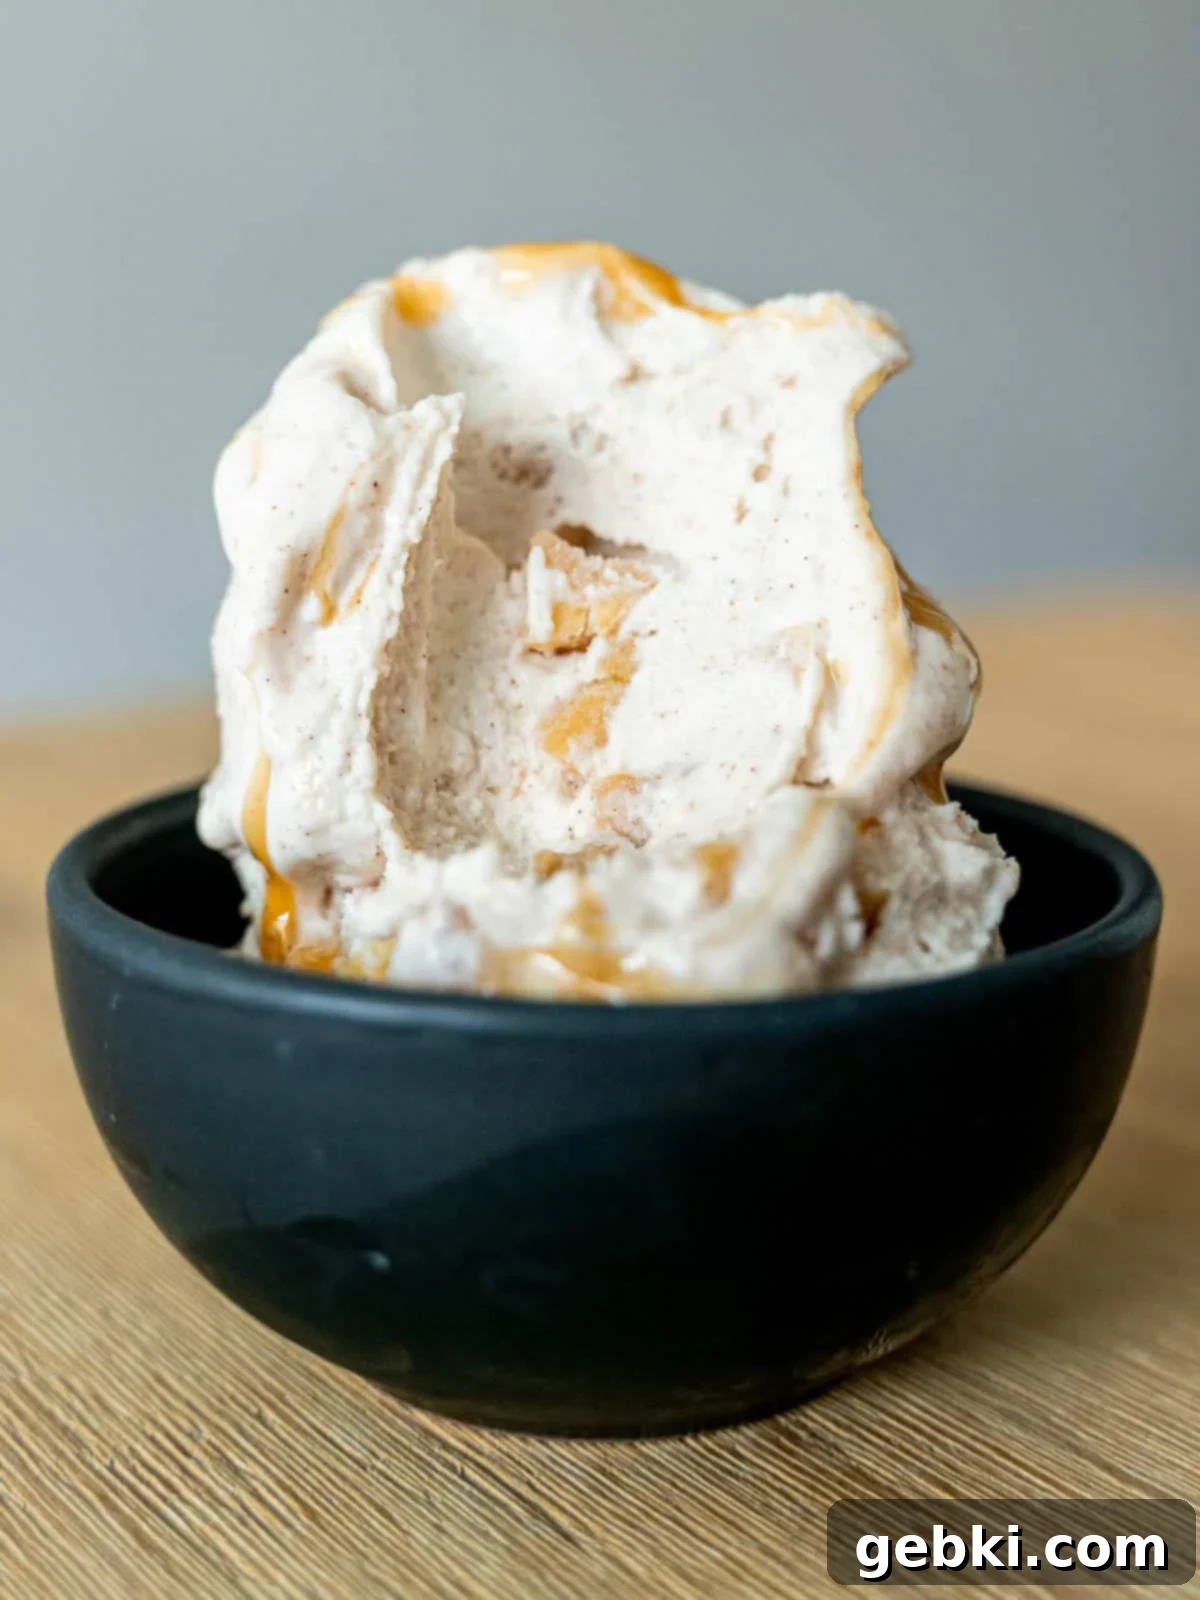
The Ninja Creami has truly revolutionized homemade ice cream making, allowing home cooks to create gourmet frozen desserts with unprecedented ease. As summer gently transitions into the cozy embrace of fall, I’m still finding endless ways to create incredible treats with this versatile appliance. This particular apple pie ice cream recipe perfectly bridges the seasons, offering a taste of autumn’s best in a refreshingly cool format. It’s an ideal dessert for enjoying the crisp air and festive flavors of fall. Just like my popular strawberry matcha ice cream and blueberry lemon cheesecake ice cream, this delightful recipe is proudly sponsored by my friends at Lifeway Kefir 🩵, whose high-quality kefir adds a unique tang, a boost of beneficial probiotics, and an irresistible creaminess to our base.
Making your own gourmet ice cream at home has never been simpler, thanks to innovative kitchen appliances like the Ninja Creami. This recipe isn’t just about making ice cream; it’s about creating a memorable dessert experience. Imagine sinking your spoon into a scoop of velvety smooth ice cream, with tender, cinnamon-spiced apple chunks and delicate ribbons of rich caramel. It’s a nostalgic flavor journey, reminiscent of crisp fall evenings, holiday gatherings, and warm baked goods, but served up in a chilled, irresistible form that everyone will adore. Whether you’re a seasoned home baker looking for a new challenge or a novice in the kitchen searching for an easy yet impressive dessert, this Ninja Creami apple pie ice cream recipe is designed for ease of preparation and maximum flavor impact.
[feast_advanced_jump_to]
Why You’ll Adore This Ninja Creami Apple Pie Ice Cream Recipe
This isn’t just another ice cream recipe; it’s a delightful game-changer for anyone who loves rich, homemade desserts without the fuss. Here’s why this Ninja Creami Caramel Apple Pie Cheesecake Ice Cream will quickly become your new favorite fall treat, offering convenience, unique flavor, and irresistible texture:
- Perfect Small Batch Size – Unlike many traditional ice cream recipes that yield large quantities and often lead to freezer-burnt leftovers, this recipe is specifically designed to make just one pint. This precise portion size means you can enjoy fresh, perfectly churned ice cream whenever the craving strikes, without worrying about excessive leftovers cluttering your freezer. It’s ideal for a cozy night in, a special treat for two, or simply indulging yourself in a perfectly portioned dessert.
- Effortless Ninja Creami Preparation – Say goodbye to the need for bulky, traditional ice cream makers with their messy churns and complicated, often time-consuming, custard bases. The Ninja Creami streamlines the entire process, making it incredibly straightforward and user-friendly. Simply prepare your liquid base, freeze it solid, and then let the Ninja Creami do all the hard work of transforming it into a luxurious, creamy ice cream. The result is a remarkably smooth, velvety, and delightful texture that’s often challenging to achieve with other homemade methods, highlighting the Creami’s innovative technology.
- Unique and Irresistible Flavor Profile – This recipe transcends a simple apple pie flavor; it’s a sophisticated blend of complementary tastes that will tantalize your palate. The base ingeniously combines the rich, slightly tangy notes of softened cream cheese with the refreshing zest and beneficial probiotics of kefir, creating a foundational “cheesecake” flavor that perfectly complements the warmth and sweetness of the spiced apple pie filling. Topped with a luscious caramel drizzle, you’ll experience a multi-layered dessert that is both deeply comforting and excitingly complex.
- Convenient Make-Ahead Friendliness – We understand life gets busy, but that shouldn’t prevent you from enjoying gourmet homemade desserts. Both the creamy ice cream base and the warmly spiced apple pie filling can be prepared well in advance, offering fantastic flexibility. You can tackle different stages of the recipe when you have free time, making it incredibly convenient for meal prepping or busy weeknights. When you’re ready for a treat, simply grab your frozen base, churn it, and combine it with your pre-made apple filling for instant gratification and a freshly made dessert.
- Healthier Twist with Lifeway Kefir – Incorporating Lifeway Kefir not only enhances the flavor with its pleasant tang and creamy texture but also adds a wealth of beneficial probiotics to your dessert. This gives your ice cream a slight health boost, making it a treat you can feel a little better about indulging in, knowing you’re also getting some gut-friendly goodness.
Essential Ingredients for Your Creamy Apple Pie Dream
To whip up this exquisite caramel apple pie ice cream in your Ninja Creami, you’ll need a few key ingredients. Each component plays a vital role in creating the rich texture and complex flavor profile of this unique frozen dessert. Gather these items and prepare to be amazed by the delicious outcome:
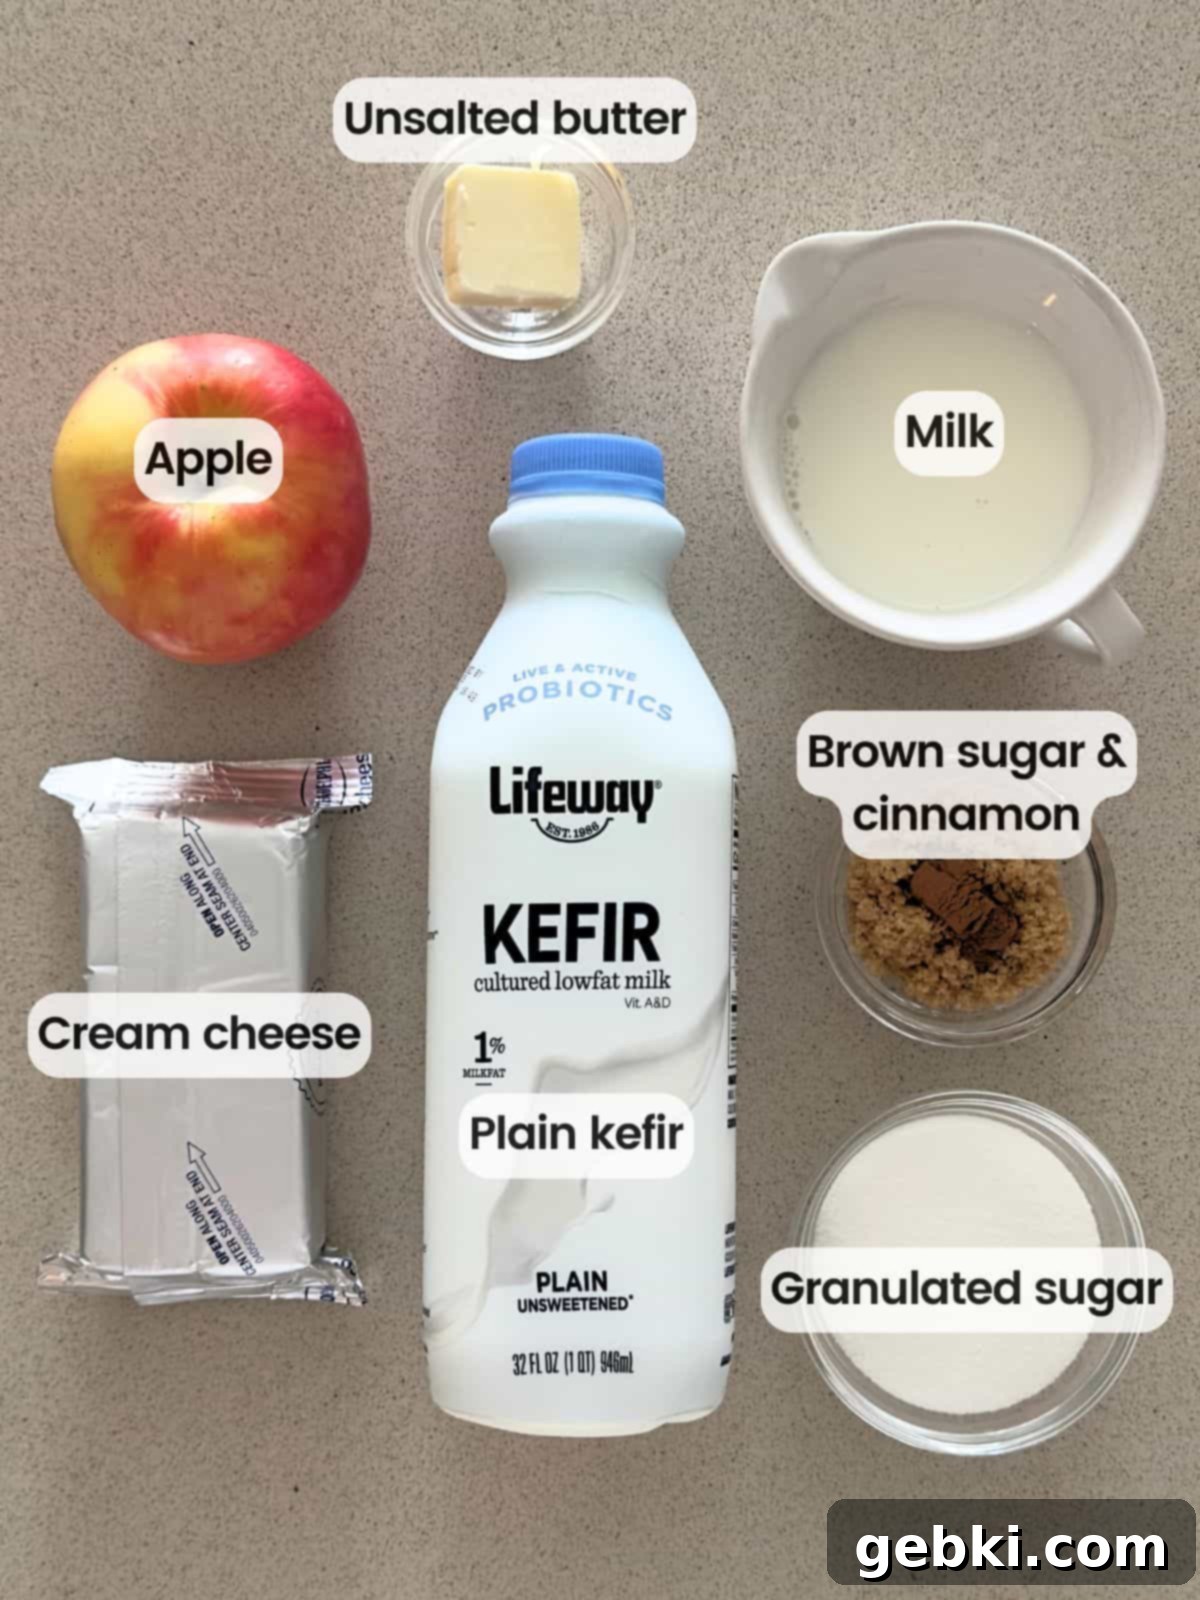
Ingredient Notes for Best Results:
- Cream Cheese: For the absolute smoothest and most luxurious ice cream base, it is paramount that your cream cheese is completely softened to room temperature. This ensures it blends seamlessly with the other liquid ingredients, preventing any unwanted lumps and contributing to that desirable, signature cheesecake-like creaminess that makes this ice cream so special.
- Kefir: This fermented dairy drink is a superstar ingredient in this recipe! It not only infuses the ice cream with beneficial probiotics for gut health but also provides a delightful tangy note that perfectly mimics the taste of cheesecake, and an incredible creaminess that sets this recipe apart. I personally love using Lifeway’s plain kefir, as it offers a consistent quality and flavor. Both low-fat and whole milk kefir varieties work wonderfully, so choose based on your preference for richness and dietary needs.
- One Medium Apple: This single apple is transformed into a warmly spiced, tender filling that provides delicious bursts of flavor and texture. Make sure it’s thoroughly washed, peeled, cored, and cut into small, uniform ½-inch pieces. The apple variety you choose can significantly impact the final texture of the cooked apples. I highly recommend using a firm, crisp apple like Granny Smith for its tartness, which balances the sweetness of the dish, and its ability to hold its shape beautifully when cooked. Honeycrisp apples are another excellent choice for their crisp texture and balanced sweetness. However, feel free to use any apple variety you enjoy or have readily available; just be aware that softer apples might break down more during the cooking process.
- Unsalted Butter, Brown Sugar, and Ground Cinnamon: These classic apple pie companions are essential for cooking down the apples into a fragrant, tender, and perfectly spiced filling. The unsalted butter adds a rich, velvety mouthfeel, the brown sugar provides a deep, molasses-like sweetness that caramelizes slightly, and ground cinnamon delivers that quintessential warm apple pie aroma and taste that is so comforting.
- Milk: Regular milk (2% or whole milk works best) helps to create the necessary liquid volume for the Ninja Creami base and contributes significantly to the overall creamy texture of the final ice cream. Higher fat milk will result in a richer, less icy product.
For a precise breakdown of quantities and detailed, step-by-step instructions, please refer to the comprehensive recipe card located at the bottom of this article.
Creative Substitutions & Delicious Variations to Explore
While this Ninja Creami apple pie ice cream recipe is absolutely perfect as written, there are many exciting ways to customize it to your personal taste, specific dietary needs, or simply to add a new twist. Don’t hesitate to get creative in the kitchen and make this dessert truly your own!
- Elevate with Extra Caramel: To make this treat truly unforgettable and enhance its “caramel apple” profile, go beyond a simple drizzle on top! Mix half of your favorite caramel sauce (homemade or store-bought) directly into the ice cream during the “Mix-In” stage, alongside the apple filling. This creates luscious, sweet ribbons of caramel throughout every single bite, taking the flavor and indulgence to a whole new level of decadence.
- Add a Delightful Crunch: Introduce a wonderful textural contrast to the smooth ice cream and tender apples by mixing in crunchy elements. Consider crumbling a few pieces of leftover pie crust (store-bought or homemade) for an authentic apple pie experience, adding a handful of your favorite granola for a breakfast-dessert hybrid, or even incorporating crumbles from my cinnamon streusel muffins for an extra layer of spiced sweetness and delightful texture. Crushed shortbread cookies, toasted pecans, candied walnuts, or even a sprinkle of Biscoff crumbs would also be fantastic additions.
- Spice It Up Further: While cinnamon is a must for classic apple pie flavor, don’t hesitate to deepen and diversify the spice profile. A tiny pinch of freshly grated nutmeg, a dash of ground cloves, or a hint of allspice can add complexity and warmth. Alternatively, for a perfectly balanced warm flavor, you can replace the ground cinnamon with a pre-mixed apple pie spice blend. A subtle touch of ground ginger could also offer a delightful, zesty kick that complements the apples beautifully.
- Sweetener Alternatives: If you’re looking to reduce refined sugar in your diet, you could experiment with natural sweeteners like maple syrup or honey as a partial or full substitute for the granulated sugar in the ice cream base. For the apple filling, a sugar substitute that caramelizes well (such as erythritol-based brown sugar alternatives) might work, but be aware that the taste and texture of the filling could vary. Always adjust to your personal preference.
- Enhance the “Cheesecake” Aspect: For an even more pronounced cheesecake flavor, consider adding a tiny splash of pure vanilla extract (not imitation!) to the ice cream base when you mix in the kefir and milk. You could also sprinkle in some graham cracker crumbs or crushed digestive biscuits during the mix-in stage, mimicking the delicious crunch of a cheesecake crust.
- Dairy-Free Options (Experimental): While this recipe relies on dairy for its rich texture, some adventurous cooks might try dairy-free cream cheese, dairy-free kefir, and plant-based milk (e.g., full-fat coconut milk or cashew milk) as substitutes. Please note that results may vary significantly in terms of creaminess and freezing consistency, as these substitutes have different fat and protein compositions.
Please note: This recipe has been carefully developed and tested with the specified ingredients to achieve the best results. While we encourage creative experimentation, extensive substitutions or variations beyond those suggested may alter the texture, freezing consistency, or overall flavor significantly. If you try a new ingredient or modification, we’d absolutely love to hear about your results in the comments section below! Your feedback helps other readers explore and adapt recipes to their liking.
Your Go-To Tool: The Ninja Creami Ice Cream Machine
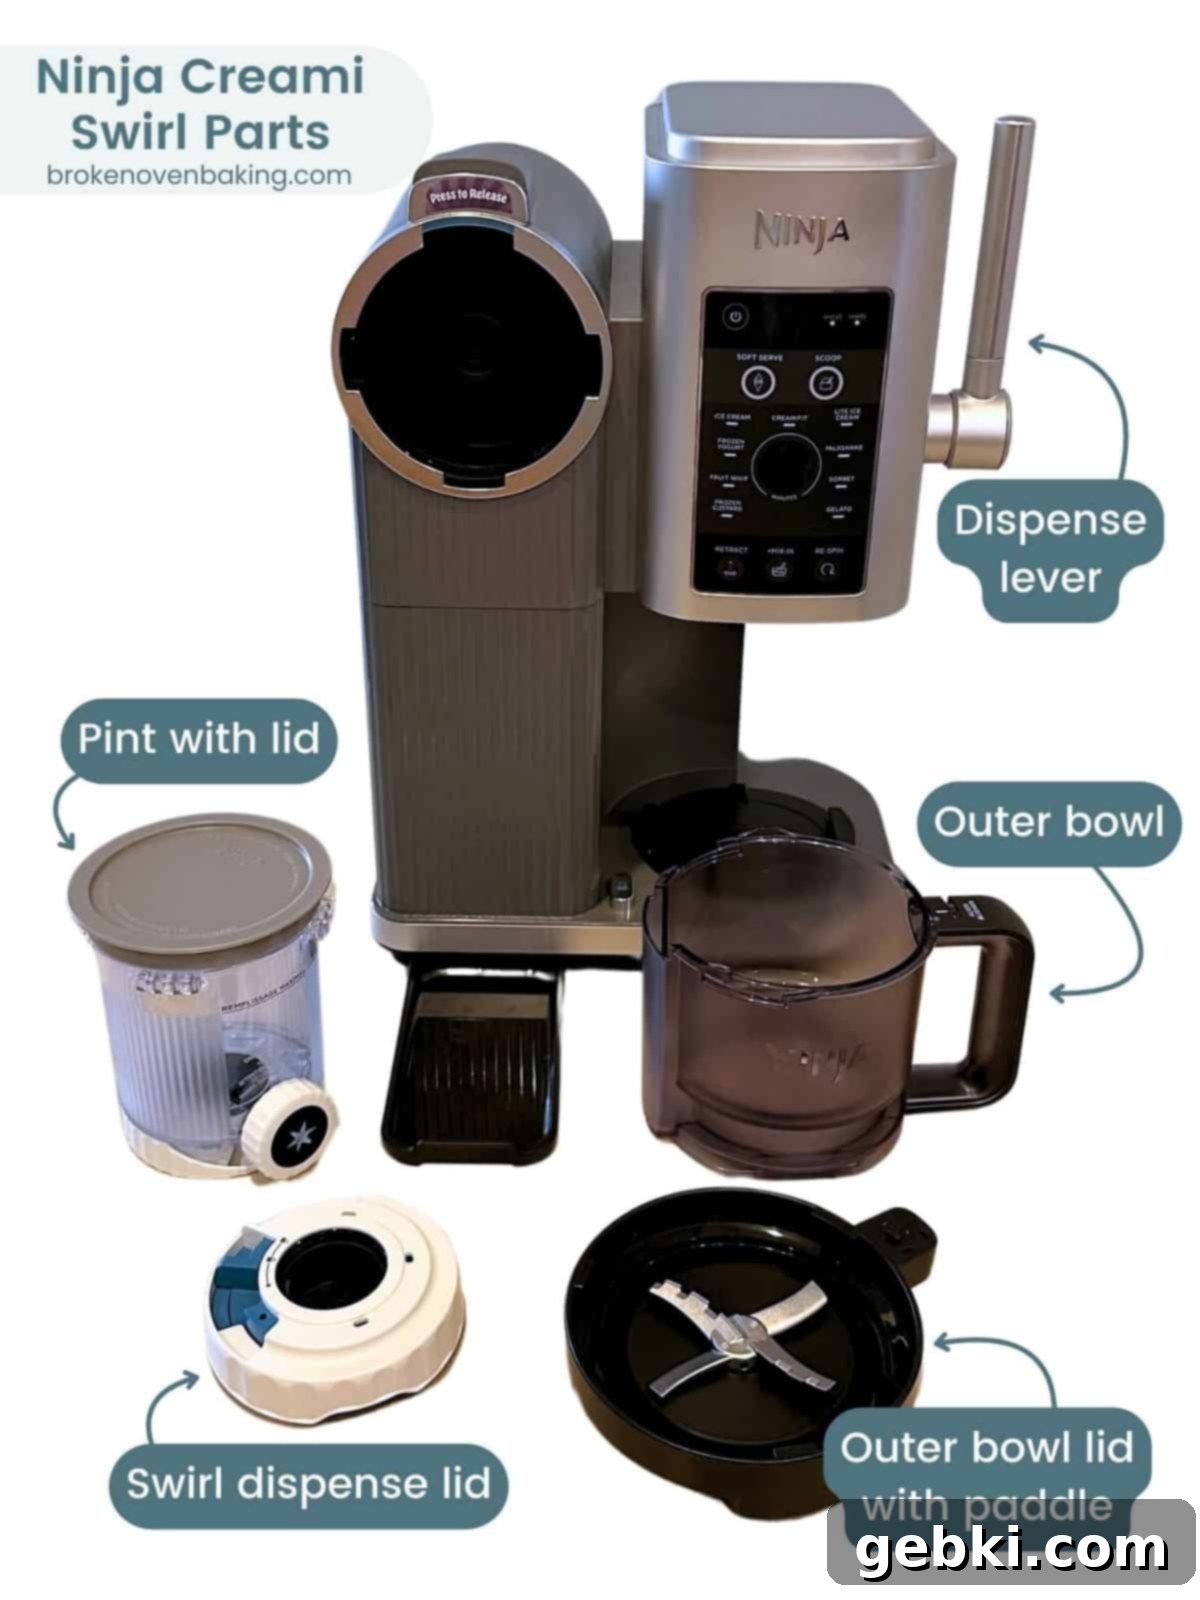
The secret to the incredibly smooth, perfectly scoopable texture, and even distribution of mix-ins in this apple pie ice cream lies in the ingenious design of the Ninja Creami machine. This innovative appliance has truly revolutionized how we make homemade frozen desserts. I personally use the Ninja Creami Swirl, which offers fantastic results and added versatility, but rest assured, you can achieve the same delicious outcome with the regular Ninja Creami machine as well. This appliance truly stands out for its ability to transform hard-frozen bases into delightful, creamy treats with minimal effort and no pre-churning required.
For those new to the Ninja Creami, understanding its few simple components will make the process even smoother and more enjoyable. Below, you’ll find a labeled photo illustrating the main parts of the machine, which will help guide you through each step of the instructions. One of the best and most appreciated features of the Ninja Creami is its user-friendly design: all parts are intuitive to use, incredibly easy to assemble, and a breeze to clean. This makes your ice cream-making journey enjoyable from start to finish, removing the usual hassle associated with traditional methods. Its powerful motor and specialized blade efficiently pulverize frozen ingredients into a creamy, consistent texture, eliminating the frustrating ice crystals often found in homemade ice creams.
Investing in a Ninja Creami opens up a vast world of frozen dessert possibilities. Beyond this amazing apple pie ice cream, you can easily create everything from classic ice creams and refreshing sorbets to thick milkshakes, smoothie bowls, and other gourmet frozen creations. It’s a versatile kitchen tool that makes indulging in homemade, perfectly textured treats an accessible, fun, and effortless experience for the whole family.
Step-by-Step: Crafting Your Homemade Apple Pie Ice Cream
Making this incredible Ninja Creami Apple Pie Ice Cream is a straightforward and enjoyable process, broken down into three simple yet crucial stages: preparing the creamy base, cooking the warmly spiced apple filling, and finally, churning and mixing in your Ninja Creami. Follow these detailed steps for a perfectly creamy, flavorful, and irresistible dessert every single time:
1. Prepare the Creamy Ice Cream Base
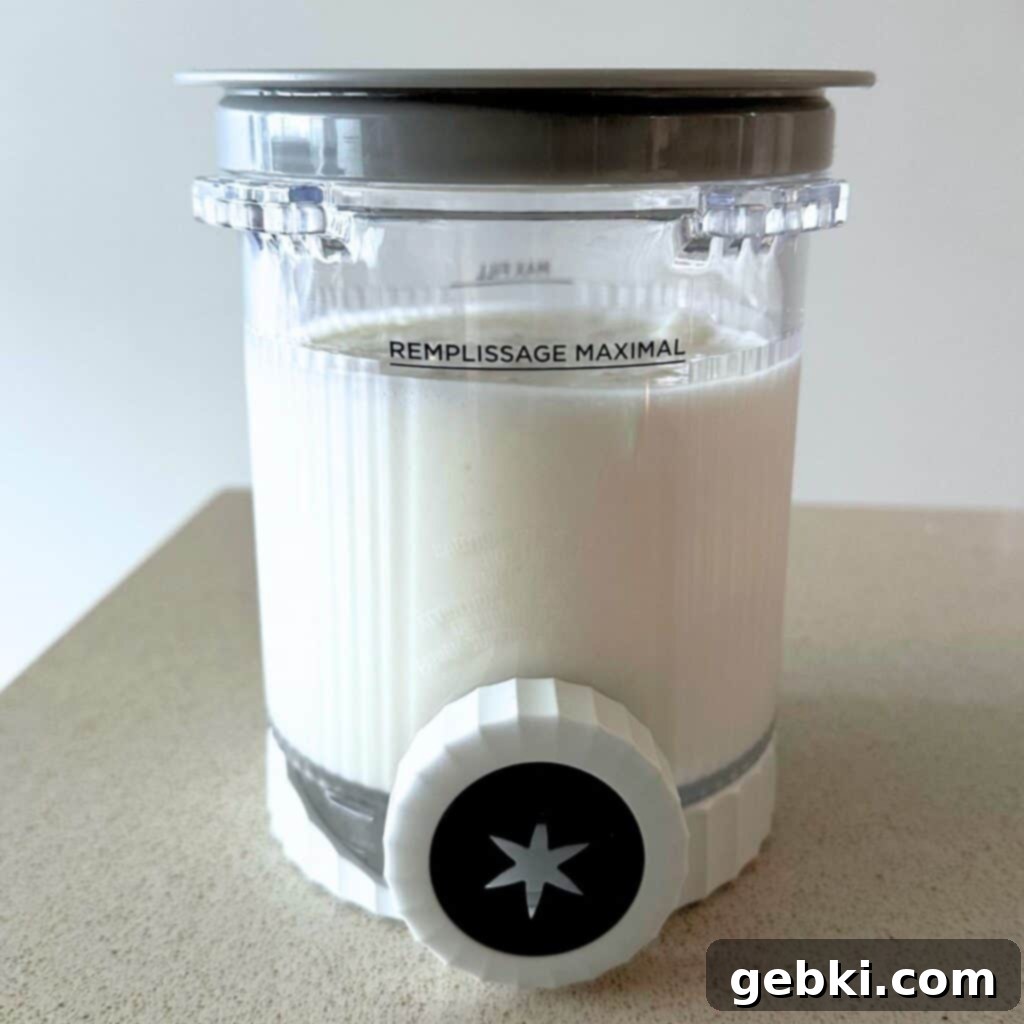
Begin by ensuring your cream cheese is completely softened to room temperature. This is absolutely crucial for achieving a lump-free and perfectly smooth base, which contributes significantly to the final creamy texture. In a medium-sized mixing bowl, combine the softened cream cheese with the granulated sugar. Using an electric hand mixer (highly recommended for the best, silkiest results) or a sturdy whisk, beat the mixture until it is perfectly smooth, light, and creamy, with no visible lumps whatsoever. Next, carefully pour in the Lifeway Kefir and your chosen milk (2% or whole milk are ideal). Stir everything together gently until all ingredients are thoroughly combined and the mixture is a uniform, liquid consistency. Once your creamy base is ready, pour it carefully into your Ninja Creami pint container, making sure not to exceed the “MAX FILL” line. Secure the lid tightly to prevent any freezer burn and freeze the pint for a minimum of 8 hours, or preferably overnight, to ensure it is completely solid throughout. This long freeze time is key to the Creami’s effectiveness.
2. Cook the Warm Apple Pie Filling
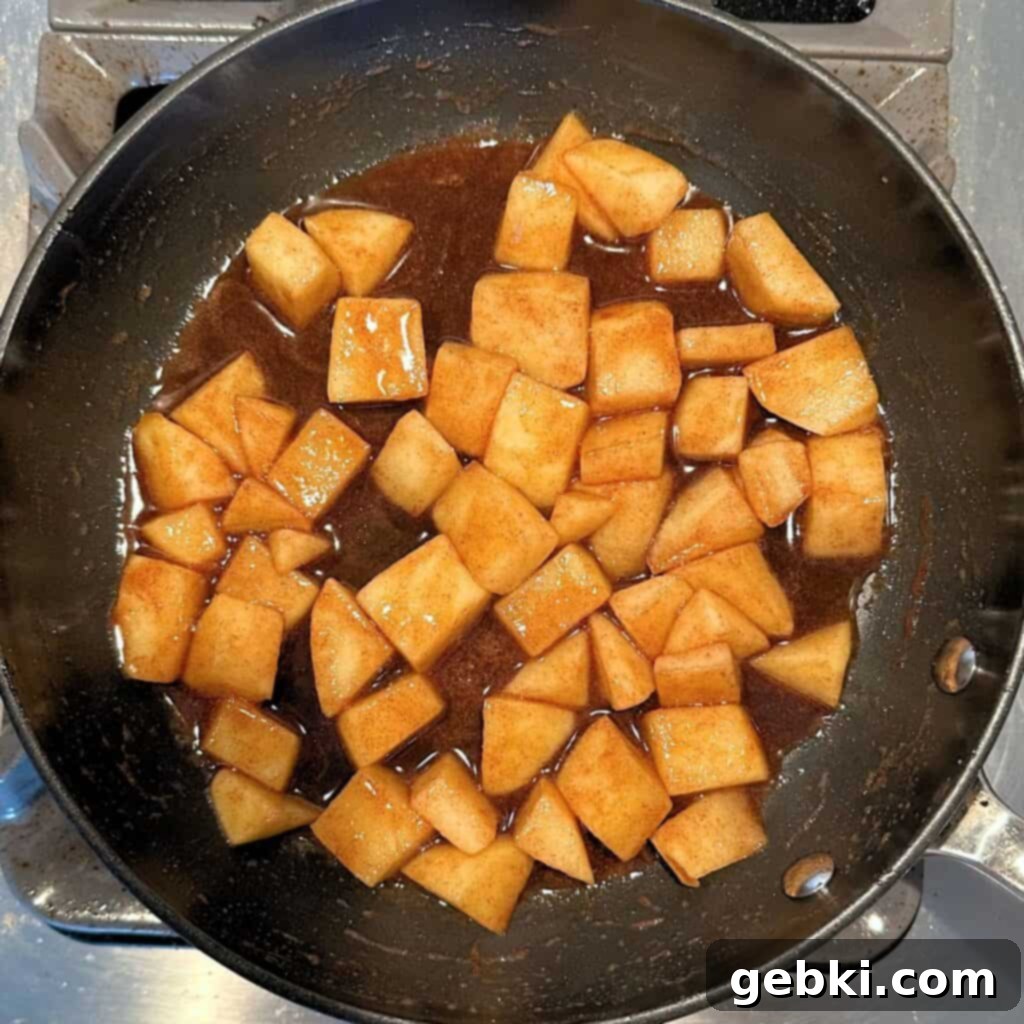
While your ice cream base is freezing, you can prepare the delicious, warmly spiced apple pie filling. In a small to medium-sized skillet, combine the prepped apple pieces, unsalted butter, packed brown sugar, and ground cinnamon. Place the skillet over low to medium-low heat. It’s important to stir the mixture frequently, every minute or so, to prevent the apples and sugar from burning or sticking to the bottom of the pan. Continue cooking until the apple pieces are tender but still hold their shape – you want them soft enough to bite through easily, but not mushy. This usually takes about 10-15 minutes, depending on your apple variety and desired tenderness. Once cooked to your desired consistency, remove the skillet from the heat. Allow the apple pie filling to cool completely to room temperature. This step is critical! If the filling is still warm when added, it will melt your ice cream. If preparing in advance, store the cooled filling in an airtight container in the refrigerator for up to 3 days, allowing the flavors to deepen.
3. Churn and Mix the Ice Cream
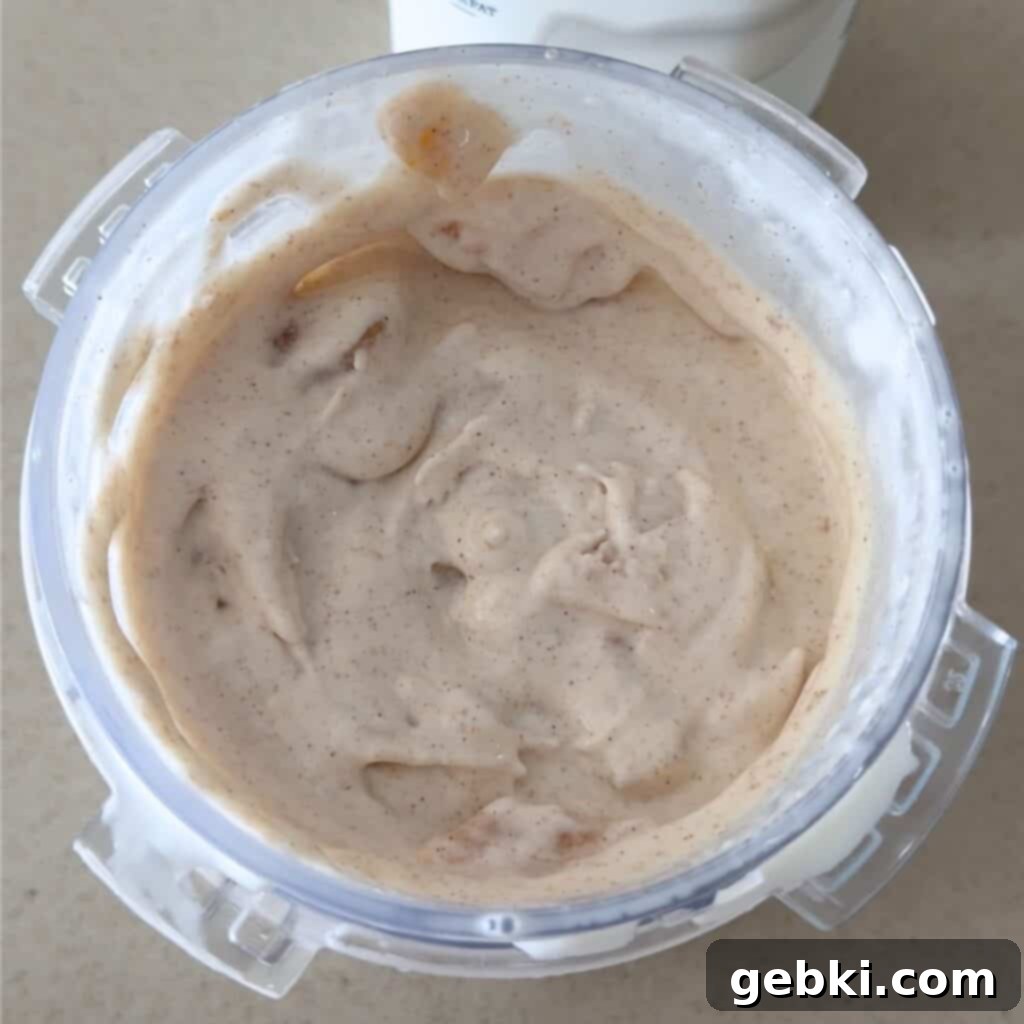
Once your ice cream base is fully frozen (after at least 8 hours or overnight), remove the pint from the freezer and place it into the outer bowl of your Ninja Creami machine. Secure the lid firmly with the blade assembly attached. Select the “Ice Cream” setting on your Ninja Creami and let it run its full cycle. After the first churn, the texture might appear a bit crumbly or powdery – don’t worry, this is completely normal and expected! If it’s still not perfectly smooth, use the “Re-Spin” setting once or twice until you achieve a wonderfully creamy, soft-serve-like consistency. Should it still be too crumbly after re-spins, let the pint sit out at room temperature for about 5 minutes to slightly soften, then re-spin again. Once creamy, create a small well (about 1.5 inches wide) in the center of the ice cream using a spoon. Add your completely cooled apple pie filling into this well. Place the pint back in the Creami, select the “Mix-In” setting, and let the machine evenly distribute the apple chunks and their spiced caramel goodness throughout your creamy base. This step is where the magic truly happens, embedding those warm, spiced apple flavors into every single bite.
4. Serve & Indulge!
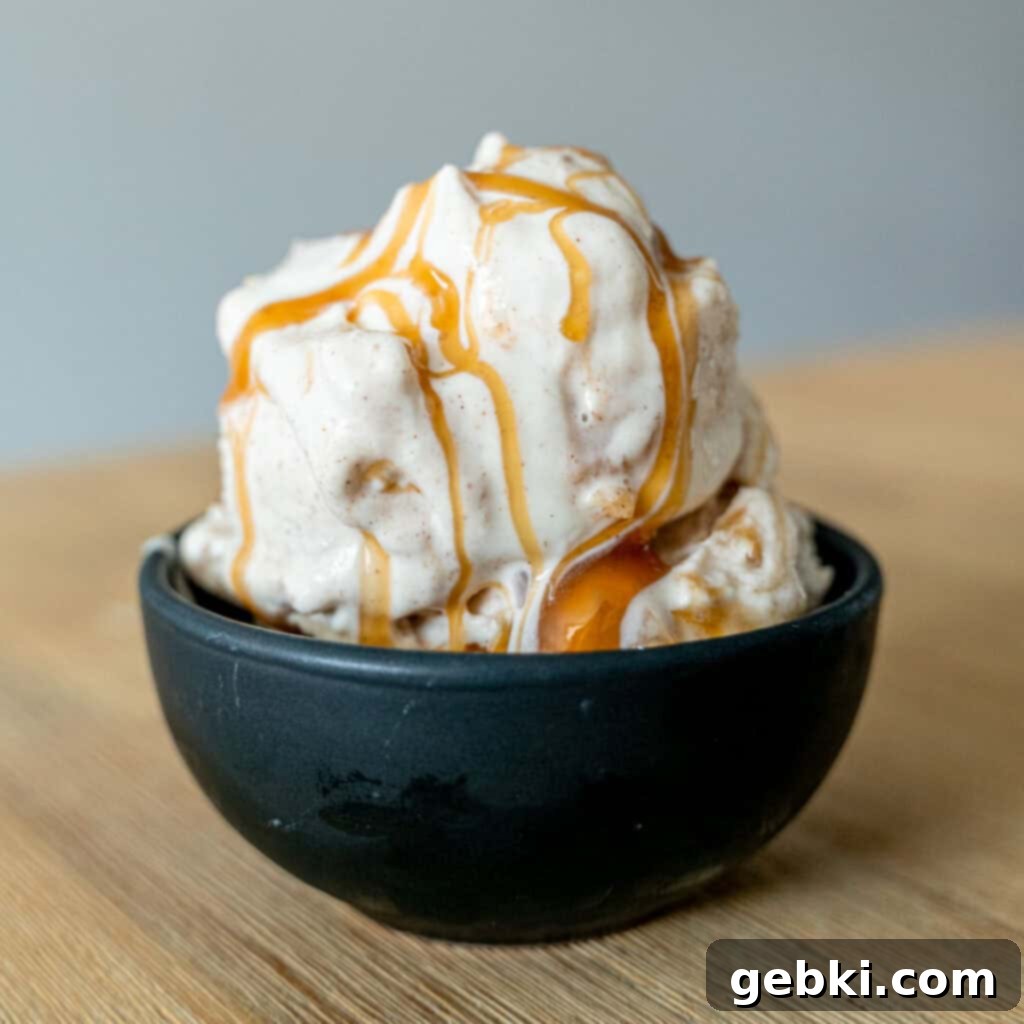
Your homemade caramel apple pie cheesecake ice cream is now ready to be savored! Generously scoop the fresh, creamy ice cream into your favorite serving bowls, elegant ice cream dishes, or classic cones. For the ultimate treat and to truly enhance the “caramel apple” experience, generously drizzle with extra caramel sauce – it adds another layer of rich sweetness that perfectly complements the spiced apples and creamy base. Consider adding a light sprinkle of extra cinnamon or a dollop of fresh whipped cream for an even more decadent presentation and texture contrast. Take a moment to savor the rich, complex flavors and wonderfully smooth texture you’ve created right in your own kitchen. Don’t forget to leave a comment below and share your thoughts and any creative twists you added! Your feedback and ratings are always appreciated and help our community of dessert lovers 😊.
Expert Tips for Perfect Ninja Creami Apple Pie Ice Cream
Achieving that perfect, velvety smooth ice cream with delicious, evenly distributed apple chunks is easy when you keep a few expert tips in mind. These insights will help you avoid common pitfalls and ensure your homemade Ninja Creami treat is nothing short of spectacular every single time you make it:
- Always Use Room Temperature Cream Cheese: This step is absolutely non-negotiable for a truly smooth and lump-free ice cream base. Cold cream cheese will stubbornly resist blending thoroughly with the liquids, resulting in small, undesirable chunks in your final ice cream. Plan ahead and take your cream cheese out of the refrigerator at least 30-60 minutes before you begin mixing. If you’re short on time, you can also gently soften it in the microwave on a very low setting for short bursts (5-10 seconds), just until it’s pliable and smooth.
- Ensure Apples are Completely Cooled: Patience is a virtue, especially when it comes to the cooked apple filling. Adding warm or even slightly warm apples to your hard-frozen ice cream base will inevitably cause it to melt prematurely during the “Mix-In” cycle. This not only compromises the immediate creamy texture but also leads to the formation of undesirable ice crystals if you refreeze any leftovers. Allow the cooked apples to cool entirely, ideally in the refrigerator for at least 30 minutes, before incorporating them into your ice cream.
- Master the Re-Spin Function: Every Ninja Creami machine can behave slightly differently, and variables like your freezer temperature, the exact fat content of your ingredients, or even local humidity can affect the initial churn. Don’t be disheartened if your ice cream appears crumbly, icy, or powdery after the first “Ice Cream” cycle. This texture is common! The “Re-Spin” function is your best friend for achieving ultimate creaminess. Use it as needed, typically once or twice, until you reach a wonderfully smooth and soft-serve-like consistency. If, after a re-spin or two, the mixture still resembles snow rather than creamy ice cream, let the pint sit out on the counter at room temperature for about 5-10 minutes to soften slightly, then try another re-spin. This subtle thaw can make all the difference in achieving perfect creaminess.
- Do Not Overfill Your Pint: Always ensure that your liquid ice cream base does not exceed the designated “MAX FILL” line on your Ninja Creami pint container. Overfilling can lead to significant spills during the churning process and can prevent the blade from spinning correctly, potentially damaging your machine or leading to an unevenly churned product.
- Measure Ingredients Accurately by Weight: Especially for the ice cream base, precise measurements are absolutely key to achieving the right consistency and balanced flavor. While approximate cup measurements are provided, using a kitchen scale to measure ingredients like cream cheese and sugar in grams (as indicated in the recipe card) can yield the most consistent, professional-quality results and helps in avoiding common issues like an overly icy or too soft ice cream.
- Crucial Chill Time: The 8-hour minimum freezing time for the ice cream base is not just a suggestion; it’s a critical requirement for the Ninja Creami to work its magic effectively. Ensure your base is frozen solid throughout before attempting to churn it. A partially frozen base will not “cream” properly and will result in a soupy, rather than creamy, texture. For best results, plan to freeze your base overnight.
Frequently Asked Questions About Apple Pie Ice Cream
Here are some common questions you might have about making this delicious Ninja Creami Apple Pie Ice Cream, along with helpful answers to guide you through the process:
This recipe has been specifically formulated and rigorously tested to achieve its unique, ultra-creamy texture and perfect mix-in distribution using the Ninja Creami machine. The Creami’s patented blade design is what expertly transforms the hard-frozen base into a smooth, scoopable ice cream without the need for traditional churning or excessive waiting. While you could attempt to adapt the liquid base for a conventional ice cream maker, the results will likely be quite different in terms of texture and consistency, as these machines operate on different principles. If you do experiment with a traditional ice cream maker, please share your experience and how it turned out in the comments below – we’d love to learn from your adaptations!
For optimal flavor and the best creamy texture, store any leftover apple pie ice cream in an airtight, freezer-safe container in your freezer for up to 1 week. Beyond that timeframe, while it will still be safe to eat, the quality and desired creaminess might gradually diminish, and it may become slightly icier. When you’re ready to enjoy leftovers, you can either let it soften at room temperature for 10-15 minutes until it reaches your preferred scoopable consistency or, for a quick refresh, use the Ninja Creami’s “Re-Spin” setting (if it’s still in the original pint) to bring back its wonderfully creamy consistency.
While I haven’t personally tested this specific recipe with store-bought apple pie filling, it should certainly work as a convenient shortcut if you’re looking to save time! If you choose this option, I recommend using a good quality, thicker apple pie filling. You might also want to lightly chop the apple pieces smaller if they appear too large to ensure optimal distribution during the “Mix-In” cycle in the Creami. Alternatively, if you’ve recently made a batch of my homemade chunky applesauce, that could also be a fantastic and flavorful addition to this ice cream, offering a slightly different but equally delicious apple texture and taste.
This recipe is perfectly portioned to yield one standard Ninja Creami pint of ice cream. The Ninja Creami machine is specifically designed to work with one pint at a time for optimal results, ensuring consistent texture and efficient churning. If you wish to make more than one pint, I strongly recommend preparing two separate batches, each in its own pint container, rather than attempting to double the ingredients within a single pint. This approach ensures the correct liquid volume, proper freezing consistency, and efficient churning by the Creami for consistently smooth and delicious ice cream every time.
For the creamiest and most luxurious results, I highly recommend using either 2% or whole milk. The higher fat content in these milks contributes significantly to a richer, smoother ice cream that is less prone to becoming icy. While skim milk can be used if you prefer a lighter option, be aware that it might result in a slightly icier texture due to its lower fat content. The fat helps prevent large ice crystals from forming.
Yes, you can certainly adjust the sweetness to your personal preference! The amount of sugar in this recipe is carefully balanced to complement the natural tang of the cream cheese and kefir, as well as the potential tartness of the apples. If you prefer a less sweet ice cream, you can reduce the granulated sugar in the base by 1-2 tablespoons. Similarly, for the apple filling, you can adjust the brown sugar to your taste. However, keep in mind that sugar also plays a role in the texture of ice cream, acting as an anti-freeze. Significant reductions might lead to a slightly harder or icier result, so adjust gradually.
Storing & Serving Your Delicious Apple Pie Ice Cream
Once you’ve made this incredible homemade apple pie ice cream, you’ll want to ensure you store it correctly to maintain its exquisite quality and serve it in the most delightful ways to fully appreciate its unique flavor and texture profile.
Make-Ahead for Ultimate Convenience
One of the fantastic benefits of this recipe, especially for those who love making homemade ice cream recipes, is its incredible make-ahead flexibility. The Ninja Creami truly is a game-changer for accommodating busy schedules! You can prepare the warmly spiced apple pie filling up to 3 days in advance; simply allow it to cool completely, then store it in an airtight container in the refrigerator. This allows the comforting flavors to meld and deepen beautifully. Similarly, the creamy ice cream base can be prepared and frozen in its pint container for up to 1 week before you’re ready to churn it into perfectly smooth ice cream with your Creami. This staggered preparation makes it exceptionally easy to have a delicious, fresh dessert ready with minimal fuss on demand, perfect for entertaining or a spontaneous treat.
Freezing Instructions for Leftovers
Should you find yourself with any leftover apple pie ice cream (a rare occurrence, perhaps, given its deliciousness!), proper storage is key to maintaining its quality and texture. Transfer the remaining ice cream into an airtight freezer-safe container, pressing it down gently to remove any air pockets. This helps prevent ice crystals from forming and preserves the desired creamy texture. Store it in the coldest part of your freezer for up to 1 week. When you’re ready to enjoy it again, simply let it soften at room temperature for about 10-15 minutes until it reaches your preferred scoopable consistency. If it’s still in the original Ninja Creami pint and has re-frozen hard, you can use the “Re-Spin” function to bring it back to its original delightful creaminess without needing to wait for it to thaw extensively.
Creative Serving Suggestions to Elevate Your Dessert
While this caramel apple pie cheesecake ice cream is absolutely divine on its own, it also pairs beautifully with a variety of other desserts and treats, making it perfect for entertaining or a special family meal. Get creative with your presentation and enjoy!
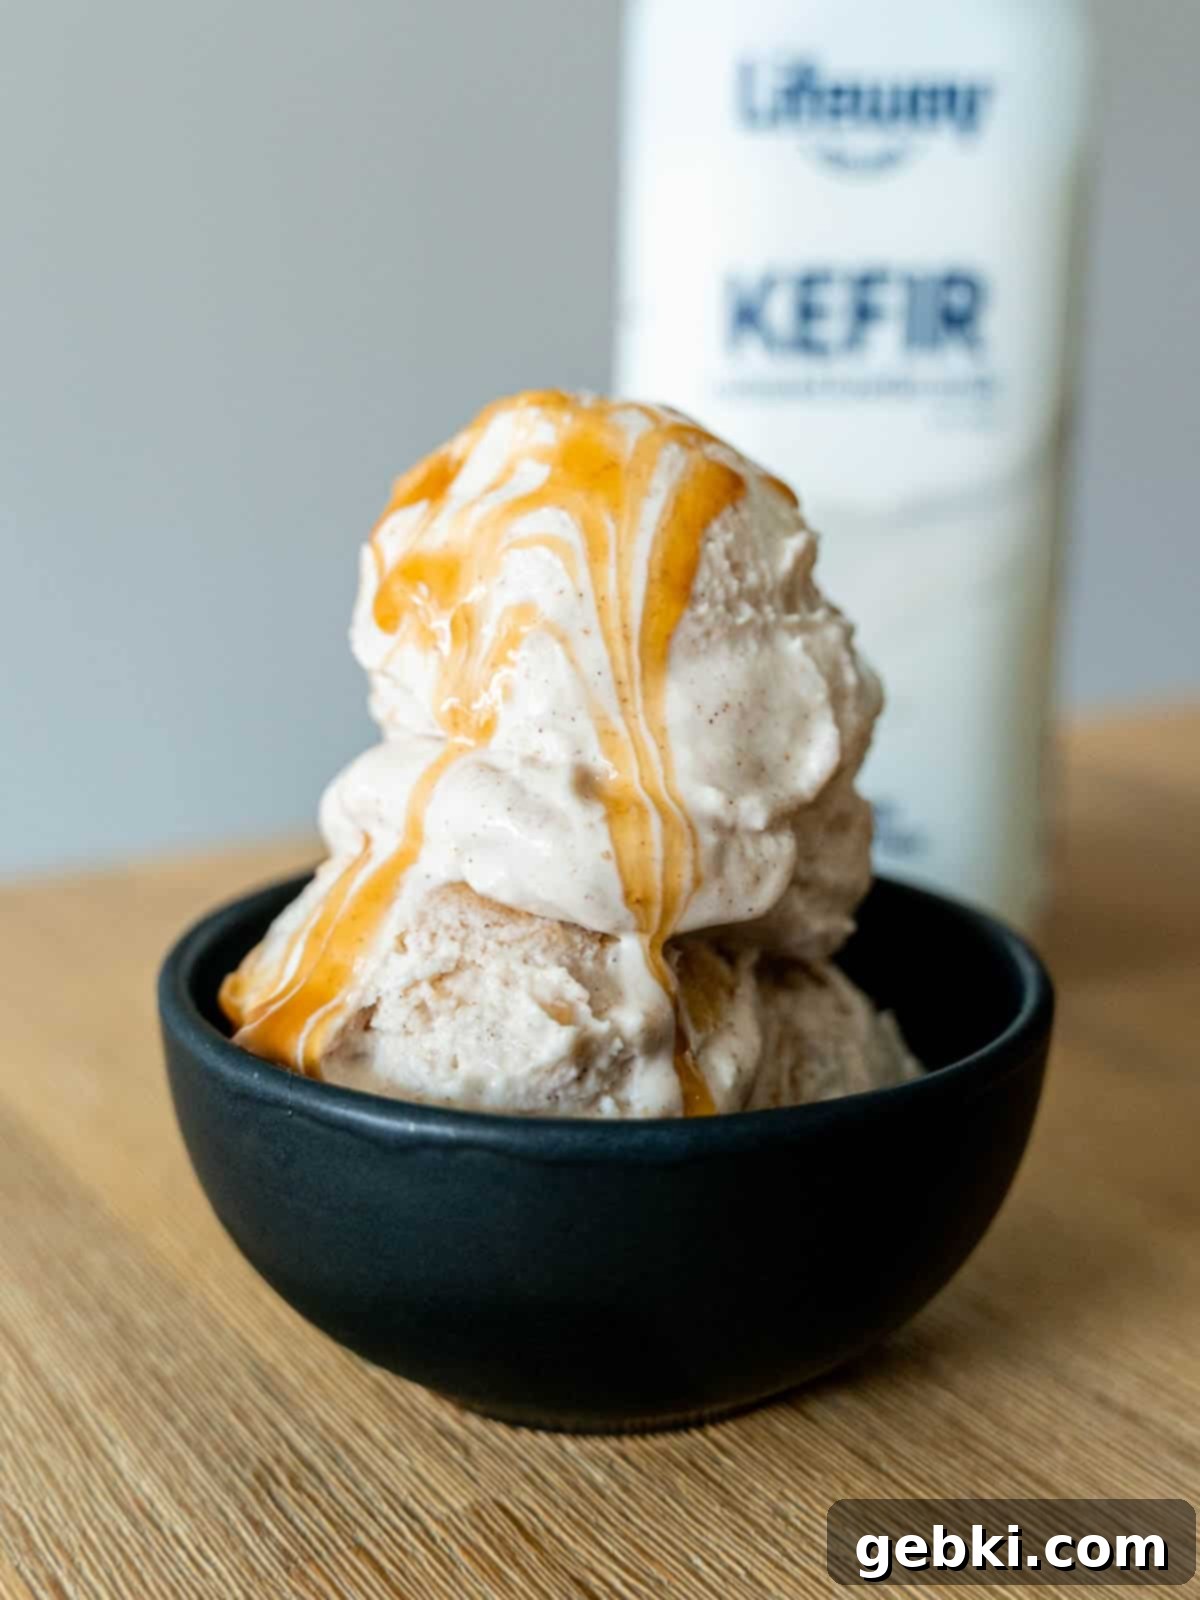
- Classic with Caramel Drizzle: A generous drizzle of extra caramel sauce is practically a must! It enhances the “caramel apple” notes and adds another layer of rich, sweet decadence that perfectly complements the spiced apples and creamy cheesecake base.
- Warm Baked Goods Pairing: For the ultimate comforting fall dessert experience, serve a generous scoop of this ice cream alongside a warm slice of my sourdough discard coffee cake or a freshly baked cinnamon streusel muffin. The delightful contrast between the warm baked good and the cool, creamy ice cream is pure bliss.
- With a Dollop of Whipped Cream: A light, airy dollop of fresh, unsweetened whipped cream and a sprinkle of extra cinnamon or freshly grated nutmeg can elevate the presentation and add another layer of luxurious texture without overwhelming the core flavors.
- As a Gourmet Sundae: Create an indulgent mini-sundae by topping your scoop with more of the cooked apple filling, a handful of toasted pecans or walnuts, and an even more generous pour of caramel sauce. A cherry on top never hurt anyone!
- In an Edible Pie Crust Bowl: For a fun and thematic presentation, consider serving individual scoops in small, edible pie crust bowls (either homemade or store-bought mini crusts) or alongside a few crisp shortbread cookies to mimic a pie crust.
- Coffee or Tea Companion: For a sophisticated afternoon treat, enjoy a small scoop alongside your favorite hot coffee, a rich espresso, or a spiced chai tea. The flavors complement each other wonderfully.
The delightful caramel apple cheesecake flavors of this ice cream truly offer a versatile dessert that can stand alone as a star or enhance a wide array of other sweet dishes. Enjoy exploring all the delicious ways to savor this unique and irresistible homemade ice cream!
More Irresistible Ninja Creami & Homemade Desserts You’ll Love
If you’ve fallen in love with the ease, versatility, and sheer deliciousness of making ice cream with your Ninja Creami, or simply enjoy crafting delightful homemade desserts that impress, then you’re in for a treat! Explore some of my other popular recipes that offer unique flavors and simple preparation, all perfect for satisfying your sweet tooth any time of the year. These recipes leverage the power of the Ninja Creami or offer other easy baking adventures:
- 5-Ingredient Blueberry Lemon Cheesecake Ice Cream (Ninja Creami Recipe)
