Irresistible Mini Peanut Butter S’mores Tarts: An Easy No-Bake Decadent Dessert
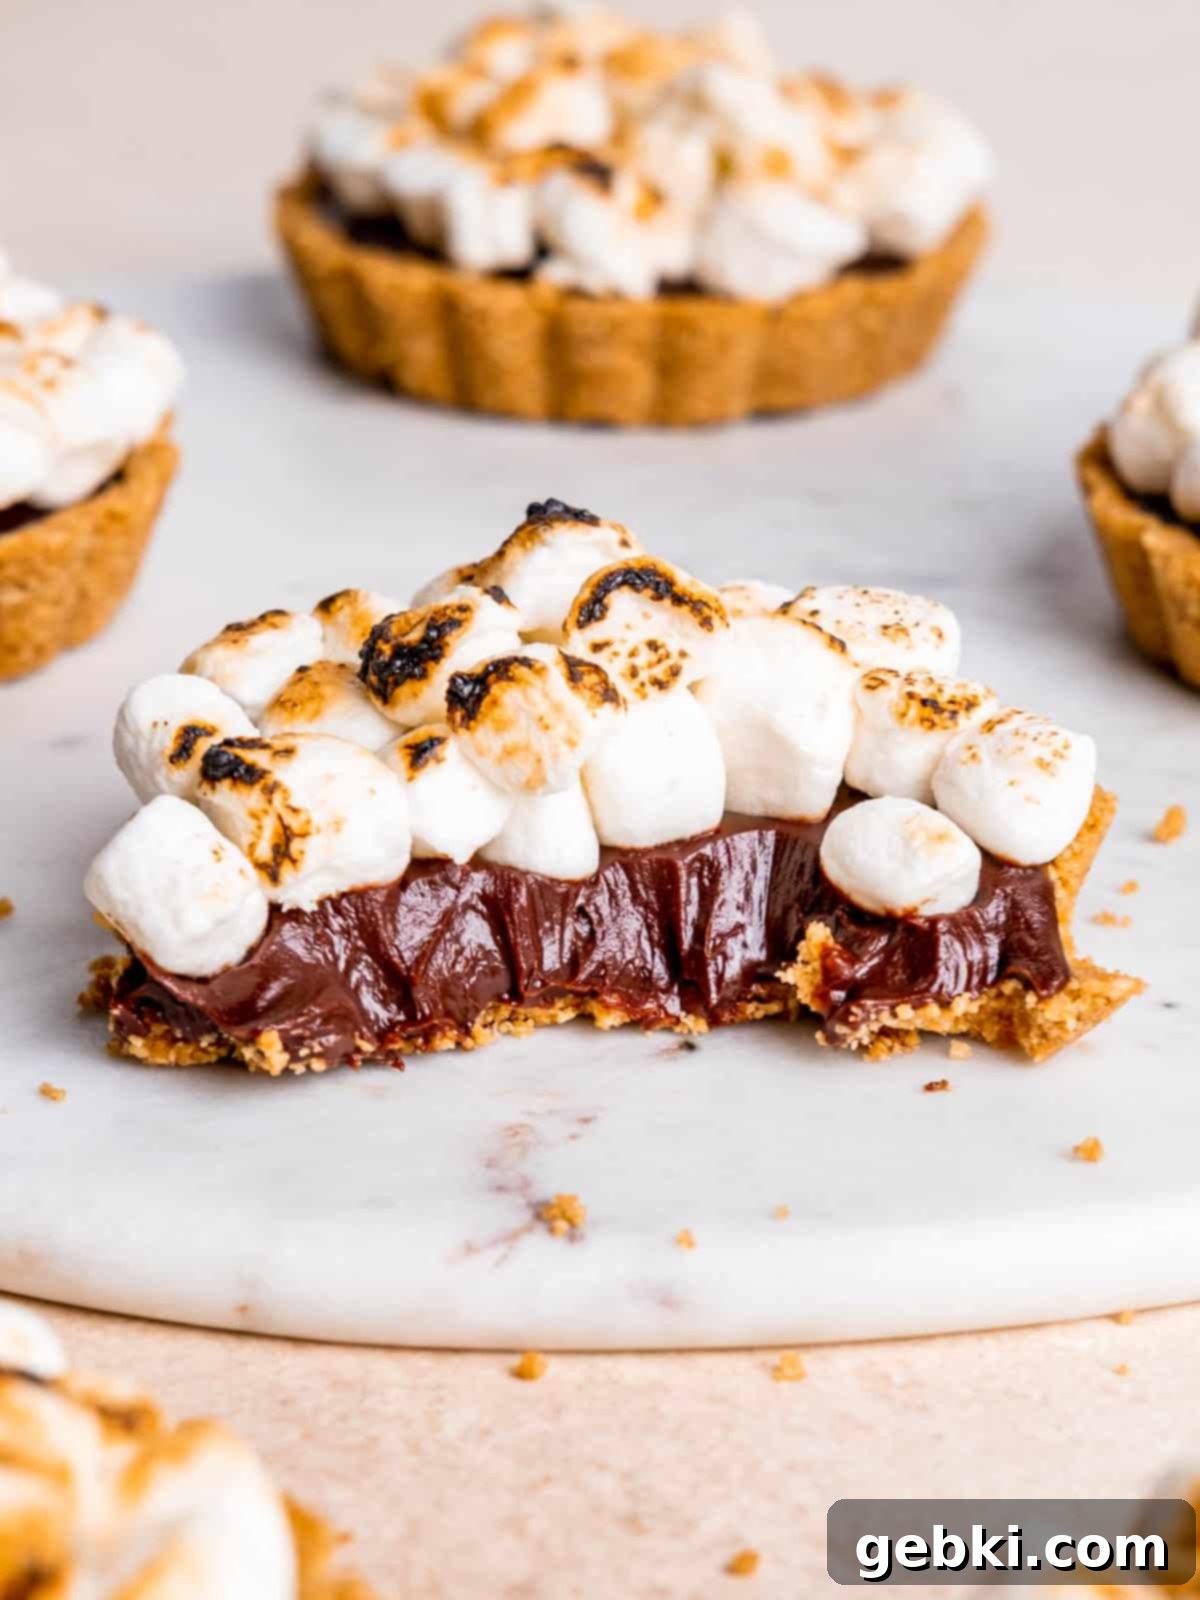
Prepare to fall in love with these Mini Peanut Butter S’mores Tarts – a sophisticated yet incredibly easy take on the beloved campfire classic. Imagine the nostalgic flavors of a s’more elevated with a creamy peanut butter twist, all encased in a delightful individual tart. This recipe perfectly marries the irresistible combination of sweet and salty, making it a truly unforgettable no-bake dessert that will have everyone asking for more. It’s truly the best of both worlds, offering a unique fusion of flavors that conjures images of a gourmet s’more made with a Reese’s Peanut Butter Cup!
This post contains affiliate links, meaning that I could earn from purchases made through them. It doesn’t add any extra cost to you, but it does help support this blog!
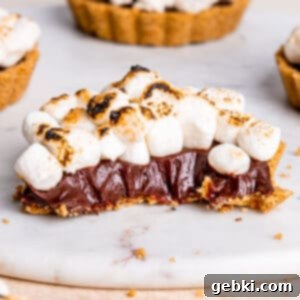
Whether you’re hosting a dinner party, planning a cozy night in, or simply craving a delicious treat, these mini tarts are a fantastic choice. They are surprisingly simple to make, requiring no oven time for the filling, and offer a stunning presentation that belies their ease. The journey begins with a buttery, flavorful peanut butter graham cracker crust, followed by a luscious, smooth chocolate ganache, and crowned with perfectly golden, toasted mini marshmallows. It’s a dessert experience that is both comforting and elegantly charming.
What You Need to Make These Decadent Mini S’mores Tarts
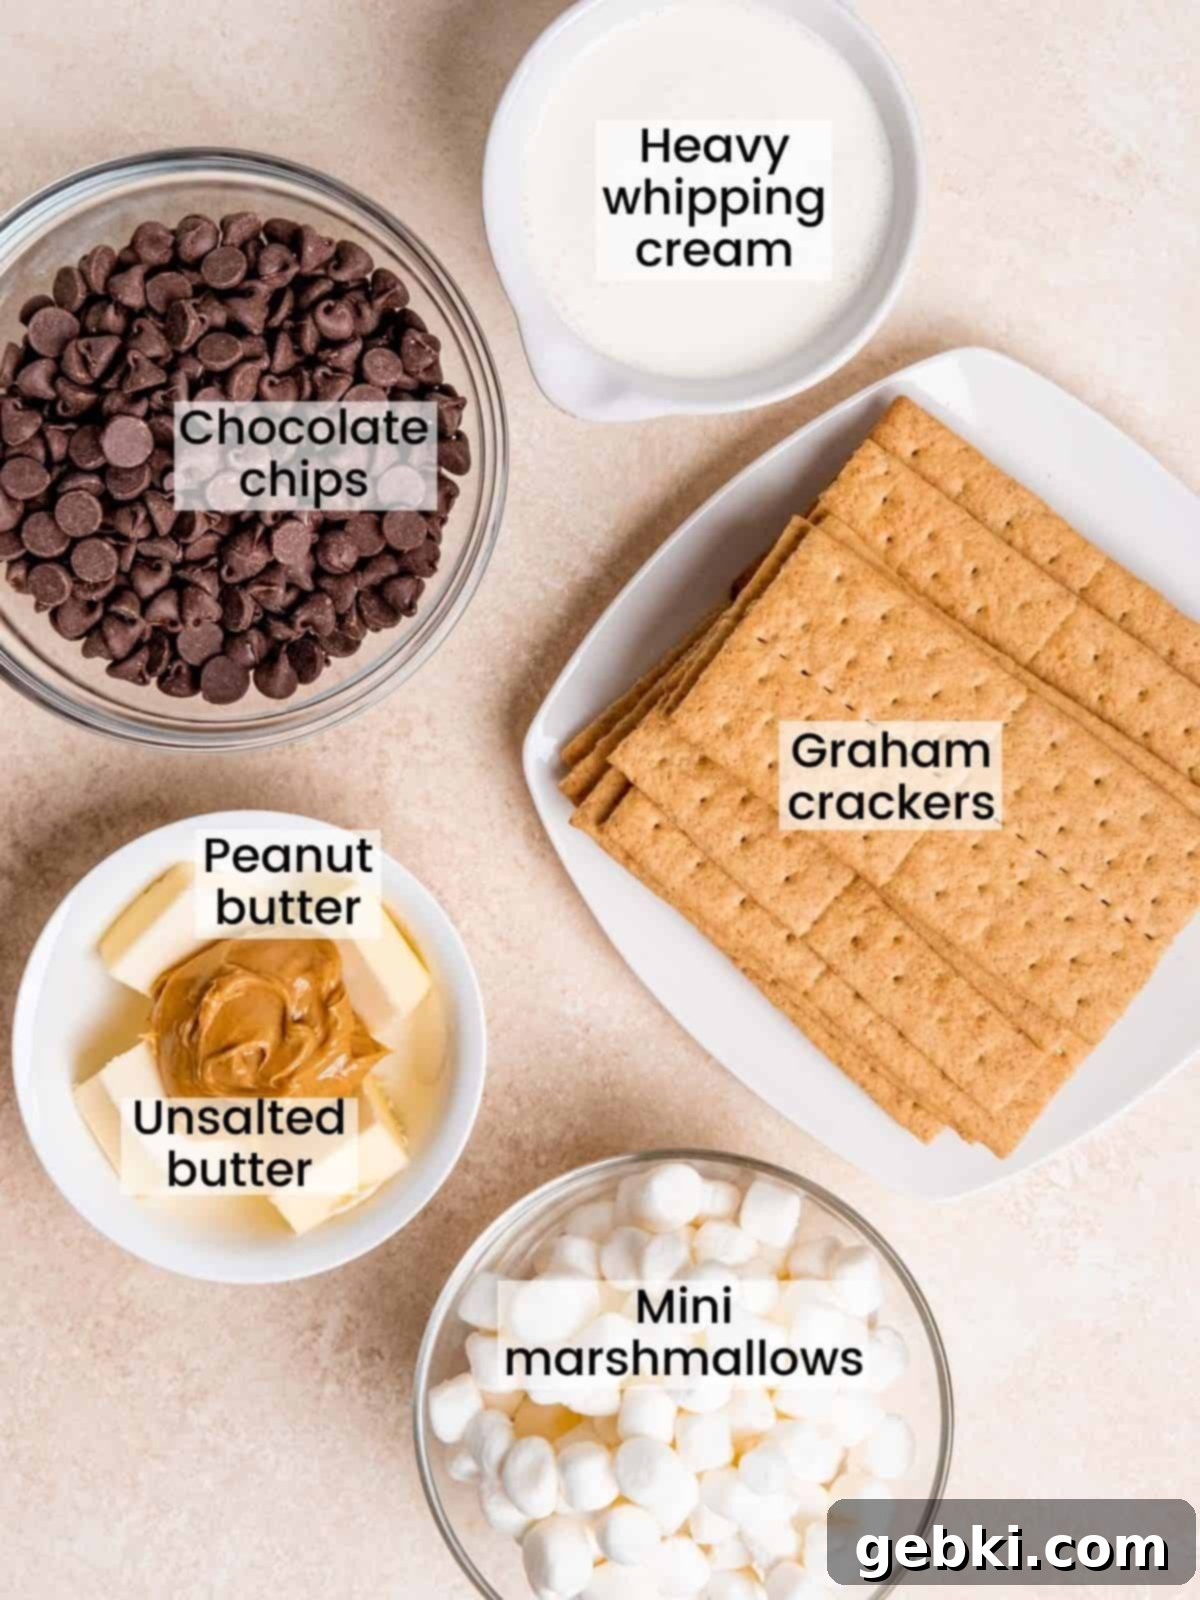
Crafting these delectable mini peanut butter s’mores tarts requires just a handful of high-quality ingredients and a few key pieces of equipment. The simplicity of the components allows their individual flavors to shine, creating a harmonious and utterly satisfying dessert experience.
Key Ingredients for the Perfect S’mores Tart
- Graham Crackers: The foundation of our crust. For optimal texture and flavor, choose fresh, crisp graham crackers. You can easily crush whole crackers using a food processor or a Ziploc bag and a rolling pin, or opt for pre-made graham cracker crumbs for convenience. Aim for a fine, sand-like consistency for a compact crust.
- Creamy Peanut Butter: This is the secret ingredient that elevates these tarts beyond traditional s’mores. Use a good quality creamy peanut butter for a smooth texture and rich flavor that beautifully complements the chocolate and marshmallow. Ensure it’s well-stirred if using natural peanut butter. If you prefer, almond butter or even sunbutter can be used as alternatives, or simply increase the butter for a classic s’mores crust.
- Unsalted Butter: Essential for binding the graham cracker crumbs and peanut butter together, creating a perfectly firm and flavorful crust. Melting the butter ensures it evenly coats the crumbs, allowing for easy pressing into the tart pans. Using unsalted butter gives you control over the overall saltiness of the dessert.
- Semi-Sweet Chocolate Chips: The heart of our silky chocolate ganache. The quality of your chocolate directly impacts the final ganache. Look for chips with a higher cocoa percentage (around 60%) and fewer ingredients for the best results. High-quality chocolate melts smoothly and sets beautifully, preventing a grainy texture. You can also chop a good baking chocolate bar into fine pieces for an even melt.
- Heavy Whipping Cream: The other crucial component for ganache. This cream provides the richness and body needed for a luxurious ganache. It’s vital to heat the cream gently and evenly until it just begins to simmer, not a rolling boil. Overheating can cause it to separate or prevent the ganache from setting properly.
- Mini Marshmallows: The iconic s’mores topping! These small marshmallows are perfect for fitting on top of the mini tarts and achieve that classic toasted, gooey exterior with a culinary torch. While regular marshmallows can be cut, mini ones provide an ideal ratio and look.
Special Equipment for Effortless Baking
While some tools are optional, they significantly enhance the ease and outcome of these s’mores tarts:
- Mini Tart Pans: I highly recommend using pans with removable bottoms, typically 4 inches in diameter. These make unmolding the delicate tarts incredibly easy, ensuring a perfect presentation every time. If you don’t have them, a muffin tin lined with paper liners can work, though the presentation won’t be as clean.
- Food Chopper or Processor: This tool is a game-changer for preparing the graham cracker crust. It quickly and efficiently grinds the crackers into fine crumbs, saving you time and effort. If unavailable, a sturdy Ziploc bag and a rolling pin will do the trick, though it requires a bit more elbow grease.
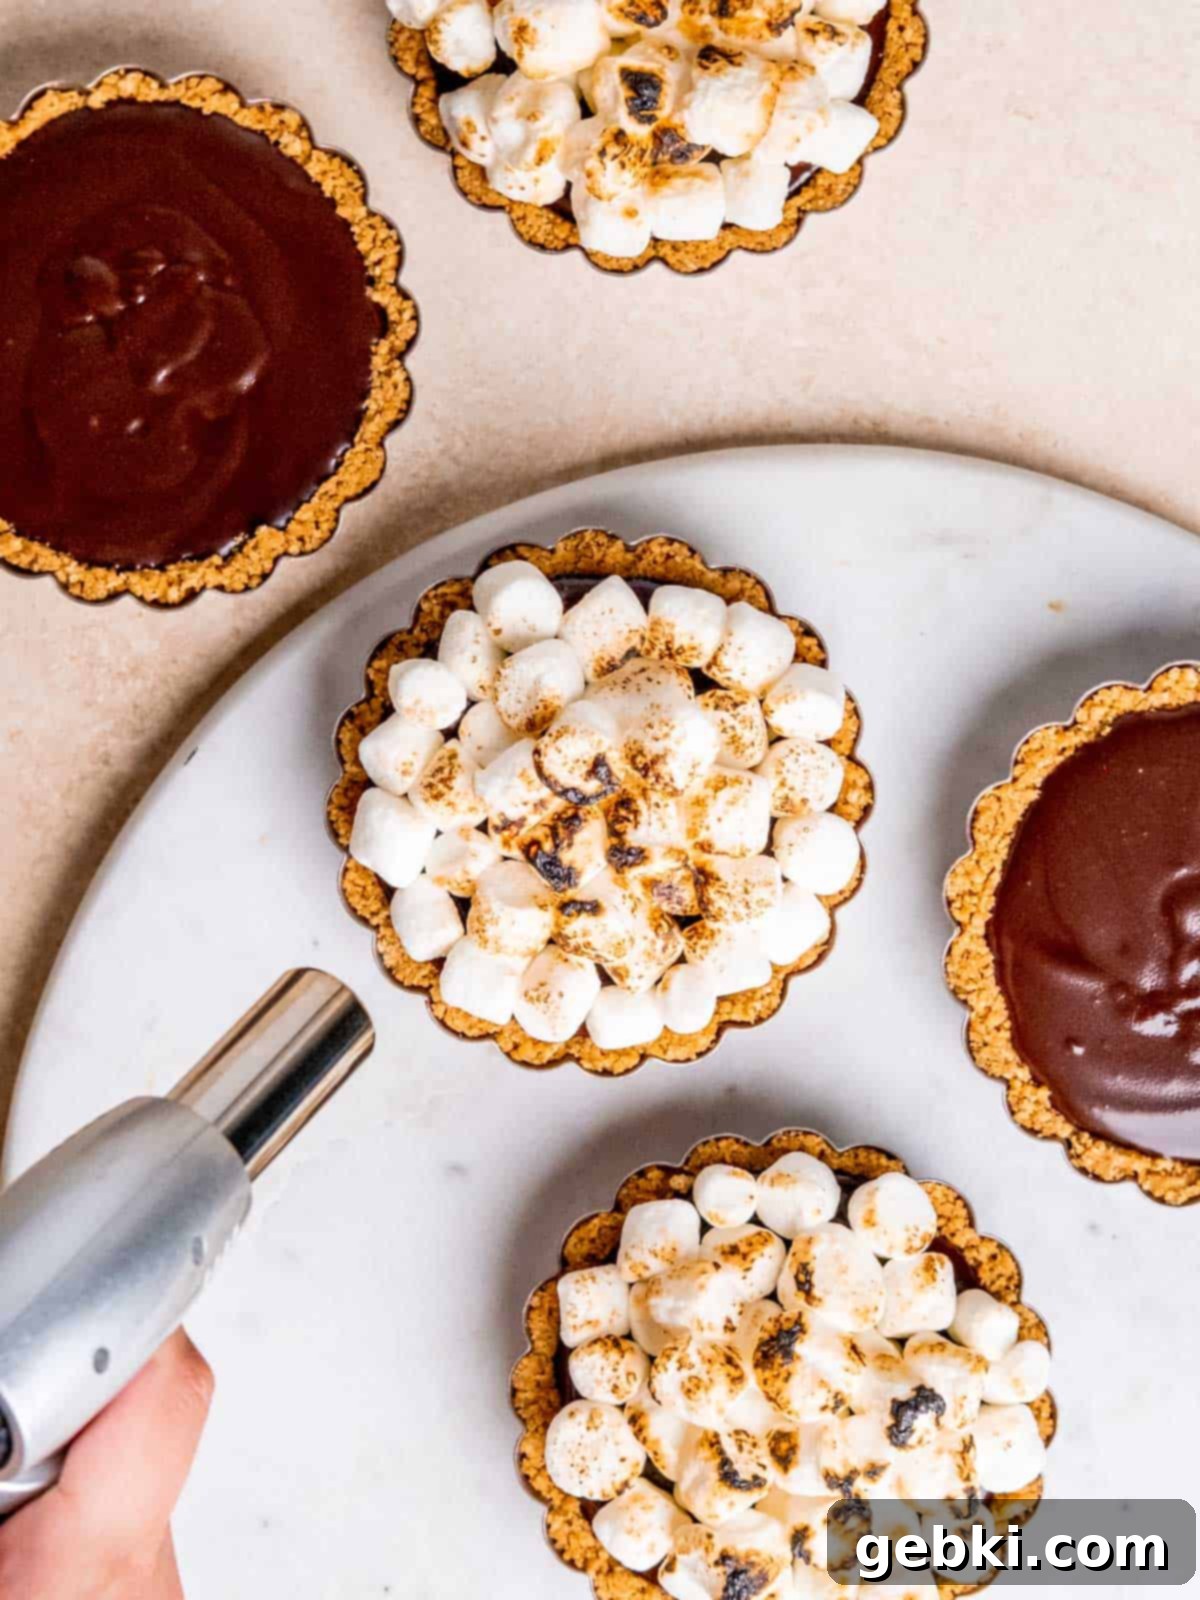
- Culinary Torch: (Optional but highly recommended) For that authentic s’mores experience, a culinary torch is indispensable. It allows you to perfectly toast the mini marshmallows to a golden-brown hue without heating the entire tart, creating a beautiful, slightly crispy exterior and a gooey center. If you don’t have one, a broiler can be used with extreme caution for a few seconds, but watch closely to prevent burning.
Recipe Notes for Perfect Mini Peanut Butter S’mores Tarts
While this recipe for mini peanut butter s’mores tarts is designed to be straightforward, a few key techniques will ensure your success and create truly professional-looking results. Paying attention to these details will make all the difference.
Crafting the Perfect Graham Cracker Crust
The crust is the foundation of these delightful tarts, and getting it just right is crucial. The mixture of graham cracker crumbs, melted peanut butter, and butter can be a bit tricky to work with, but with the right technique, you’ll achieve a beautifully uniform and sturdy base.
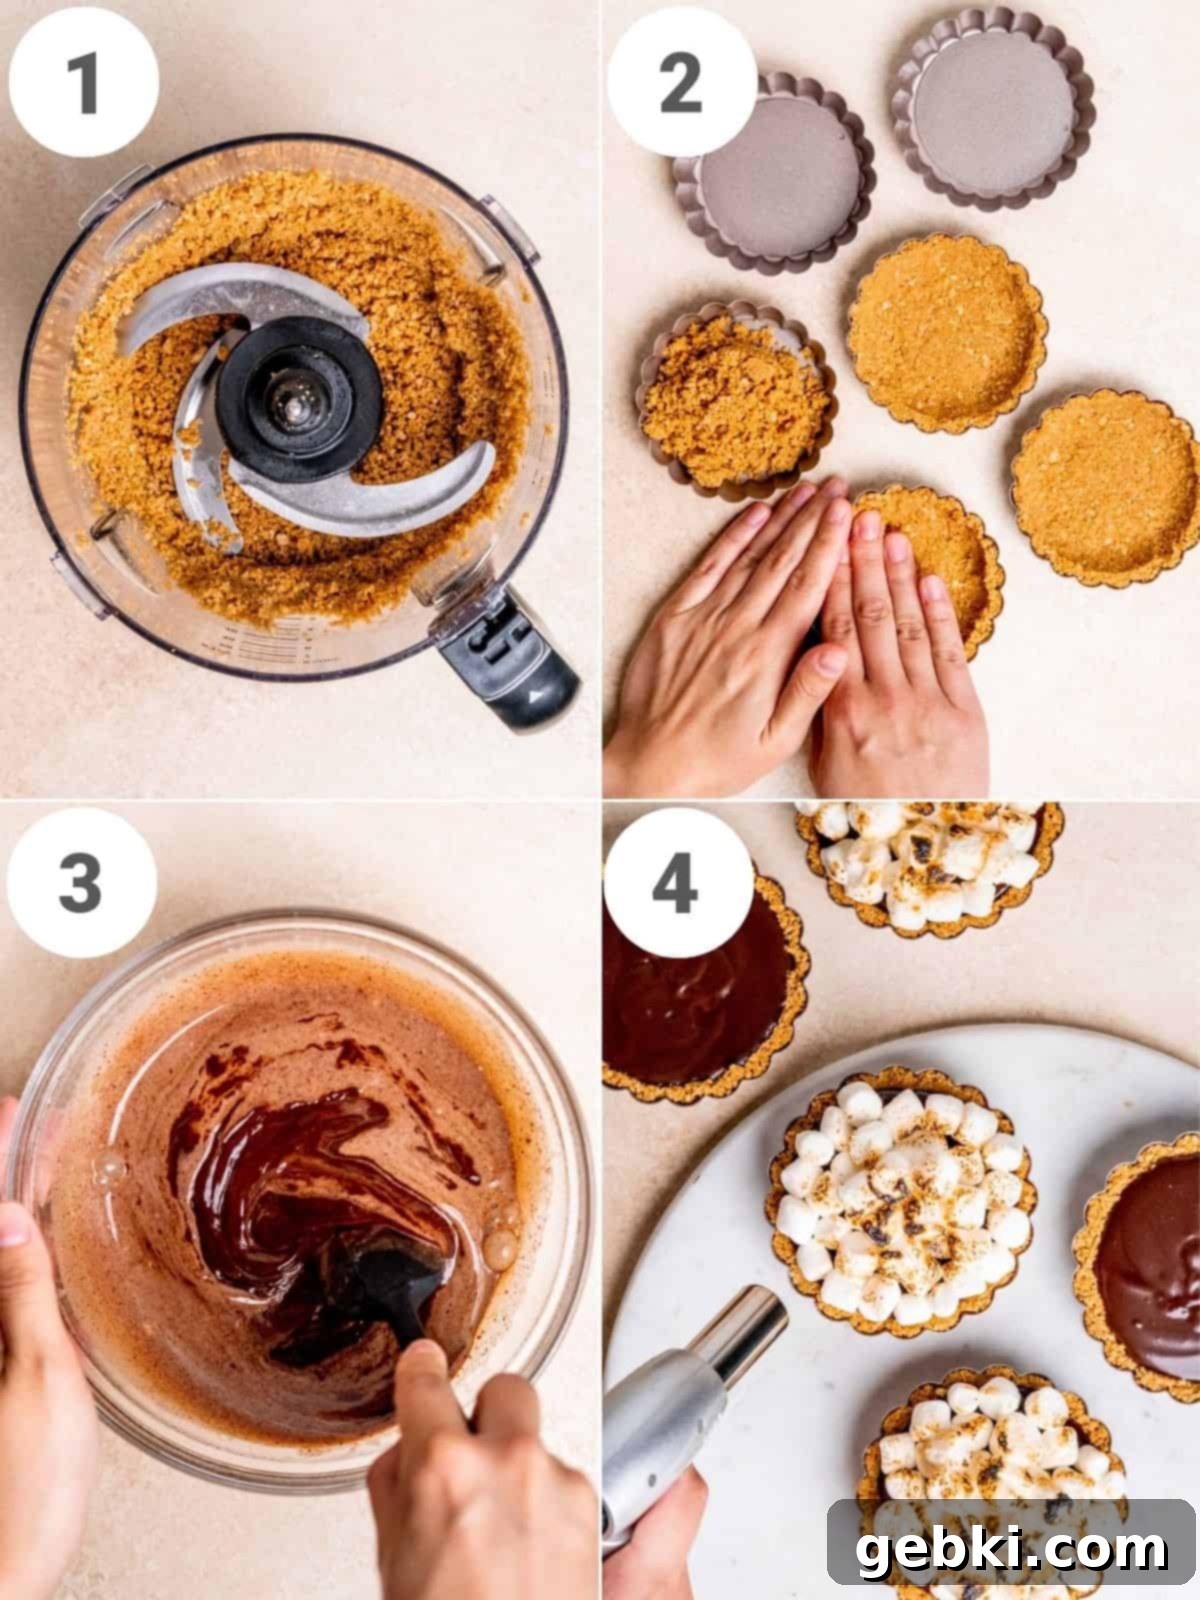
- Even Distribution is Key: Begin by distributing approximately ¼ cup of the crumb mixture evenly across the bottom of each mini tart pan. This initial spread helps prevent an uneven crust.
- The Edge First Method: What I’ve found to work best is to focus on the edges first. Using your index finger, press the crumbs firmly against the sides of the pan, working your way around the entire perimeter. You can use your other hand to steady the tart pan. This creates a defined edge that gives the tart its structure.
- Bottom Next: Once the edges are set, then press the remaining crumbs firmly and evenly across the bottom of the pan. A flat-bottomed glass or a small measuring cup can be helpful for pressing the crumbs tightly, ensuring a compact crust that won’t crumble when unmolded.
- Chilling is Crucial: Don’t skip the freezer step for the crust. Chilling allows the butter and peanut butter to solidify, locking the graham cracker crumbs in place and making the crust firm enough to hold the ganache without becoming soggy. This also makes the tarts much easier to remove from their pans.
Mastering Silky Smooth Chocolate Ganache
Chocolate ganache, while simple in its ingredients, can be a bit finicky. Achieving that perfect silky, glossy texture requires precision and attention to detail. I’ve had my struggles, and the biggest lesson learned is that bakers are absolutely right: good quality chocolate is non-negotiable for ganache!
- Quality Chocolate Matters: Invest in high-quality semi-sweet chocolate chips or baking chocolate. Look for brands that list a higher cocoa percentage (ideally around 60%) and have a shorter ingredient list. Higher quality chocolate contains more cocoa butter, which helps create a smoother, more stable emulsion. Poor quality chocolate can result in a grainy or separated ganache that won’t set properly.
- Gentle Heat for Cream: When heating the heavy whipping cream, do so in short intervals (30 seconds at a time) in the microwave, stirring after each interval. The goal is to bring it just to a simmer, where small bubbles start to form around the edges. Do not let it come to a rolling boil or boil for too long, as this can overheat the cream and make it difficult for it to emulsify with the chocolate, or even cause the ganache to become too thin and not set.
- The Art of Emulsification: Once the cream is heated, pour it directly over the chocolate chips, ensuring they are fully submerged. Place a plate or lid over the bowl and let it sit undisturbed for 5 minutes. This allows the hot cream to melt the chocolate gently. After 5 minutes, remove the plate and, using a rubber spatula, begin stirring the mixture in slow, circular motions from the center outwards. This process is called emulsification, where the fat from the chocolate and cream combine to create a stable, smooth, and homogenous mixture. Continue stirring until every lump of chocolate has dissolved and the ganache is perfectly smooth and glossy.
- Setting Time: Patience is key! After pouring the ganache into the chilled crusts, allow the tarts to set in the refrigerator for at least 1-2 hours, or until the ganache is firm to the touch. Rushing this step will result in a runny filling.
Expert Tips & Storage Solutions
To help you get the most out of this delicious recipe and answer some common questions, here are some additional tips and storage advice.
Yes, these tarts can easily be made gluten-free! Simply ensure you use certified gluten-free graham crackers and check that your mini marshmallows are also gluten-free (most are, but it’s always good to confirm). All other ingredients, such as peanut butter, unsalted butter, semi-sweet chocolate chips, and heavy whipping cream, are typically naturally gluten-free.
Absolutely! If you prefer a traditional s’mores flavor or have peanut allergies, you can easily omit the peanut butter from the crust. For a classic graham cracker crust, I recommend replacing the 3 tablespoons of creamy peanut butter with an additional 2 tablespoons of melted unsalted butter. This will maintain the proper consistency for the crust. You can also experiment with other nut butters like almond butter or even cookie butter for a different twist!
These tarts are best stored in an airtight container in the refrigerator for up to 1 week. They maintain their freshness and texture beautifully when chilled. You can even refrigerate them after toasting the marshmallows; the toasted flavor and slight crispiness will still be present, and they remain just as delicious! For longer storage, you can freeze the tarts (un-marshmallow-ed) for up to 1 month. Thaw in the refrigerator before adding marshmallows and toasting.
Additional Tips for Success:
- Prep Ahead: The crust and ganache can be prepared a day in advance, making these tarts perfect for entertaining. Simply assemble and toast the marshmallows just before serving for the freshest experience.
- Even Marshmallow Toasting: When using a culinary torch, move it constantly and evenly over the marshmallows to prevent burning in one spot. Aim for a beautiful golden-brown color rather than black char.
- Presentation Matters: Serve these tarts individually on small dessert plates for an elegant touch. A small dollop of whipped cream or a sprinkle of sea salt on top of the ganache (before marshmallows) can add another layer of flavor and visual appeal.
- Temperature Control: Ensure your ingredients are at the right temperature as specified in the recipe. This is especially important for the ganache to achieve its desired consistency.
More Decadent Desserts You’ll Love
If you enjoyed these Mini Peanut Butter S’mores Tarts, you’re in for a treat with these other delightful recipes from our collection:
- Edible Funfetti Cookie Dough
- Cookie Butter Cookies
- Mini Brownie Bites
- Chocolate Peanut Butter Rice Krispies
Did you try this recipe? I’d love to see it! Tag @brokenovenbaking on Instagram & Facebook and leave a ⭐ review below!
📖 Recipe
Mini Peanut Butter S’mores Tarts
Kayla Burton
Pin Recipe
Equipment
-
6 mini tart pans (4-inch diameter recommended)
-
Food chopper or food processor
-
Mixing bowls
-
Measuring cups/scale
-
Measuring spoons
-
Rubber spatula
-
Culinary torch (optional)
Ingredients
- 12 whole (180 g) graham crackers (~1⅔ cups graham cracker crumbs, crushed fine)
- 3 tablespoons (48 g) creamy peanut butter melted
- ¼ cup (½ stick) (56 g) unsalted butter melted
- 1½ cups (255 g) semi-sweet chocolate chips good quality (60% cocoa recommended)
- ¾ cup (177.44 ml) heavy whipping cream
- 1-2 cups (1-2 cups) mini marshmallows
Instructions
-
In a microwave-safe bowl, melt the unsalted butter and creamy peanut butter together. In a food chopper or food processor, blend the graham crackers until they form fine crumbs, resembling wet sand. Combine the melted butter/peanut butter mixture with the graham cracker crumbs.
-
Divide the graham cracker mixture evenly among 6 mini tart pans (approximately ¼ cup per pan). First, spread the mixture across the bottom of the pan. Then, use your index finger to firmly press the crumbs along the edges of the pan, followed by pressing the remaining crumbs evenly across the bottom to create a compact crust.
-
Place the prepared crusts on a tray and transfer them to the freezer for about 30 minutes. This chilling process helps the crust set firmly.
-
While the crusts are chilling (with about 5-10 minutes remaining), prepare the chocolate ganache. Place the semi-sweet chocolate chips in an even layer at the bottom of a shallow, heat-proof bowl. Heat the heavy whipping cream in a microwave in 30-second increments, stirring after each, until it just begins to boil (small bubbles form around the edges). Immediately pour the hot cream over the chocolate chips, ensuring they are completely covered. Place a plate or lid on top of the bowl to trap the heat for 5 minutes. After 5 minutes, remove the plate and gently stir the mixture with a rubber spatula in a circular motion until it is smooth, glossy, and homogenous.
-
Take the chilled crusts out of the freezer. Carefully fill each crust with equal amounts of the prepared chocolate ganache. They should be almost full.
-
Return the tarts to the refrigerator and allow them to set for at least 1 to 2 hours, or until the ganache is firm and thick.
-
Once the crust and ganache are firm, carefully remove the tartlets from their pans. Place mini marshmallows on top of each tart. Using a culinary torch, gently toast the marshmallows until they are golden brown and slightly gooey (this step is optional but highly recommended for the classic s’mores experience). Serve immediately on individual plates with a fork.
Save This Recipe! 💌
We’ll email this post to you, so you can come back to it later!
Notes
The provided nutrition information is an estimate, the calorie accuracy is not guaranteed.
The provided nutritional information is an estimate per serving. Accuracy is not guaranteed.
