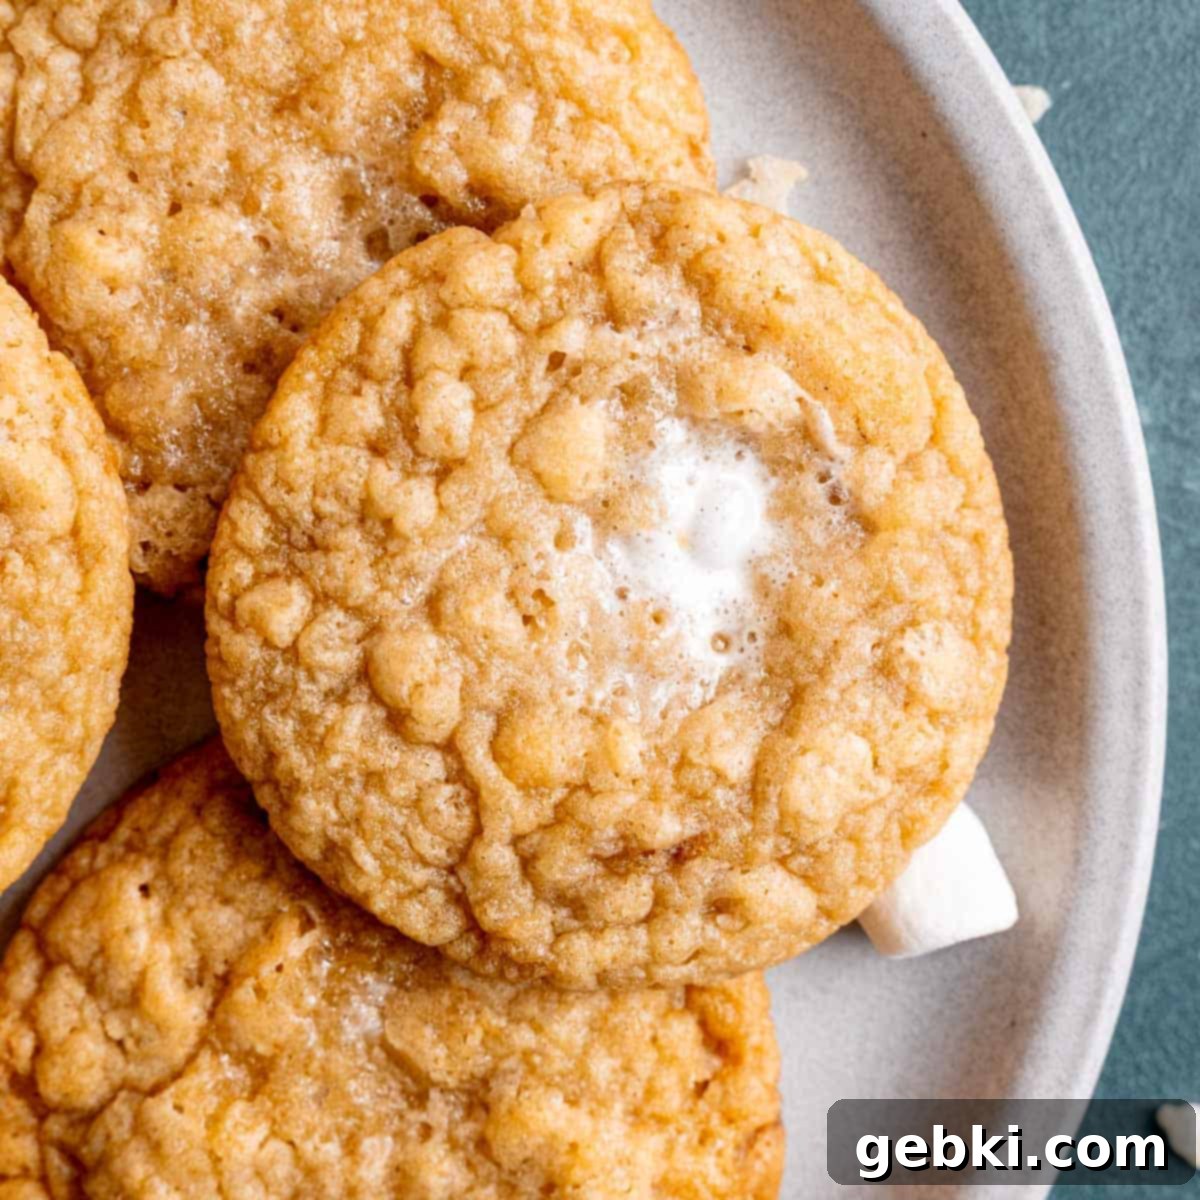
Homemade Marshmallow Crispy Cookies: The Ultimate Costco Copycat Recipe
Are you absolutely obsessed with those incredibly gooey, delightfully crunchy marshmallow crispy cookies that have become a sensation at Costco? You’re not alone! Many of us find ourselves dreaming about these unique treats, but perhaps you don’t always want to commit to purchasing an entire 24-pack. That’s precisely the motivation behind creating this perfect copycat recipe, allowing you to enjoy them fresh from your own oven!
While I certainly appreciate the convenience and fantastic selection that Costco offers, I can confidently say that these homemade cookies truly take the experience to another level. They boast a freshness and quality that makes them far superior to any store-bought version. After witnessing the immense popularity and positive feedback for my Costco copycat raspberry crumble cookies, it was clear that a recipe for these marshmallow crispy delights was an absolute must-share.
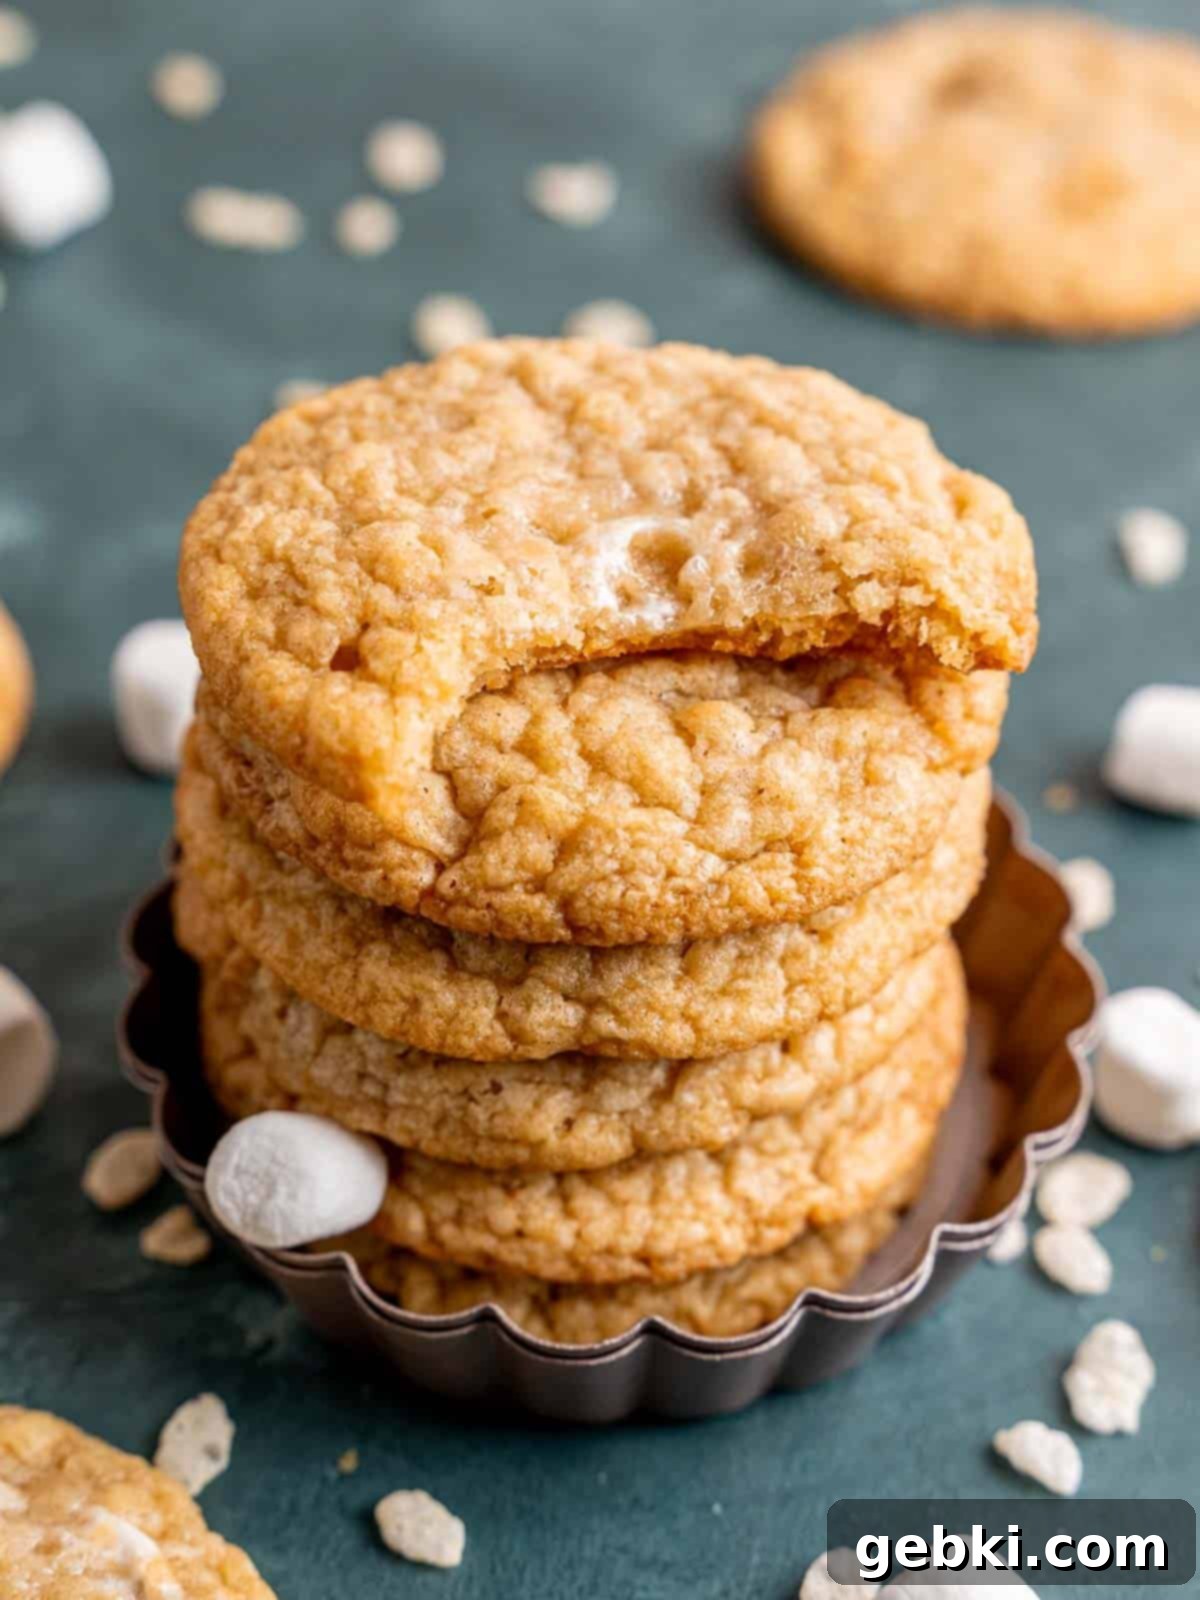
Imagine your favorite childhood Rice Krispie treat, but elevated and transformed into a wonderfully chewy, satisfying cookie. That’s exactly what awaits you with every single bite of these marshmallow crispy cookies! Each mouthful delivers that unmistakable, satisfying crunch from the crispy rice cereal, perfectly complemented by luscious pockets of warm, melted mini marshmallows. The texture combination is nothing short of magical – a soft, chewy cookie base mingled with crispy bits and pockets of sweet, gooey marshmallow. Honestly, as a true cookie enthusiast, I’d choose these irresistible homemade treats over a simple Rice Krispie square any day of the week. They offer a unique blend of comforting flavors and engaging textures that will quickly make them a beloved staple in your home.
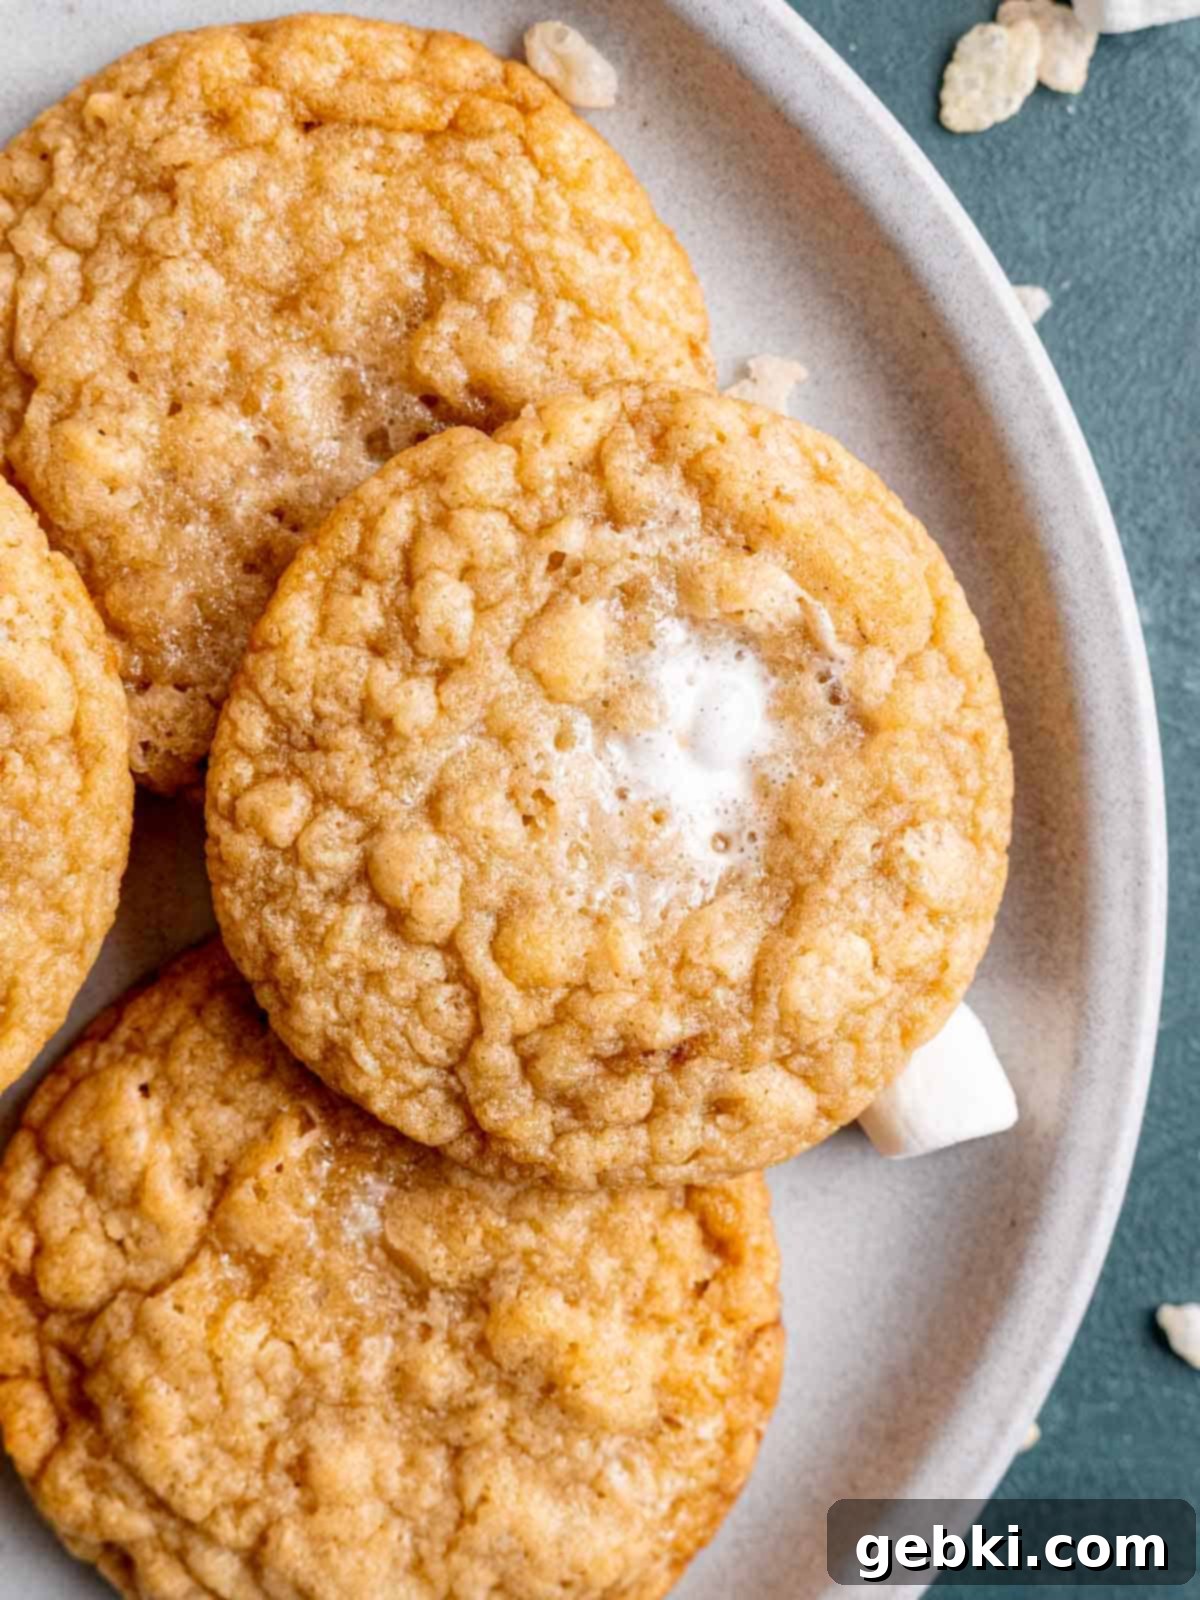
Why You’ll Adore This Easy Recipe
These homemade marshmallow crispy cookies aren’t just a treat; they’re an experience! Here are several compelling reasons why this recipe will quickly become a favorite in your baking repertoire:
- Superior to Store-Bought: Forget the need for a Costco membership or the commitment to a large bulk purchase. With this recipe, you can recreate all the viral flavors and beloved textures of those famous Costco cookies right in your own kitchen, ensuring peak freshness and quality that simply can’t be matched by commercial alternatives.
- The Perfect Texture Medley: What truly sets these cookies apart is their incredible textural complexity. You’ll experience the delightful crunch of crispy rice cereal, a wonderfully chewy cookie base, and the irresistibly soft, melty pockets of marshmallow, all harmonizing together in every bite. It’s a symphony of textures that keeps you coming back for more.
- Small Batch Friendly & Customizable: This recipe is thoughtfully designed to yield approximately 10 cookies, making it perfect for a smaller household, a quick craving, or when you simply don’t need dozens of cookies around. However, if you’re hosting a gathering or want to stock up, the recipe can be effortlessly doubled or even tripled. A personal tip: I love to double the batch and freeze portions of the dough into individual balls, ready to bake whenever a fresh cookie craving strikes!
- Remarkably Quick and Simple: Despite their impressive appearance and flavor, these cookies are surprisingly easy to whip up. From start to finish, you’ll have warm, delicious cookies ready in about an hour and a half, including a minimal chilling time of just 30-60 minutes. This makes them an ideal choice for last-minute desserts or a spontaneous baking session.
- A Nostalgic Twist on a Classic: These cookies taste like a sophisticated, chewy upgrade to your favorite Rice Krispie treat. They offer all the comforting nostalgia of that classic cereal dessert but in a more decadent, cookie form, appealing to both kids and adults alike.
Essential Recipe Ingredients
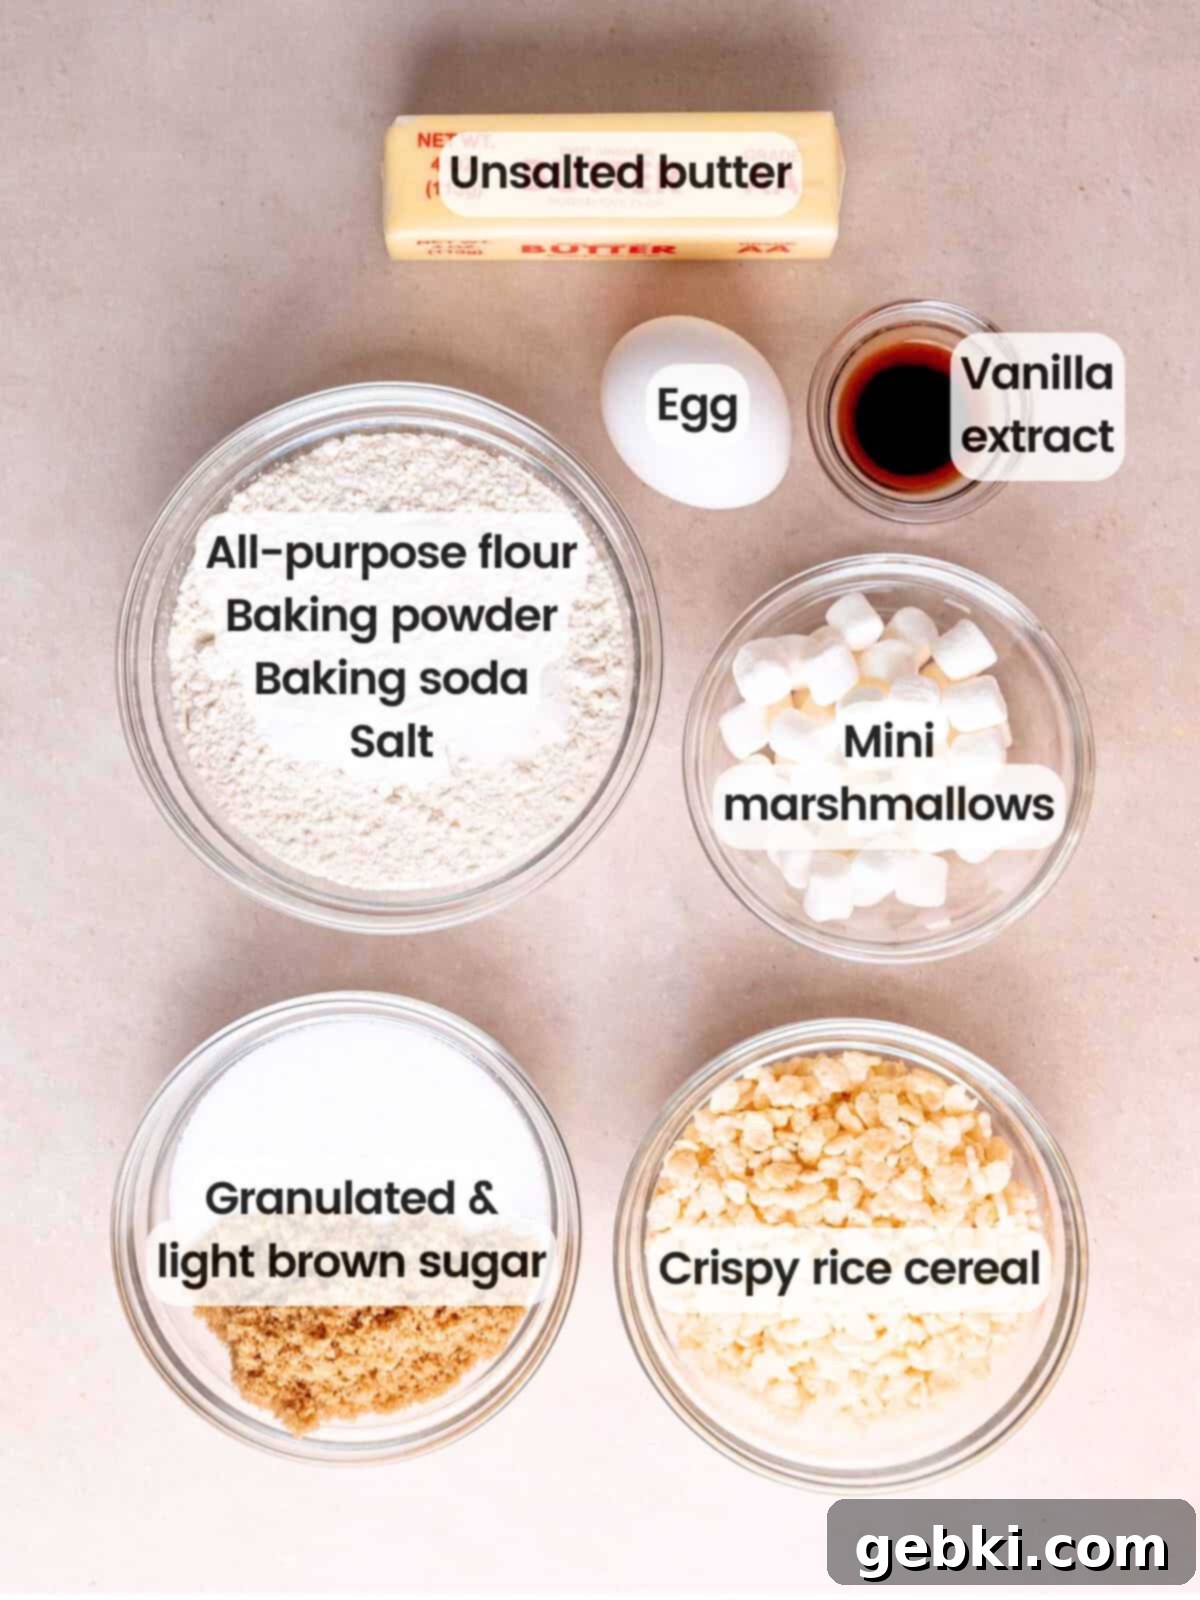
To create these delightful rice crispy cookies, you’ll need a selection of common pantry staples and a couple of star ingredients to achieve that signature crunch and gooeyness. Here’s what you’ll gather:
Key Ingredient Notes for Success:
- Crispy Rice Cereal (e.g., Rice Krispies): This is the crucial component for that signature crunch and beloved flavor profile. While brand-name Rice Krispies cereal works perfectly, any generic crispy rice cereal will yield fantastic results. Don’t hesitate to opt for store brands to save a little money without compromising on taste or texture. The light, airy crispness is essential!
- Mini Marshmallows: These small wonders are evenly folded into the cookie dough, transforming into delightful pockets of ooey-gooey, melty sweetness as they bake. They contribute significantly to the moist, tender interior of the cookie. A vital tip for easy cleanup: always make sure to generously line your baking sheet with parchment paper. Melted marshmallows can be incredibly sticky and cling to the pan, and parchment paper will be your best friend for effortless removal.
- Room Temperature Ingredients (especially Butter and Egg): This is perhaps the most important tip for achieving the perfect cookie texture. Butter that is softened to room temperature creams beautifully with the sugars, creating an airy, well-emulsified base that traps air, leading to a lighter, chewier cookie. A cold egg can seize up your creamed butter and sugar mixture, resulting in a less smooth dough. If your butter becomes too soft or warm before you’re ready to bake (e.g., after creaming for too long), I highly recommend chilling your formed dough balls for an extra 10-15 minutes. This prevents the cookies from spreading too much in the oven, ensuring they maintain their ideal thickness and chewiness.
- All-Purpose Flour, Baking Soda, Baking Powder, and Salt: These foundational ingredients work together to provide structure, tenderness, and proper leavening, ensuring your cookies rise beautifully and have a balanced flavor. Don’t skimp on the salt, as it enhances all the other sweet flavors in the cookie.
- Granulated Sugar and Light Brown Sugar: The combination of both sugars is key for a well-rounded flavor and texture. Granulated sugar contributes to crisp edges, while light brown sugar adds moisture, chewiness, and a subtle molasses flavor, creating a perfect balance.
- Vanilla Extract: A good quality vanilla extract enhances all the sweet notes and adds depth to the overall flavor of your cookies. Don’t skip it!
For a complete, precise list of all ingredients and their exact measurements, please refer to the detailed recipe card provided below.
Exciting Substitutions & Creative Variations
While this recipe for marshmallow crispy cookies is absolutely perfect as written, there are plenty of ways to customize them and make them your own! Feel free to experiment with these suggestions:
- Delicious Mix-ins: You can easily elevate these cookies with additional flavors and textures. Consider folding in about ½ cup of your favorite chocolate chips (milk, dark, or white), creamy butterscotch chips, or even crushed graham crackers. Adding graham crackers will give you a delightful s’mores cookie vibe, especially when paired with the melted marshmallows! Just remember to keep the total amount of extra mix-ins to around ½ cup to ensure the cookie dough maintains its structural integrity and bakes correctly.
- Alternative Cereals: While the crispy rice cereal is a classic and provides that iconic crunch, don’t be afraid to get creative with other crunchy cereals. For example, my fruity pebble cookies use a similar concept but incorporate colorful, fruity cereal and jumbo marshmallows for a fun, vibrant twist. Consider using corn flakes for a different kind of crunch, or even cinnamon toast crunch for a spiced variation!
- Nutty Additions: For those who love nuts, a handful of finely chopped pecans or walnuts (about ¼ to ½ cup) could add a wonderful depth of flavor and texture. Just be mindful of any allergies!
- Different Marshmallow Sizes: If you don’t have mini marshmallows, you can chop larger marshmallows into smaller pieces to ensure even distribution. Alternatively, for a truly dramatic gooey center, you could try stuffing one regular-sized marshmallow into the center of each cookie dough ball before baking, similar to how it’s done in some other marshmallow cookie recipes.
Please note: This specific recipe has been thoroughly tested with the ingredients and variations listed above. If you decide to replace or add any other ingredients, we kindly ask that you share your results in the comments section below! Your feedback helps other bakers in our community.
Step-by-Step: How to Make Gooey Marshmallow Crispy Cookies
Creating these heavenly marshmallow crispy cookies is a straightforward process. Follow these detailed steps to achieve perfect results every time:
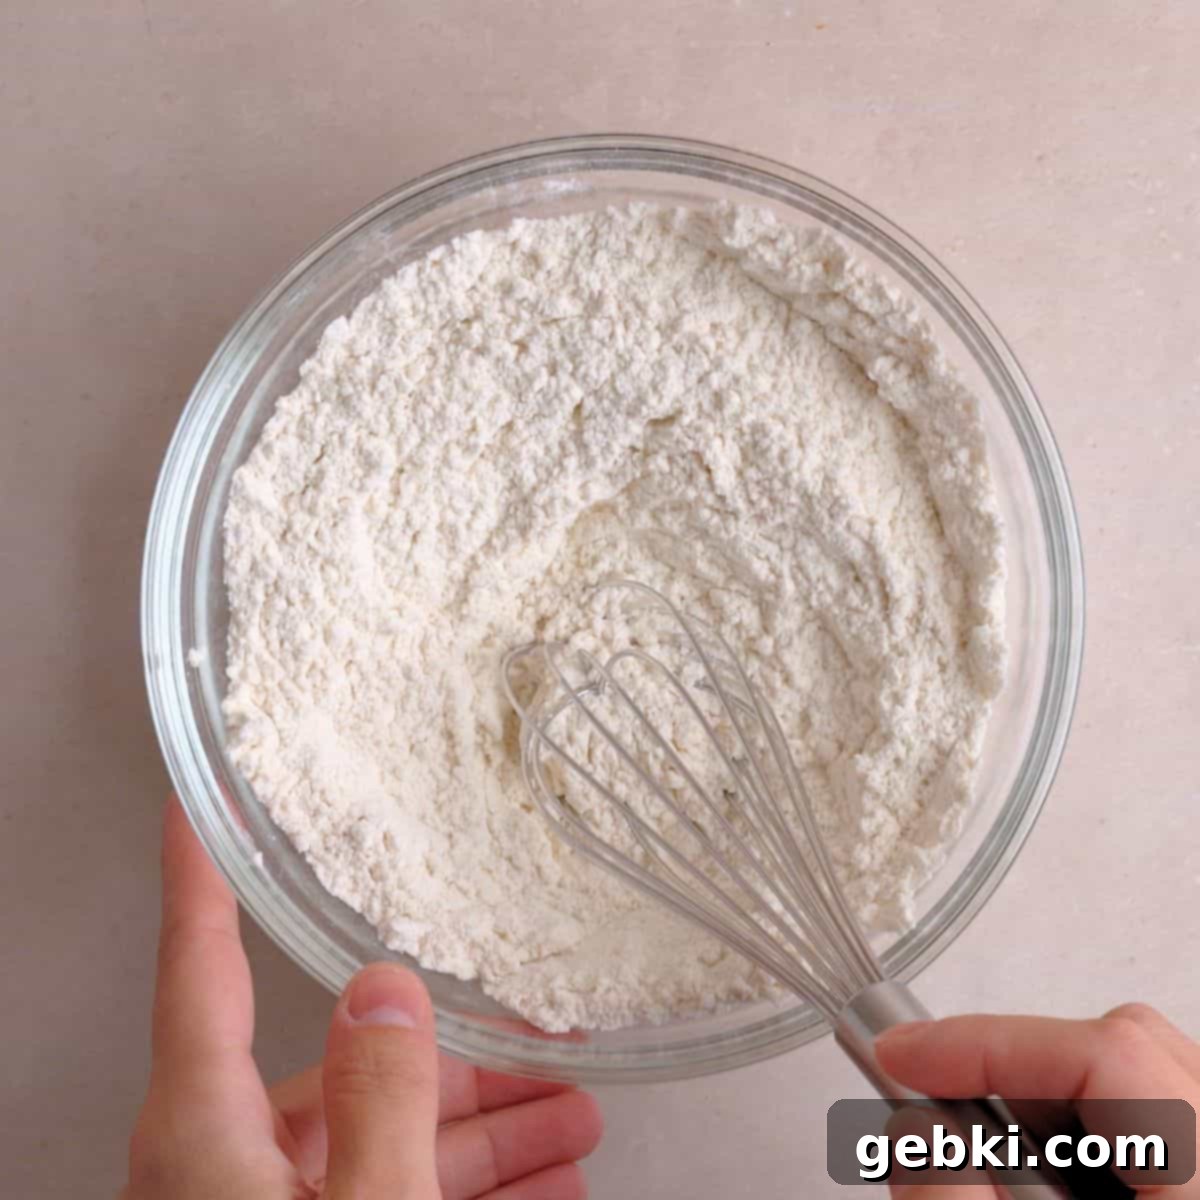
Step 1: Prepare Dry Ingredients. In a medium-sized mixing bowl, combine the all-purpose flour, salt, baking soda, and baking powder. Use a whisk to thoroughly mix these dry ingredients together. This crucial step ensures that the leavening agents and salt are evenly distributed throughout the flour, preventing pockets of unmixed ingredients and guaranteeing a consistent texture in your baked cookies.
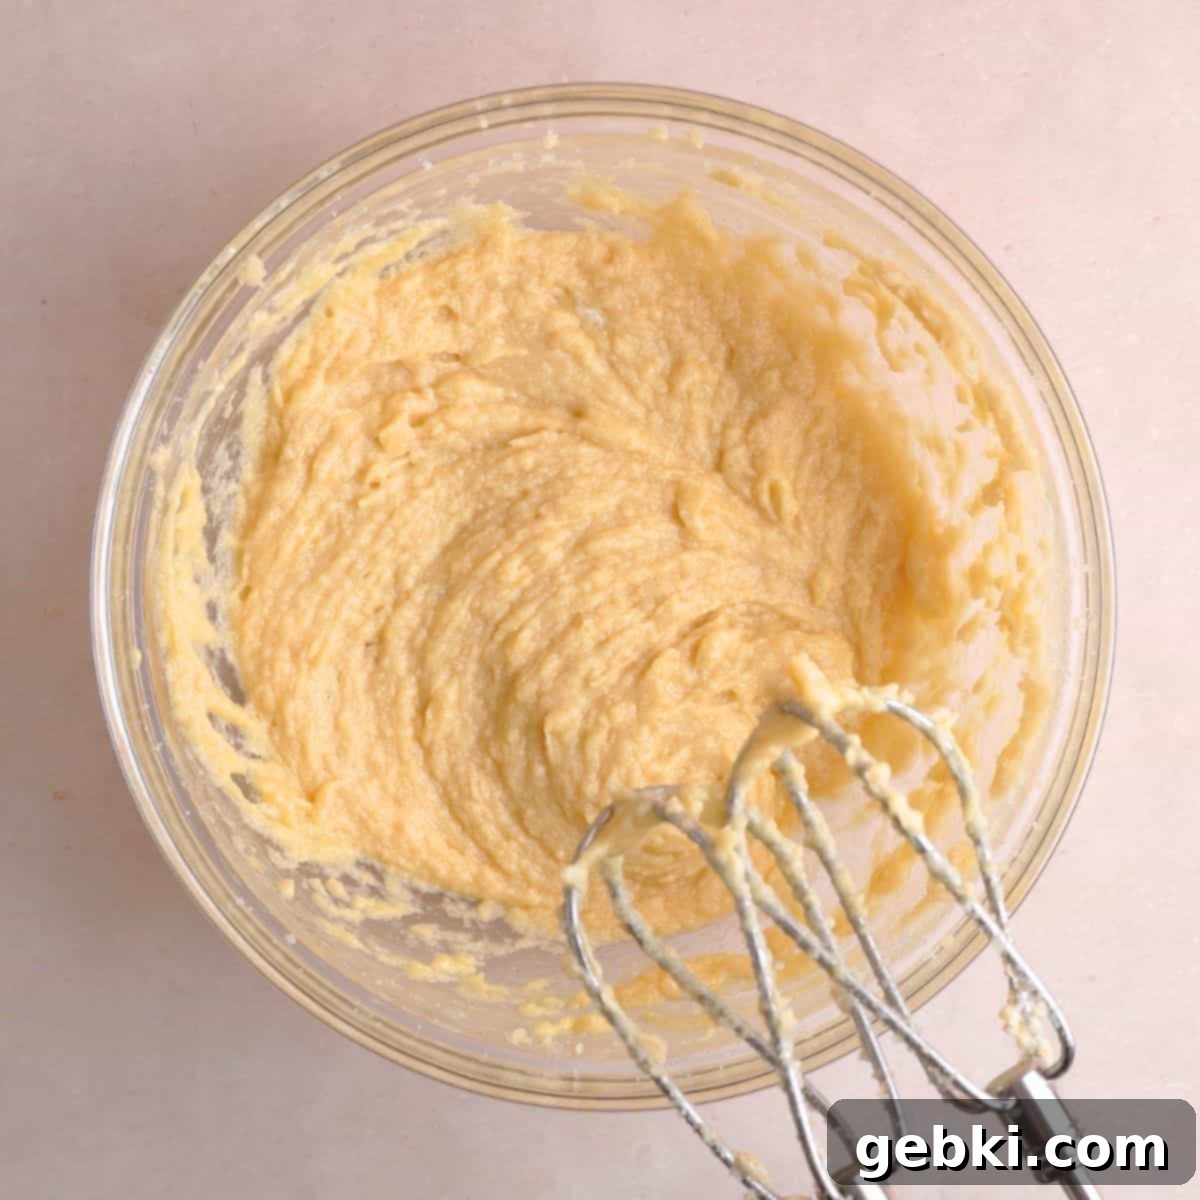
Step 2: Cream Wet Ingredients. In a large mixing bowl, ideally with an electric mixer (stand or hand-held), cream together the room temperature unsalted butter with both the granulated sugar and light brown sugar. Beat on medium-high speed for about 2-3 minutes until the mixture becomes visibly light, fluffy, and pale in color. This process incorporates air, which is vital for a tender cookie. Next, mix in the vanilla extract and the room temperature egg until everything is just well combined. Avoid overmixing once the egg is added.
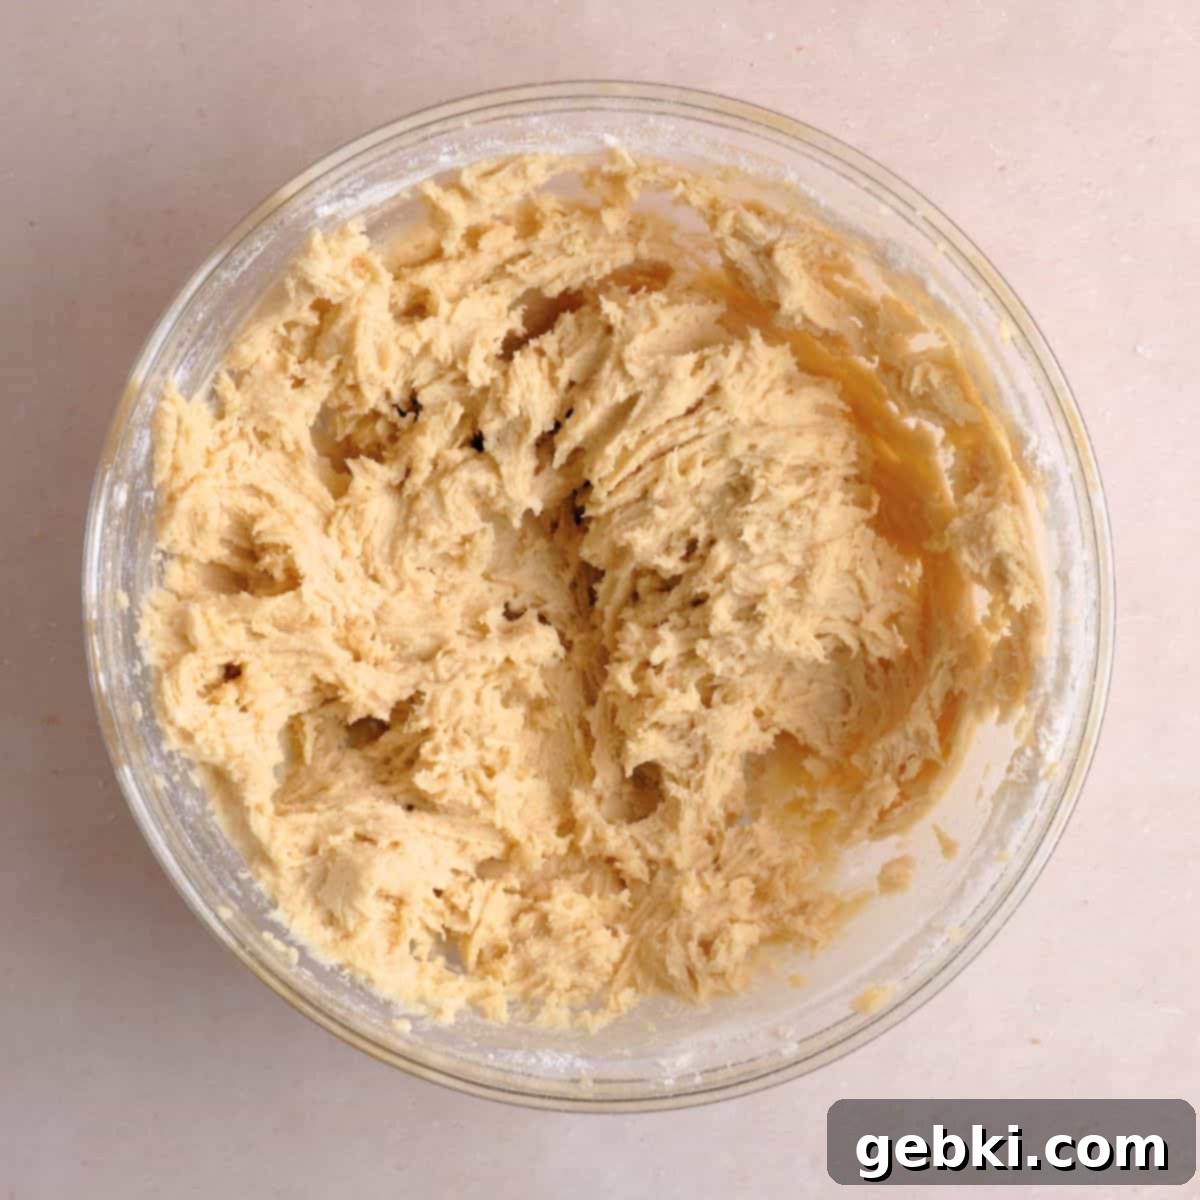
Step 3: Combine Wet and Dry. Gradually add the whisked dry ingredients into the wet mixture. Mix on low speed, or by hand with a spatula, until just a couple of small flour streaks are still visible. It’s crucial not to over-mix at this stage! Overworking the dough develops the gluten too much, which can result in tough, dense cookies instead of the deliciously chewy marshmallow cookies we’re aiming for.
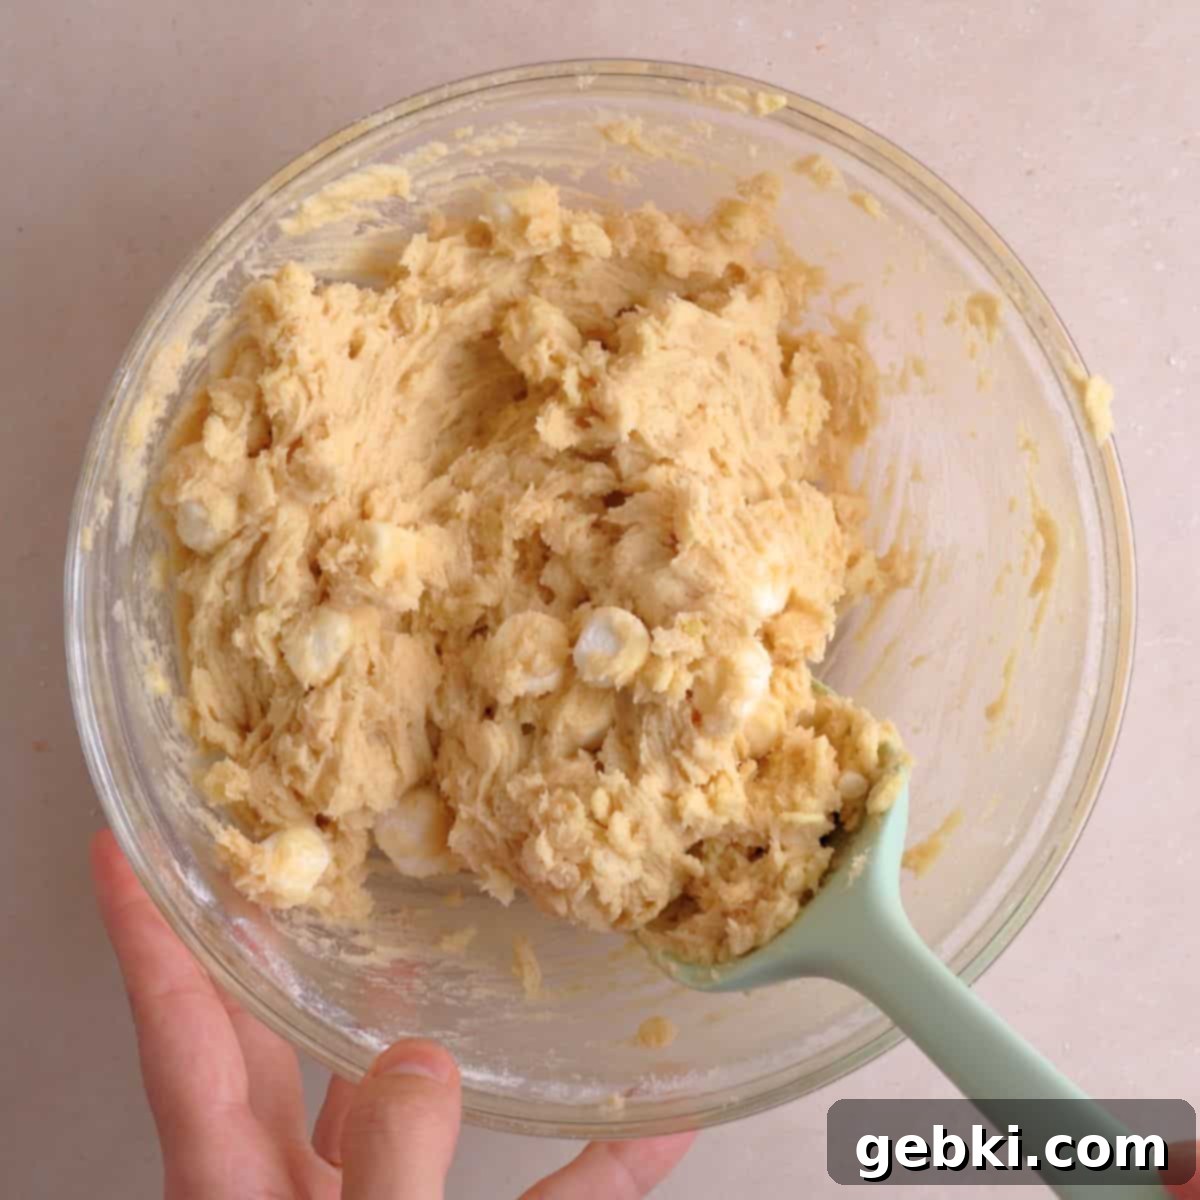
Step 4: Fold in Mix-ins. With a spatula, gently fold the crispy rice cereal and the mini marshmallows into the cookie dough. Mix just enough until they are evenly distributed throughout the dough. You want to avoid crushing the cereal too much, as its crispness is a key element of these cookies.
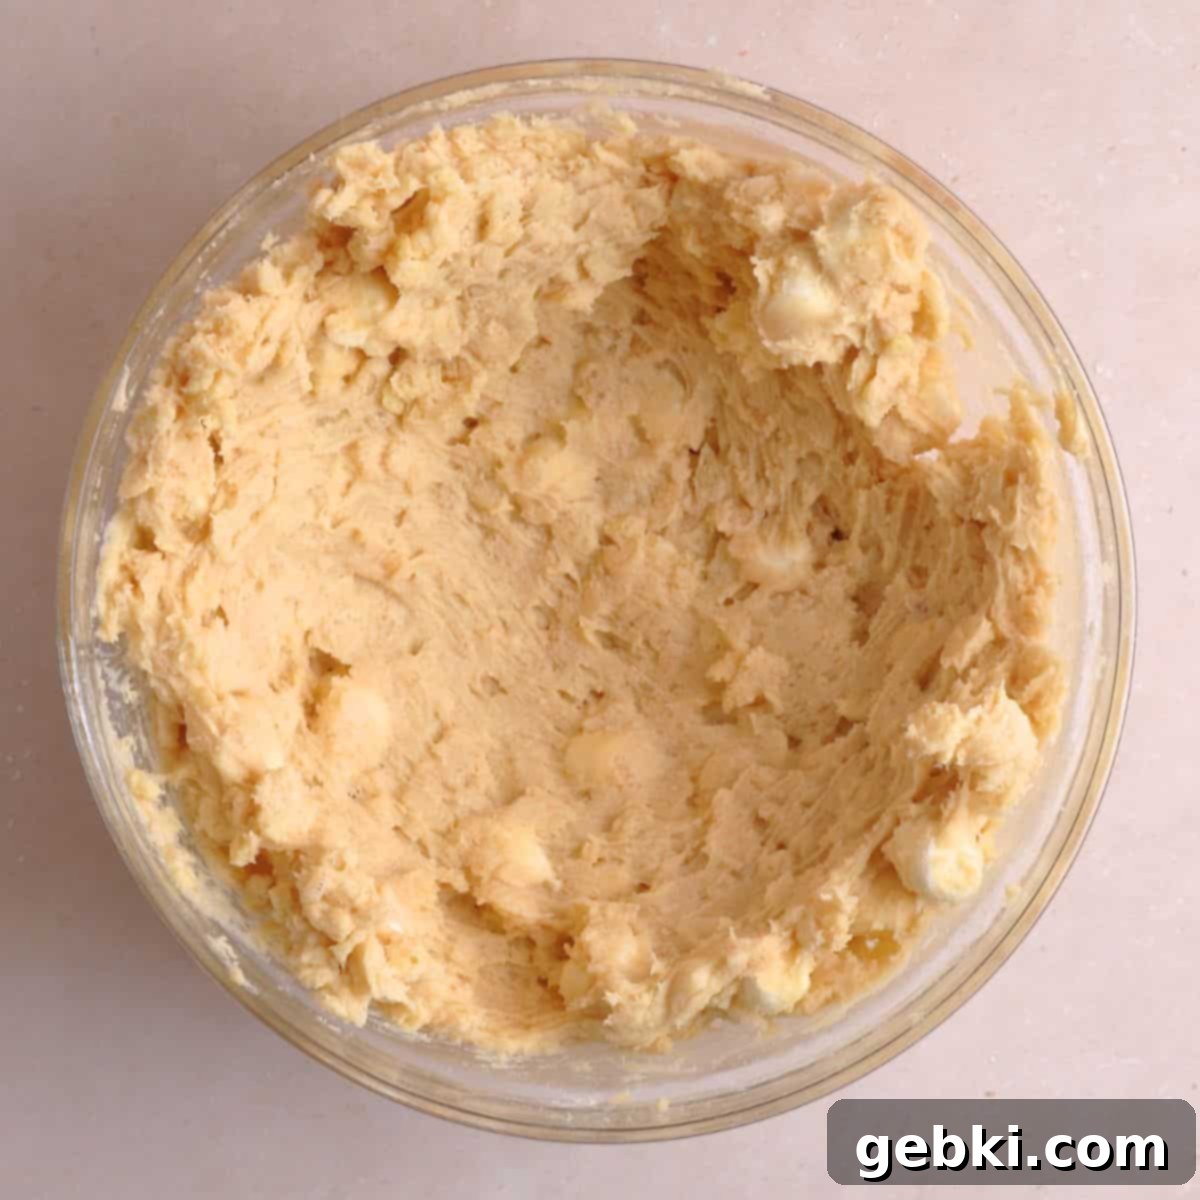
Step 5: Chill the Dough. Lightly press the cookie dough against the sides of the bowl to compact it slightly, then cover the bowl (or simply leave it uncovered, as stated in the recipe card) and chill it in the refrigerator for 30-60 minutes. This chilling period is vital as it helps to firm up the butter in the dough. A firmer dough will spread less during baking, resulting in thicker, chewier cookies that hold their shape beautifully. Don’t be tempted to skip this step!
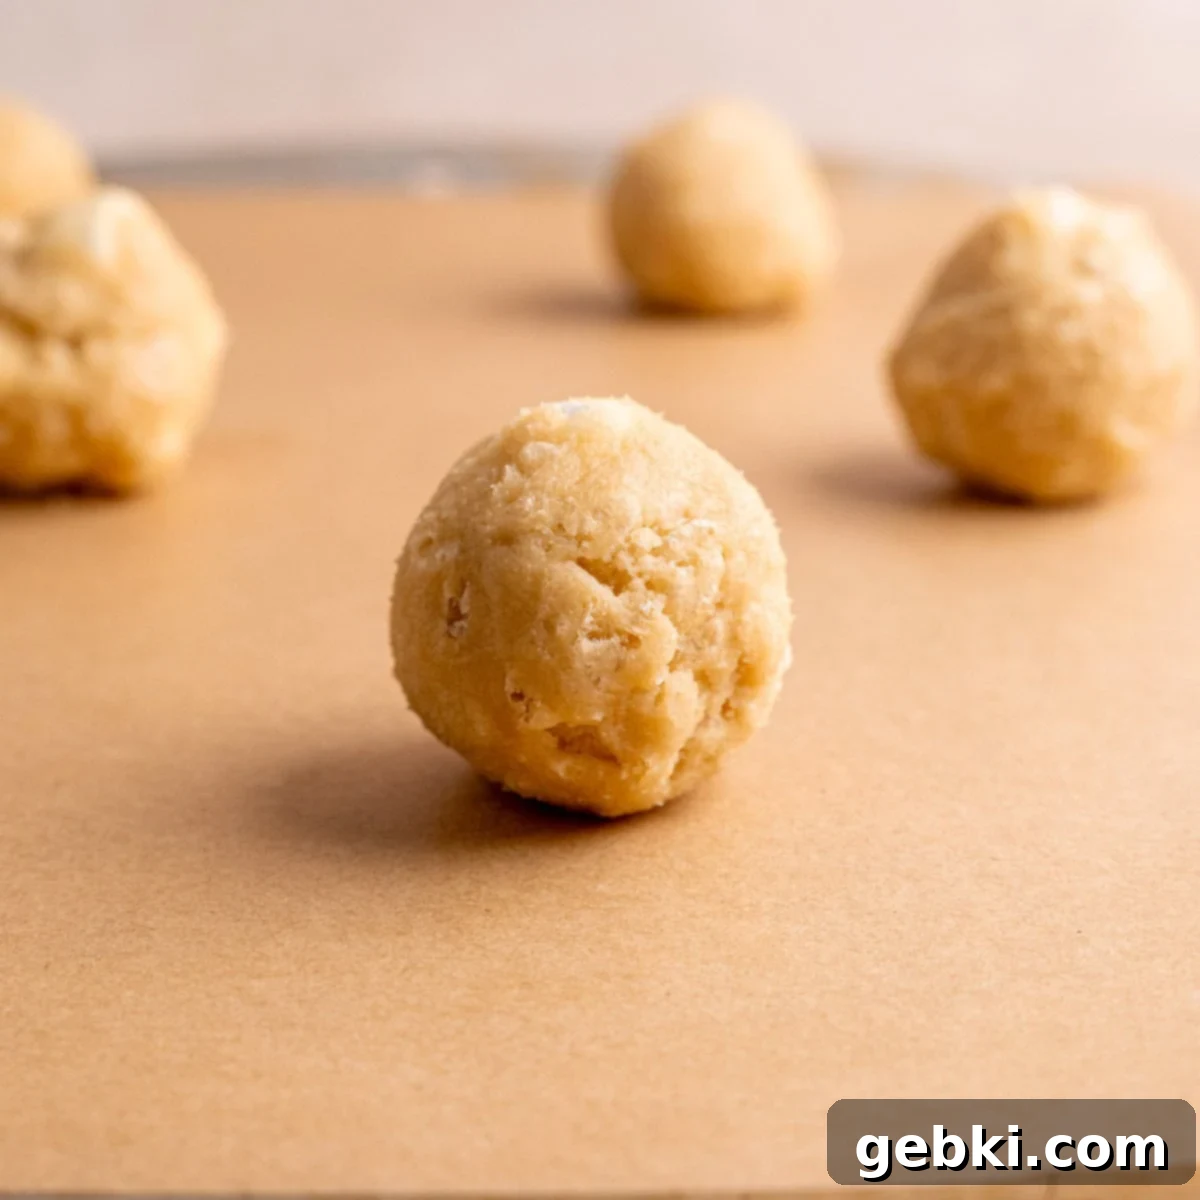
Step 6: Scoop and Bake. Once the dough is adequately chilled, scoop it into uniform balls. I highly recommend using a 3-tablespoon cookie scoop for consistent sizing, which ensures even baking. Place the dough balls about 2 inches apart on your parchment-lined baking sheet. Preheat your oven to 350°F (175°C). Bake for 9-12 minutes, or until the edges are just set and have a very light golden hue. The centers might still appear a little soft or raw, but this is exactly what you want for a perfectly chewy cookie. They will continue to set as they cool.
Expert Baking Tips for Perfect Cookies
Achieving the ideal marshmallow crispy cookie is easy with a few insider tricks. Keep these expert baking tips in mind for consistently perfect results:
- Never Skip the Chilling Step: I know, waiting is hard, but resist the urge to skip chilling the dough! This step is paramount. Chilled dough prevents your cookies from spreading too much in the oven, ensuring they stay thick and chewy rather than thin and crispy. It also allows the flavors to meld and the gluten to relax, contributing to that desirable soft, tender texture. Aim for at least 30 minutes, or up to an hour for best results.
- Always Use Parchment Paper: Trust me on this one – parchment paper is your best friend when baking these cookies. As the mini marshmallows melt and get delightfully gooey, some might inevitably leak out of the bottom of the cookies and onto the baking sheet. Without parchment paper, you’ll be left with a sticky, burnt-on mess that’s incredibly difficult to scrape off your cookie sheet. Parchment ensures easy removal and quick cleanup.
- Master the Baking Time: These cookies can transition from perfectly chewy to over-baked quite rapidly. Keep a close eye on them! Take them out of the oven when the edges are just barely set and have turned a light golden brown. The centers should still look slightly underdone or even a bit gooey. This “under-baking” is key because the residual heat from the hot baking sheet will continue to bake the cookies for a few minutes after they’re removed from the oven, resulting in that perfect chewy center.
- Allow for Pan Cooling: Once baked, don’t immediately transfer your cookies to a cooling rack. Give them a crucial 5-10 minutes to cool and set up directly on the hot baking sheet. This allows the hot, tender cookies to firm up enough structurally, preventing them from crumbling or falling apart when you move them. After this initial cooling, you can then carefully transfer them to a wire cooling rack to cool completely.
- Store with a Slice of Bread for Freshness: To keep your marshmallow crispy cookies wonderfully soft and chewy for several days, store them in an airtight container with a slice of plain bread (any type will do, but plain white bread is often preferred). The cookies will absorb moisture from the bread, preventing them from drying out and becoming stale. Replace the bread slice every day or two as it hardens.
- Weigh Your Dry Ingredients: For the most precise and consistent baking results, especially with flour, I highly recommend using a digital kitchen scale to weigh your dry ingredients in grams (g). Measuring by volume (cups) can be inconsistent due to variations in how ingredients are packed.
Frequently Asked Questions
Here are answers to some of the most common questions about making and enjoying these delightful marshmallow crispy cookies:
While mini marshmallows are ideal for this recipe because they distribute more evenly throughout the cookie dough and melt into perfect small pockets of gooeyness, you can certainly adapt if you only have regular marshmallows. Your best options are to either chop the larger marshmallows into smaller, bite-sized pieces before folding them into the dough, or for a more dramatic effect, you can try stuffing one regular-sized marshmallow into the center of each cookie dough ball before baking. This latter method creates a wonderfully gooey, molten core in each cookie, much like how it’s done in recipes for fruity pebble marshmallow cookies.
The key to perfectly chewy marshmallow crispy cookies is to avoid overbaking them. Look for visual cues: the edges of the cookies should be just set and appear very lightly golden brown. Crucially, the centers might still look slightly soft, even a little bit undercooked or gooey. This is exactly what you want! The cookies will continue to bake and firm up on the hot baking sheet after you remove them from the oven, carrying over some residual heat to achieve that ideal chewy texture without becoming hard or dry.
Absolutely! These marshmallow crispy cookies are wonderfully convenient for making ahead. Both the cookie dough and the baked cookies freeze exceptionally well for a few weeks, allowing you to enjoy them whenever a craving strikes. For ultimate freshness, you can prepare the dough, scoop it into balls, and then store the dough balls in an airtight container or freezer-safe bag in the refrigerator for up to 2 days before baking. For longer storage, freeze the dough balls for up to a month and bake them directly from frozen, adding just 1-2 extra minutes to the baking time.
Excessive spreading is a common issue and usually points back to the dough not being adequately chilled or the butter being too warm. Ensure that your butter is at a cool room temperature (soft enough to indent but not melted or greasy) when you cream it with the sugars. More importantly, do not skip the chilling step! Chilling the dough solidifies the butter, which helps the cookies maintain their shape and prevents them from spreading excessively in the oven. If your kitchen is particularly warm, you might need to extend the chilling time slightly.
Yes, absolutely! Chocolate chips are a fantastic addition to these marshmallow crispy cookies. Milk chocolate, semi-sweet, or even white chocolate chips would pair wonderfully with the gooey marshmallows and crispy cereal. Add about ½ cup of your preferred chocolate chips when you fold in the rice cereal and mini marshmallows in Step 4. This will create a delicious chocolate-marshmallow-crispy combination that’s sure to be a hit!
Storage Solutions for Maximum Freshness
Proper storage is essential to keep your homemade marshmallow crispy cookies soft, chewy, and delicious for as long as possible. Here are the best ways to store them:
Room Temperature Storage
Once your cookies have completely cooled to room temperature, store them in an airtight container. They will remain fresh and delightful for up to 5 days. For an extra boost of softness and to keep them incredibly chewy for even longer, try this classic baker’s trick: add a slice of plain bread to the airtight container. The cookies will absorb moisture from the bread, effectively preventing them from drying out and becoming stale. Just remember to replace the bread slice every day or two, or whenever it starts to harden.
Freezing Instructions (Baked Cookies)
If you want to enjoy these delicious treats at a later date, baked cookies freeze beautifully. Once completely cooled, place the cookies in a single layer on a baking sheet and freeze until solid (about 30-60 minutes). Then, transfer the frozen cookies to a freezer-safe airtight container or a heavy-duty freezer bag. They can be stored in the freezer for up to 2 weeks without significant loss of quality. When you’re ready to enjoy them, simply thaw them at room temperature for an hour or so, or gently warm them in the microwave for a few seconds for that fresh-baked feel.
My Preferred Method: Freezing Dough Balls for Freshly Baked Cookies
For ultimate convenience and the joy of freshly baked cookies on demand, I highly recommend freezing the unbaked dough balls. After chilling and scooping the dough as per the recipe instructions (Step 5 and 6), place the dough balls on a parchment-lined baking sheet and freeze until they are solid. Once frozen, transfer them to a freezer-safe bag or container. These frozen dough balls can be stored for up to 1 month. When a craving hits, simply take out the desired number of dough balls and bake them straight from frozen. You might need to add just 1-2 extra minutes to the baking time to ensure they cook through. This method provides you with warm, gooey, and perfectly fresh marshmallow crispy cookies whenever you desire!
More Irresistible Recipes You’ll Love
If you enjoyed these marshmallow crispy cookies, you’re in for a treat! Explore more delightful cookie and dessert recipes that are sure to become new favorites:
- Fruity Pebble Marshmallow Cookies
- Chocolate Peanut Butter Rice Krispies
- Chocolate Peanut Butter Rice Krispies
- Easy S’mores Cookie Recipe
- Easy S’mores Cookie Recipe
- Chewy Salted Caramel Oatmeal Cookies

Did you try this recipe?
There’s nothing more rewarding than seeing your delicious creations! We would absolutely love to hear about your experience making these marshmallow crispy cookies. Please let us know what you thought by leaving a comment below and don’t forget to share your culinary masterpieces on Instagram, Facebook, & Pinterest! Tag us so we can see your amazing work!
Thank you for baking with us!
-Kayla
📖 Recipe

Marshmallow Crispy Cookies (Costco Copycat)
Kayla Burton
Pin Recipe
Equipment
-
Baking sheet lined with parchment paper
-
Mixing bowls
-
Scale/measuring cups
-
Measuring spoons
-
Whisk
-
Spatula
-
Cookie scoop 3-tablespoon size recommended
-
Wire cooling rack
Ingredients
- 1¼ cup (156 g) all-purpose flour
- ½ teaspoon salt
- ½ teaspoon baking soda
- ¼ teaspoon baking powder
- ½ cup (113 g) unsalted butter room temperature
- ½ cup (100 g) granulated sugar
- ¼ cup (50 g) light brown sugar packed
- 1½ teaspoons vanilla extract
- 1 large egg room temperature
- 1 cup (27 g) crispy rice cereal
- ½ cup (22 g) mini marshmallows
Instructions
-
Preheat your oven to 350°F (175°C) and line a metal baking sheet with parchment paper. This step is essential for easy cleanup as marshmallows can be very sticky.
-
In a medium bowl, whisk together the flour, salt, baking soda, and baking powder. Ensure these dry ingredients are thoroughly combined to guarantee even leavening and flavor in your cookies.1¼ cup all-purpose flour, ½ teaspoon salt, ½ teaspoon baking soda, ¼ teaspoon baking powder
-
In a large bowl, cream the room temperature unsalted butter with both the granulated and light brown sugars until the mixture is light, fluffy, and pale (about 2-3 minutes with an electric mixer). Then, beat in the vanilla extract and the room temperature egg until just well combined.½ cup unsalted butter, ½ cup granulated sugar, ¼ cup light brown sugar, 1½ teaspoons vanilla extract, 1 large egg
-
Gradually add the whisked dry ingredients into the wet mixture, mixing on low speed or by hand until just a couple of small flour streaks remain. Be careful not to over-mix, as this can lead to tough cookies.
-
Using a spatula, gently fold the crispy rice cereal and mini marshmallows into the dough until they are just evenly distributed. This ensures the cereal retains its crunch.1 cup crispy rice cereal, ½ cup mini marshmallows
-
Press the dough to the sides of the bowl to compact it, then chill it, uncovered, in the refrigerator for 30-60 minutes. This chilling period is crucial for preventing the cookies from spreading too much during baking.
-
Scoop the cold, firm dough into 3-tablespoon balls. Consistent sizing ensures even baking.
Place them about 2 inches apart on your prepared cookie sheet.
Bake one sheet at a time (keep any remaining dough in the fridge while the first batch bakes).
Bake on the middle rack for 9-12 minutes, or until the edges are light golden and set, but the centers still look a tiny bit gooey. They will continue to bake as they cool.
-
Allow the cookies to cool on the hot baking sheet for 5-10 minutes. This crucial step helps them firm up and prevents them from breaking apart when transferred. After this initial cooling, gently move them to a wire cooling rack to cool completely.
Save This Recipe! 💌
We’ll email this post to you, so you can come back to it later!
Video
Notes
Make Ahead: To prepare in advance, make the dough, scoop it into balls, and freeze them on a baking sheet until solid. Once frozen, transfer to a freezer-safe bag and store for up to 1 month. Bake these directly from frozen, adding approximately 1-2 extra minutes to the baking time, for fresh-baked goodness anytime.
The provided nutritional information is an estimate per serving. Accuracy is not guaranteed.
